It’s been exactly four delightful years when the HDD in my iMac 27" informed me it couldn’t take it any longer. “Disk I/O error”, it said.
At that moment I already had plans to upgrade it with an SSD (solid-state drive). Those are much snappier and completely silent since there are no moving parts inside.
My volume preference was the same as before, i.e. one terabyte. Therefore the choice was quite limited, namely Samsung SSD 840 EVO 1TB:
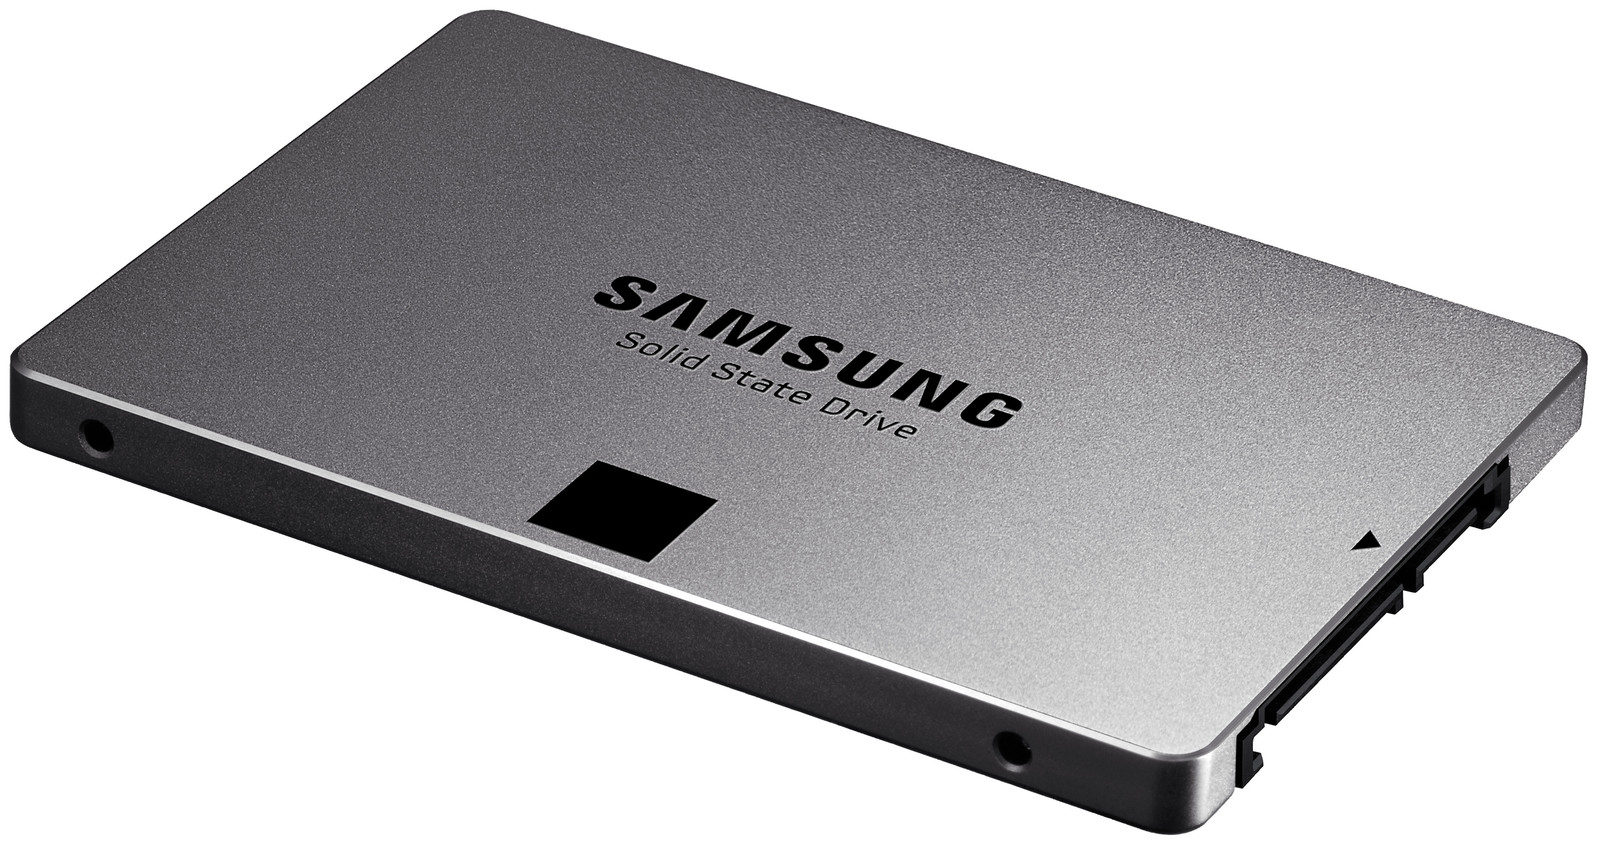
Fortunately, the prices for such SSDs are kind of affordable now.
I was lucky to own a mid-2010 iMac, whose front glass is held in place by magnetic latches. All the newer models have the glass firmly glued to the case, which would require a special thermal fan to detach.
1. Remove the glass
After watching a very good instruction video by OWC, it’s time to start off.
I didn’t have special suction cups as per the instruction, so I used regular car windscreen mobile phone mounts with vacuum cups. Important:
- To detach the glass, stick the suction cups to its top-left and top-right corners.
- Pull the glass slowly and gently, but evenly and firmly.
- By all means avoid touching the inner surface of the glass or the display! It’s nearly impossible to wipe the fingerprints afterwards, according to forum messages. Wearing thin cotton gloves is a good idea.
- The removed glass should be hidden somewhere, far from people and pets. It’s also advisable to cover it with a piece of cloth to protect it from dust.
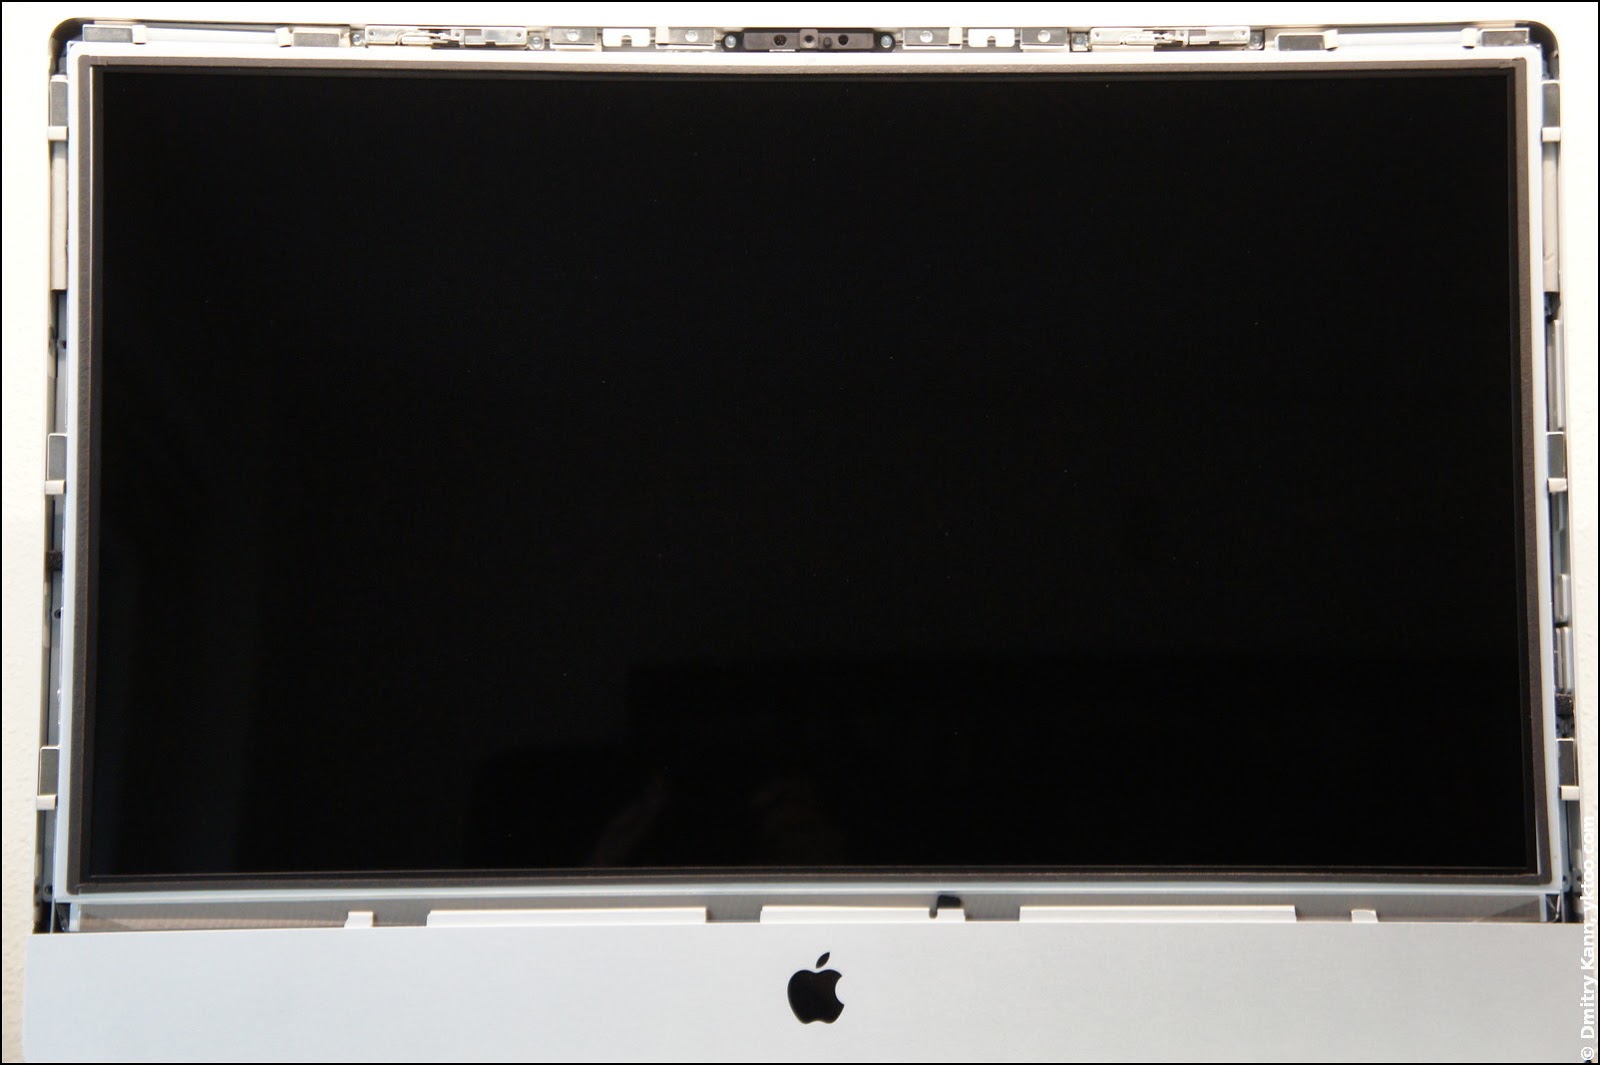
So here’s the computer with the glass detached:
2. Remove the display module
The display module is fixed by eight Torx T10 screws, so make sure you have an appropriate screwdriver.
I’d recommend yet again to watch the above mentioned video, to figure out what cables and connectors to unplug, and how. The extracted display is also to be stashed in a secure place, free from fingerprints and dust.
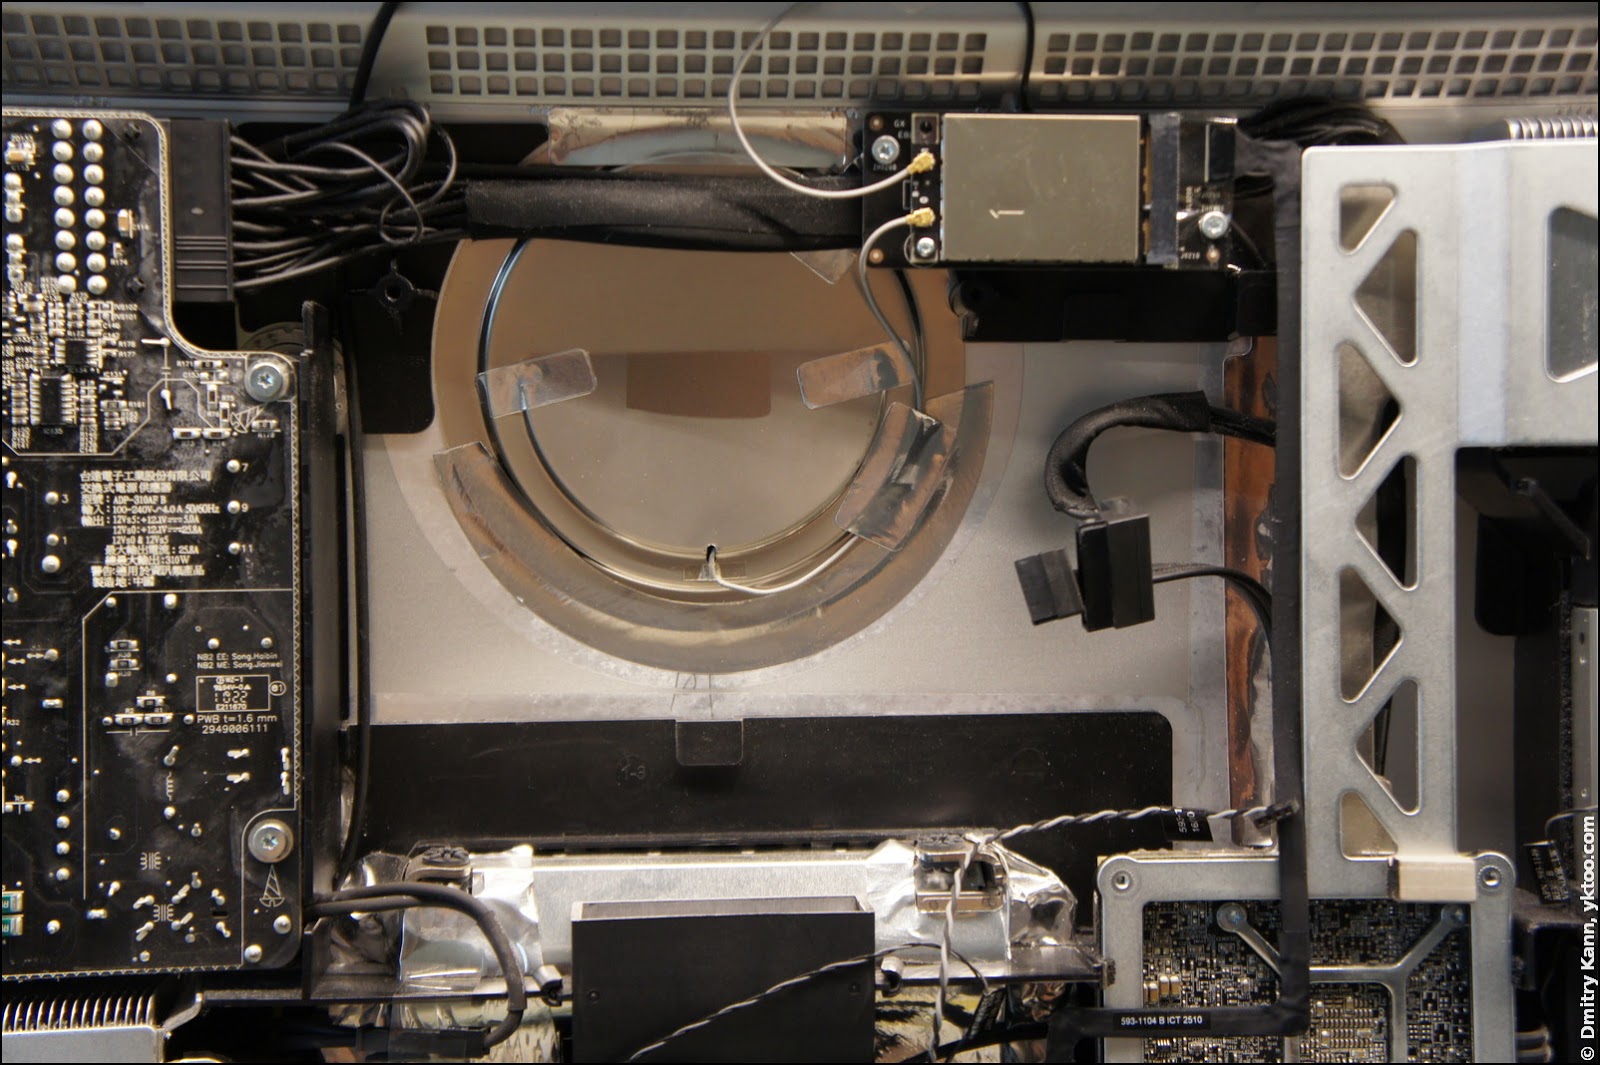
The iMac without the display module:
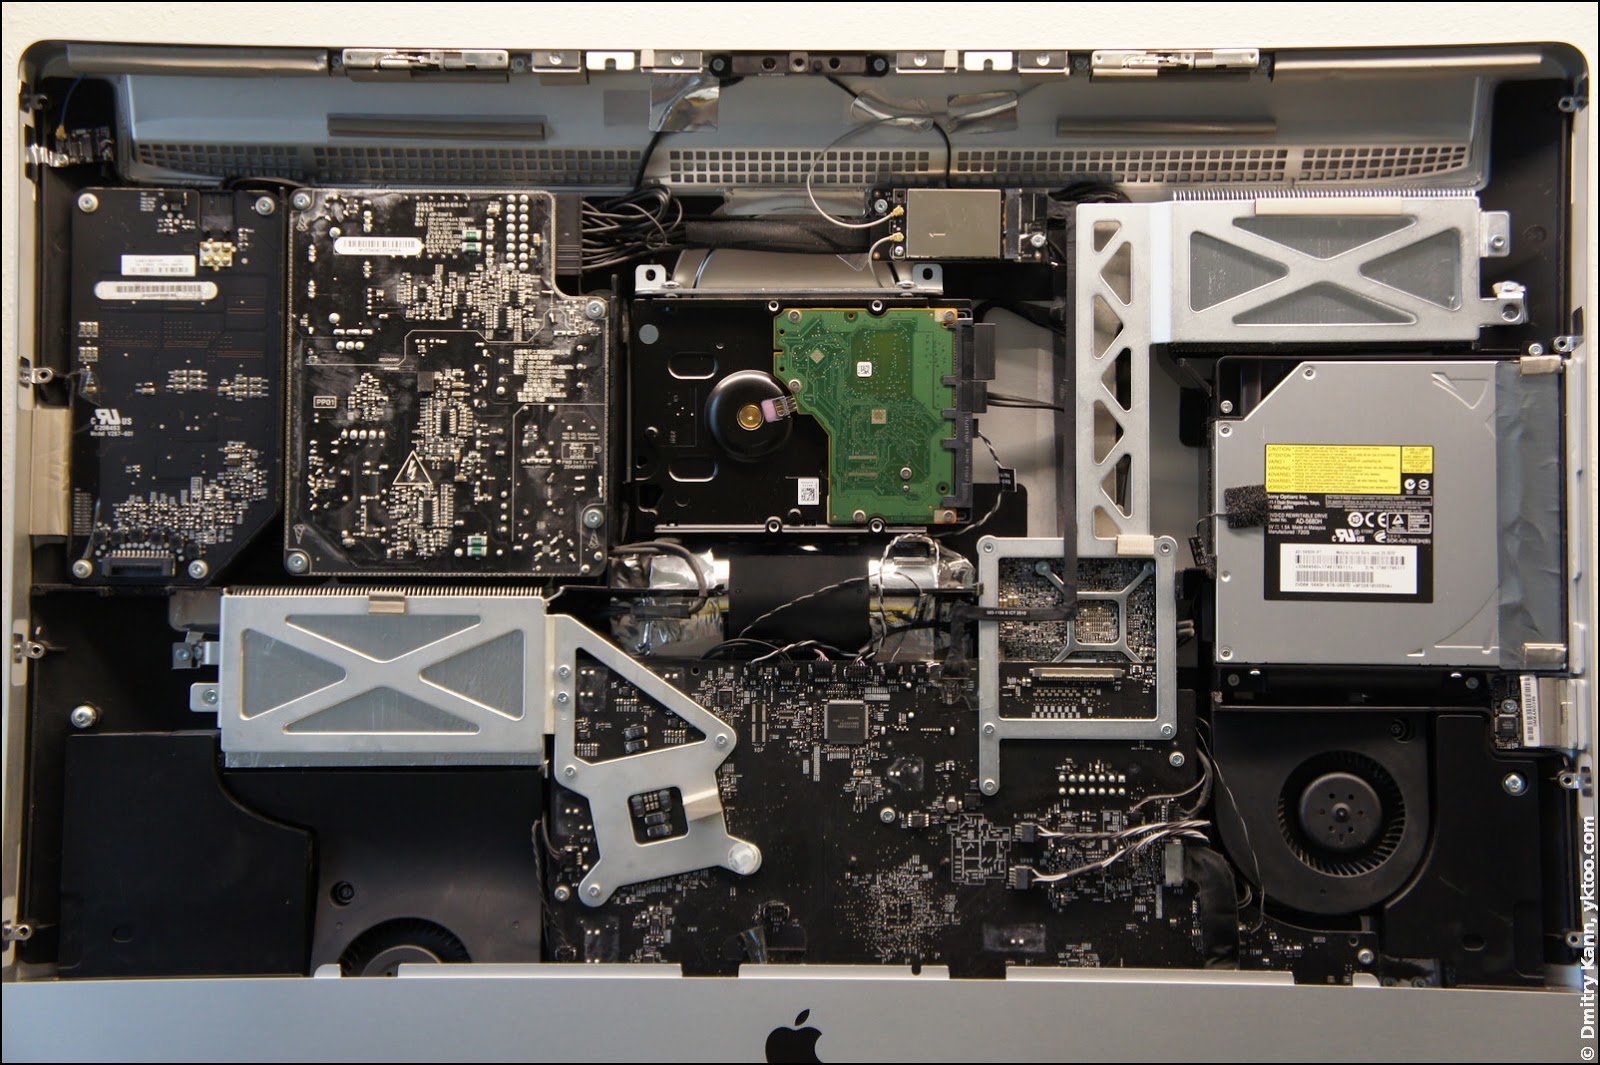
The victim, prematurely dead Seagate Barracuda 7200.12, is at the center:
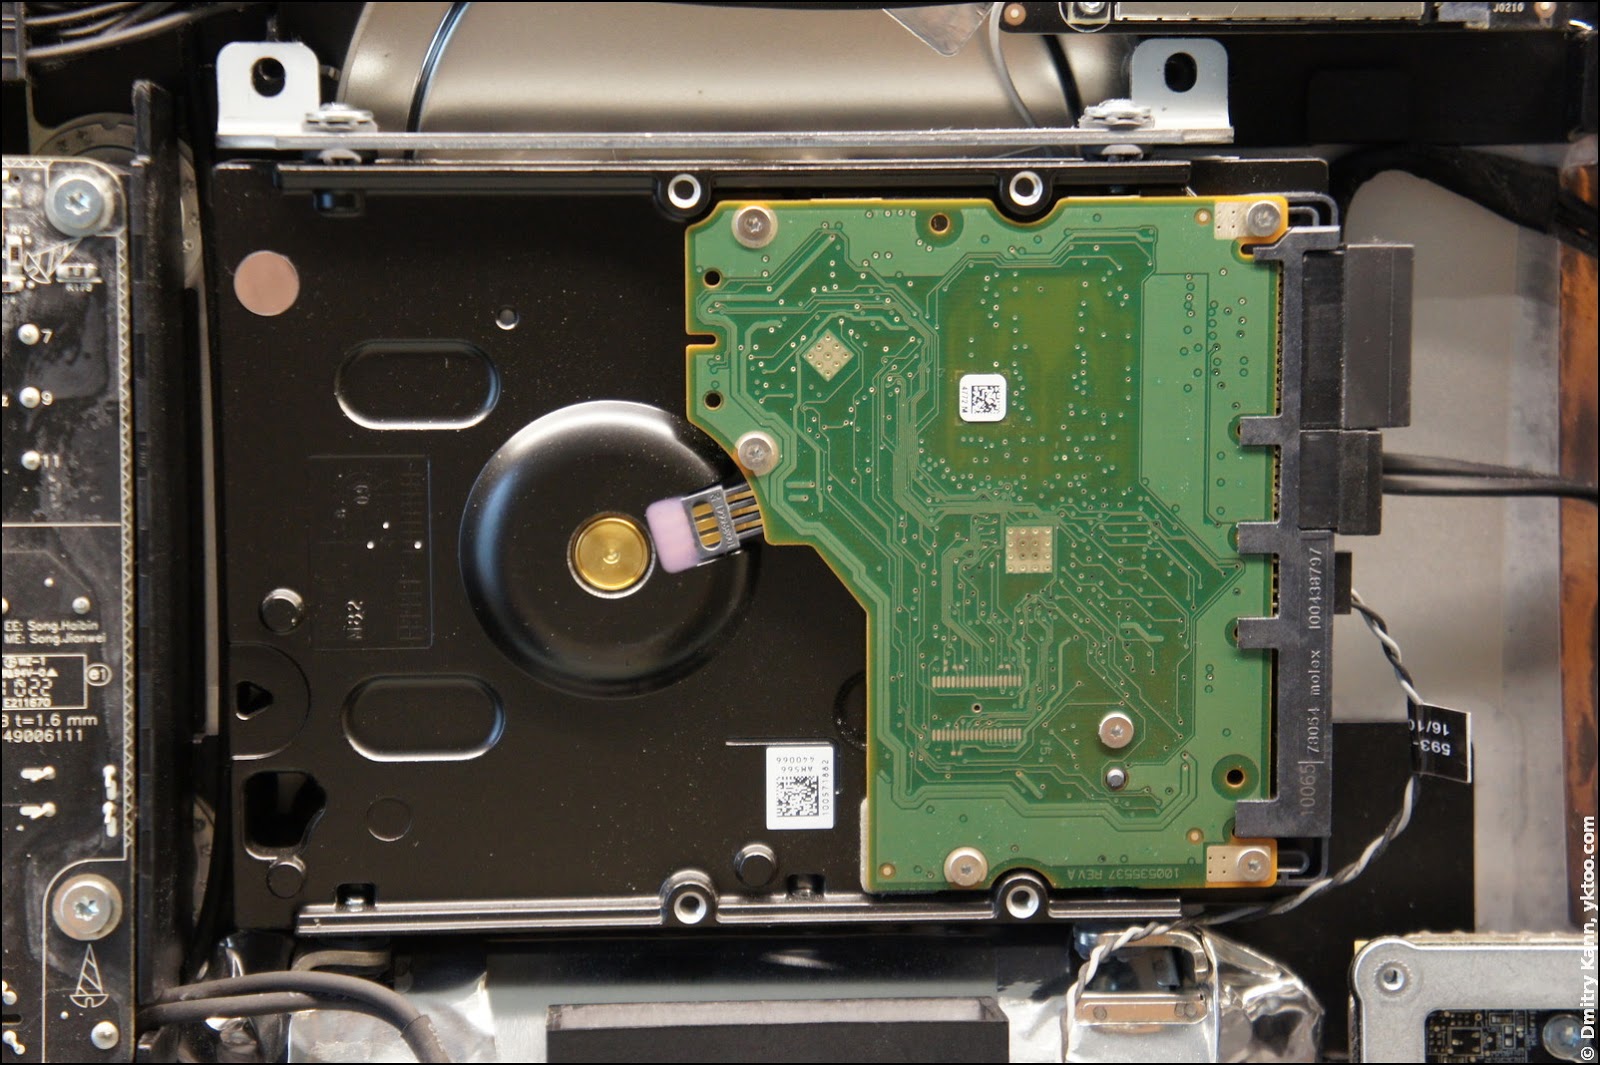
3. Take the HDD out
Unscrew two screws at the top and take the corpse out. Its bottom is fixed by pins, so you can simply pull it up and out. Don’t forget to unplug the data and the power cable, and also the thermal interface (explained below in more detail).
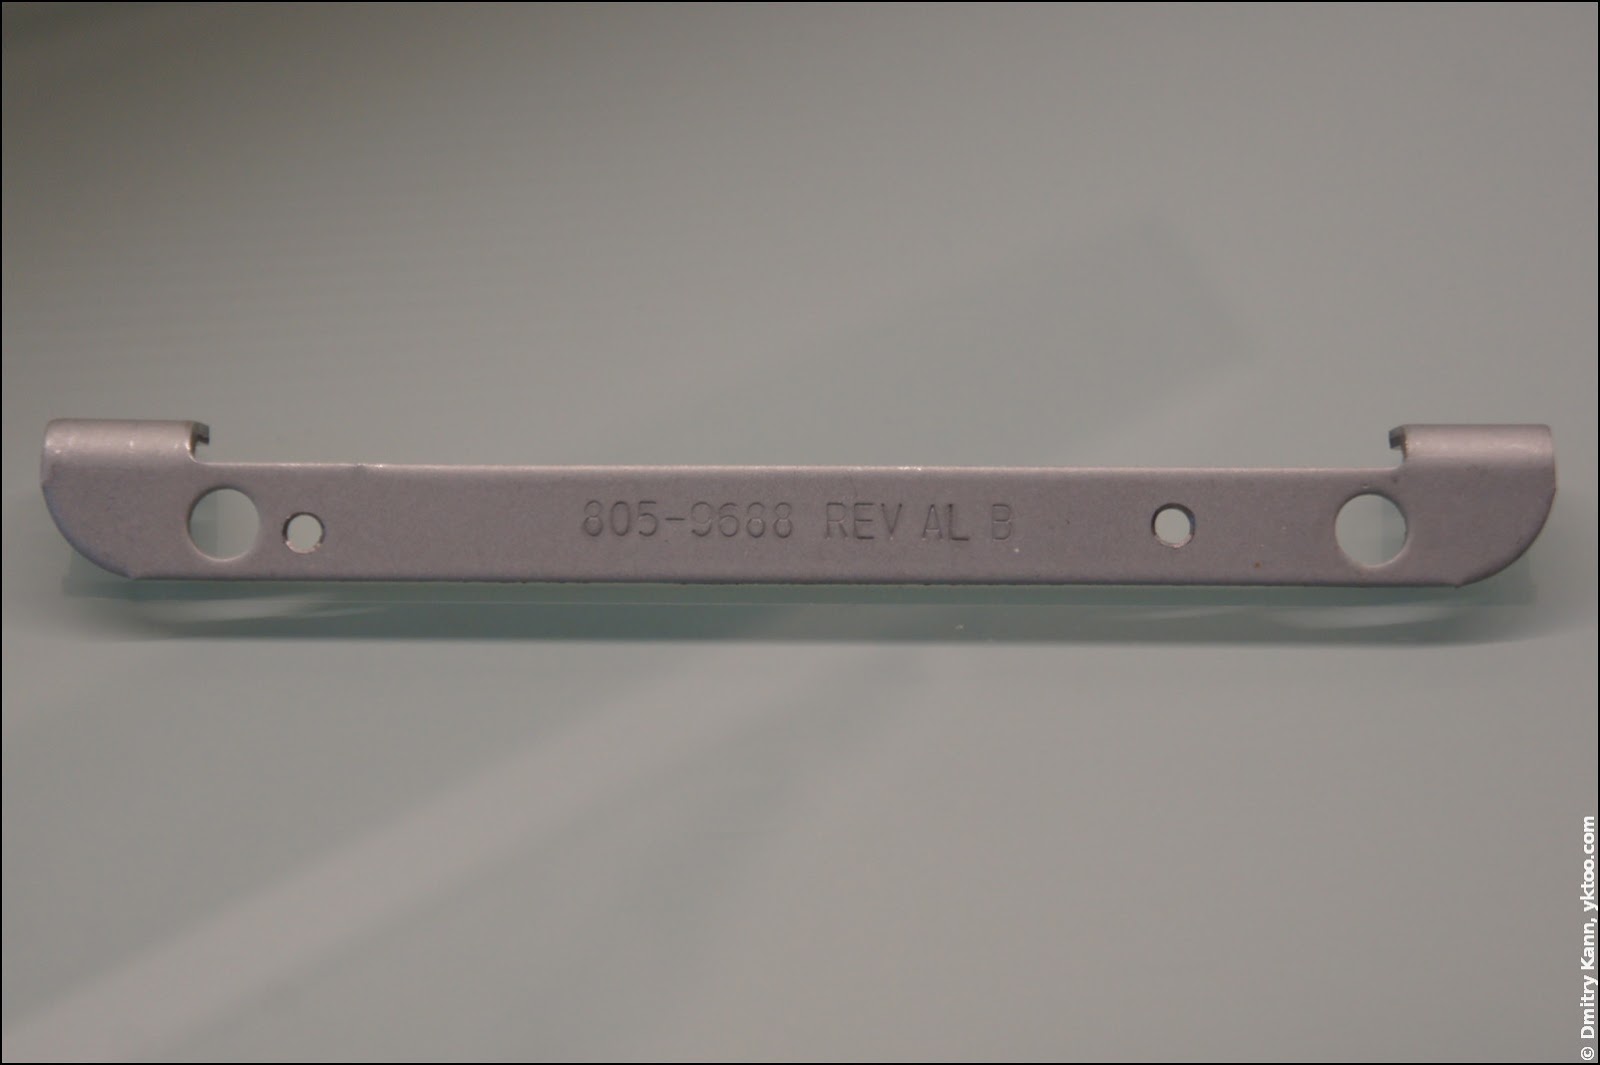
4. Prepare the brace for SSD
Samsung’s SSD is much smaller than the monster that lived there before. However we won’t need any special adapters or mounts. It’s enough to drill two holes ⌀ 3 mm in the original brace:
5. Mount the SSD
Since there’s no moving part in an SSD and the device itself is very lightweight, two screws are more than enought for a reliable mount:

The brace is to be reattached at its original position, then connect the data and the power cables.
6. Sort the temperature sensor
This pretty straightforward surgical operation has an important detail that is actively discussed on web forums.
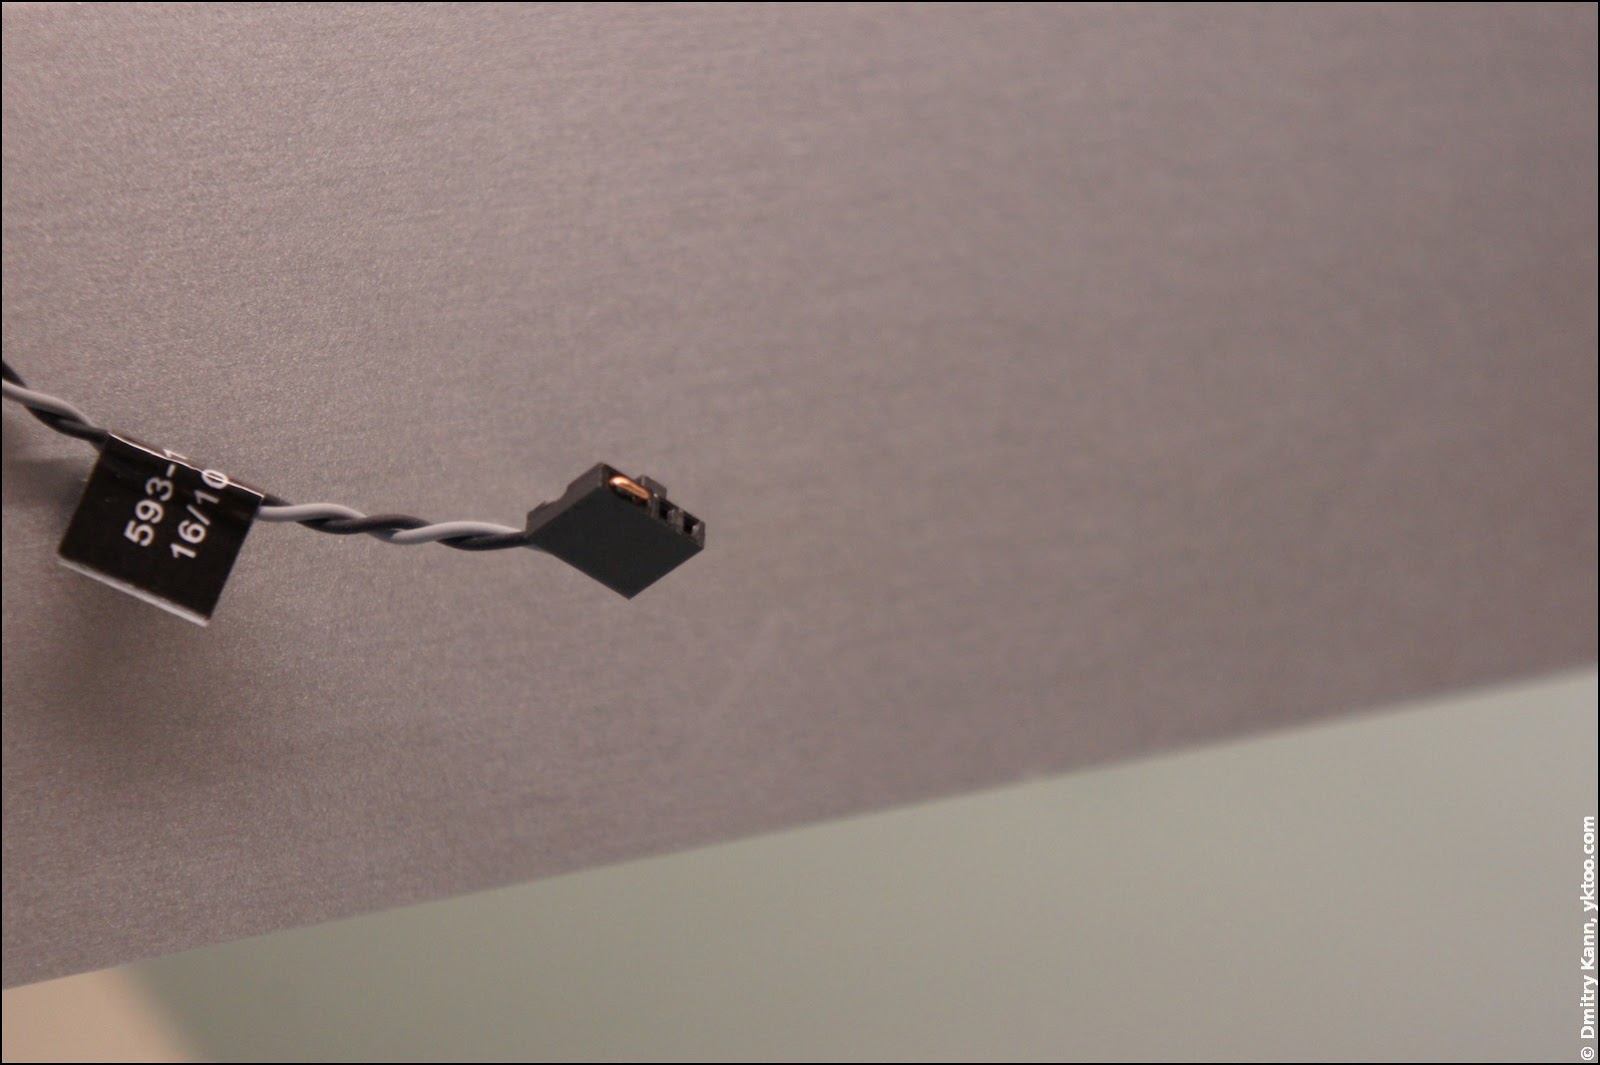
Seagate’s Barracudas are equipped with a temperature sensor, normally connected to the iMac with a separate cable. However most SSDs don’t have anything like that.
If you leave the thermal interface unplugged, the system assumes the drive temperature is maximal, so it drives the cooling fan at the maximum speed. There is a number of workarounds, like a special fan control utility (only for Mac OS) or a replacement circuit that mimics the original sensor.
But I followed another advice, also found somewhere on the net. I’ve just jumped the connector with a piece of wire:
I didn’t see any negative effects of such a blunt solution during the next months of active usage. The fan’s behaving well, so is the system as a whole.
7. Reattach the display module
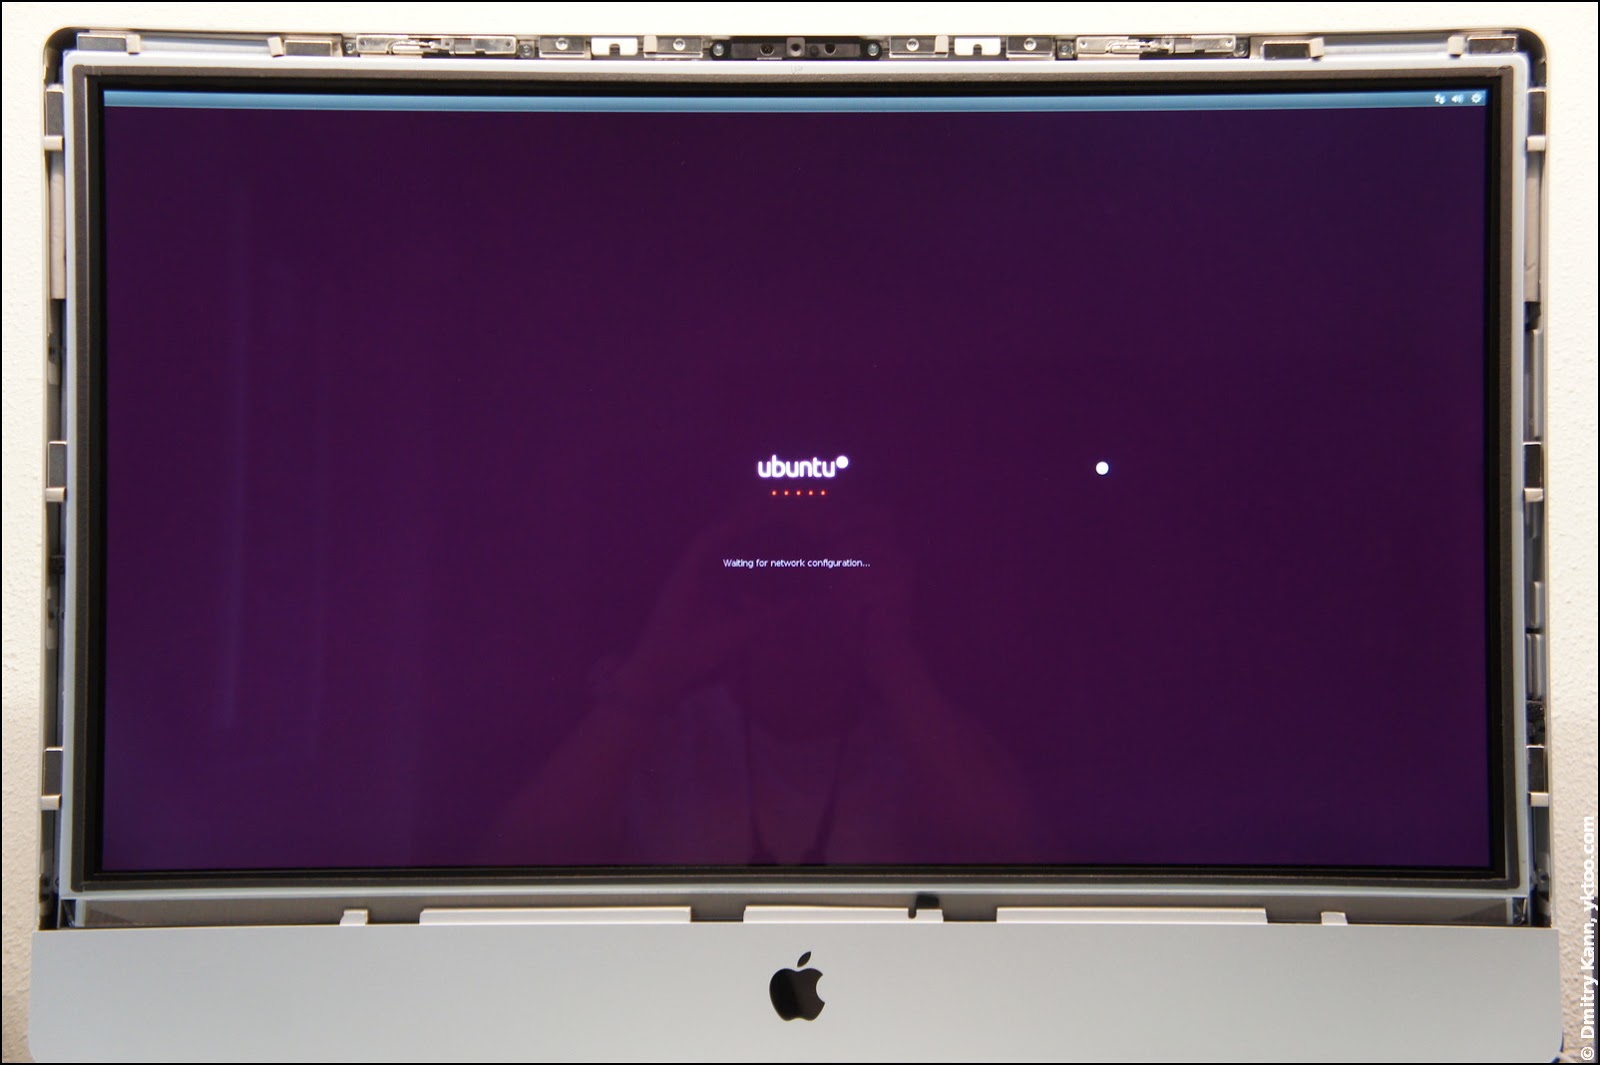
Now retrace your moves of the step #2 by reconnecting the cables and refixing the display with eight screws. If you’ve got everything right, the computer will start up and ask you what to do next.
To conclude
The rest is a usual routine. I had to begin with Mac OS X installation from the original DVD, then repartition the drive and install Ubuntu in a separate partition (installed 14.04 Trusty Tahr without a glitch).
I’m making back-ups regularly, therefore I wasn’t affected that much by HDD failure. Even better, I’ve salvaged the remaining unsaved bits in its last minutes (among which my post about Houten, by the way). After that the drive has never been seen alive—after a few hours of ddrescue, which I ran out of curiosity, I failed to extort a single byte of data.
It’s been now four months, and everything works like a charm. SSD’s performance is absolutely fantastic, so the applications start instantaneously:
$ hdparm -Tt /dev/hda
Timing cached reads:   3794 MB in  2.00 seconds = 1898.71 MB/sec
Timing buffered disk reads: 678 MB in  3.01 seconds = 225.43 MB/sec

$ dd if=tempfile of=/dev/null bs=1M count=1024
349+1 records in
349+1 records out
366772224 bytes (367 MB) copied, 1.31371 s, 279 MB/s
It doesn’t reach the promised 540 MB/s though (because my iMac only has a 3 Gbps SATA III interface), but I’m happy with what it is.
Continue reading: how to tune Ubuntu for an SSD, there are some useful tricks.
Comments