Yesterday’s Friday 13th proved to be a lucky day for me as I became a Certified Kubernetes Application Developer (CKAD).
For those not familiar with Kubernetes (K8s), it’s the most popular and advanced platform for cloud deployments. It’s been initially developed by Google, and is used in nearly every mature cloud these days.
It also runs our once.to URL shortener, by the way.
Kubernetes is an awesome platform: powerful, flexible, and — last but not least — open-source.
But back to the certification: as always, there are nuances, which I’d like to share with you, hopefully they can be of use.
Prices
The Kubernetes for Developers (LFD259) course is provided by the Linux Foundation, whereas the corresponding CKAD certification is executed by the Cloud Native Computing Foundation (CNCF). The latter is also responsible for developing Kubernetes and many related projects.
Both the course and the exam are only available online. The current prices are as follows:
- The Kubernetes for Developers online course — $299
- The Certified Kubernetes Application Developer online exam — $375
You can buy the two as a bundle (which is what I did), getting a $99 discount, with the total price of $575. There are also offers now and then, so be sure to google for a discount code up front.
Kubernetes for Developers course
The course is self-learned and self-paced, given in English. It takes about a full week of evening sessions to complete all presentations and labs. Every chapter ends with a short quiz.
For practical assignments you will need an own Kubernetes cluster with two nodes. In order to acquire that you can either use a cloud provider (AWS or GKE, which may require payment), or set up a couple of virtual machines with VirtualBox — which is what I did.
It’s sensible to choose Ubuntu 18.04 LTS for operating system because it’s the same OS used during the exam. The course contains two set-up scripts for configuring a cluster with a control plane and a worker nodes. These scripts require, among other things, the following:
- The nodes must have at least 2 CPUs (you can configure that in the virtual machine’s settings).
- Both nodes must have swap disabled (comment out the swap partition in
/etc/fstaband reboot the VM).
CKAD simulator
You have one year after the purchase to take the exam. I wanted to gain as much hands-on experience as I could, so I enrolled for the exam at the eleventh hour.
The package includes one free retake should you fail the exam, as well as two simulator sessions.
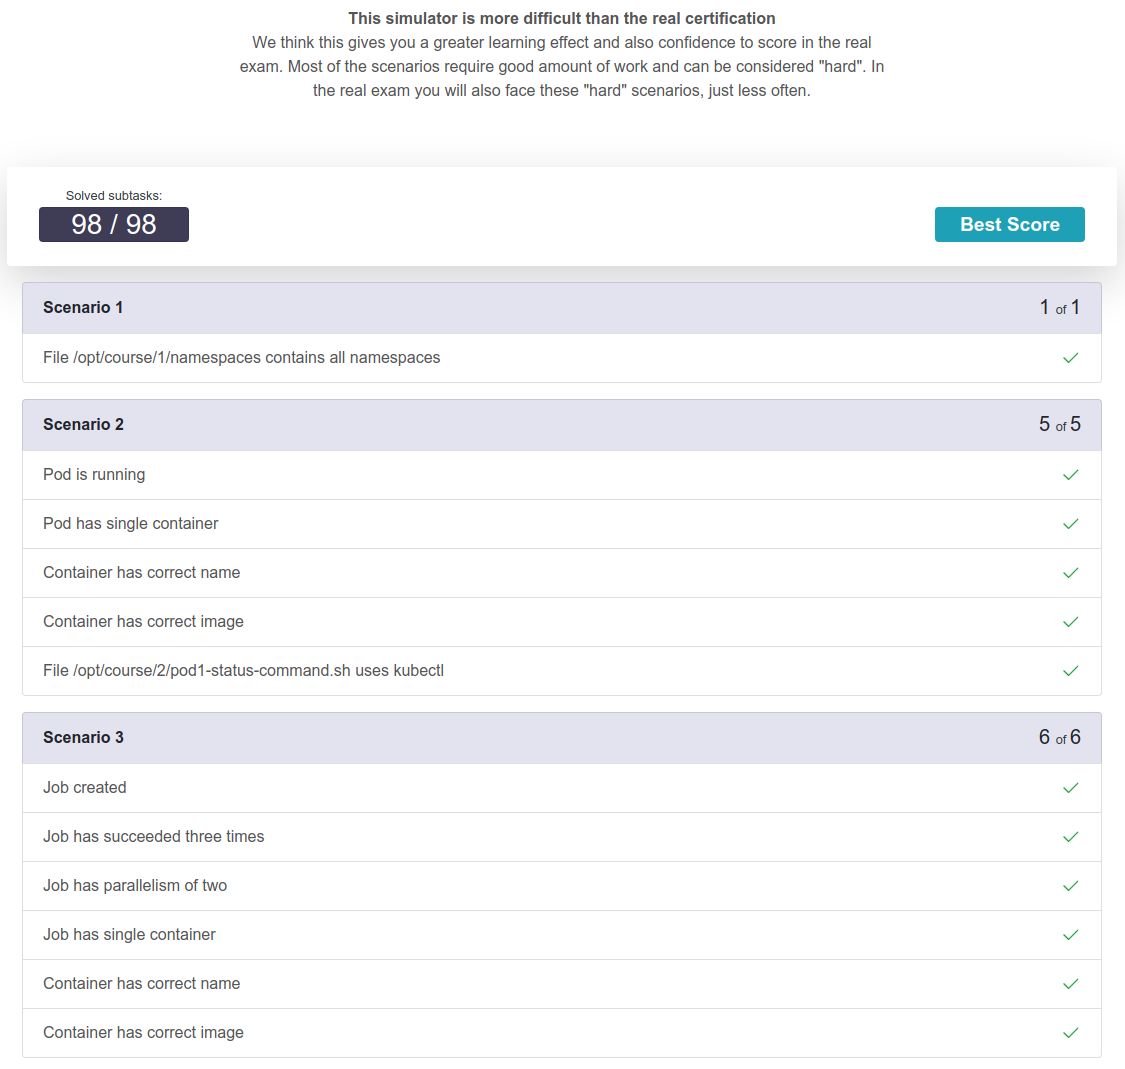
The simulation is run with killer.sh and looks quite good. You’re given a virtual terminal with bash and 36 hours to complete one session, during which you have to solve twenty scenarios. The description claims the “simulator is more difficult than the real certification”, but to be honest that doesn’t really line up with my own experiences.
The simulator can be used twice, with both sessions having the same assignments. The correctness of the results is evaluated by periodic automated checks, which verify pod existence, file content etc.
Since the time wasn’t an issue in the sim session, I tried to be really thorough. It took me two-and-a-half hours to complete the exam with a 100% (98/98) score.
Certification exam
The real exam is subject to a number of strict rules: you must be alone in the room, have nothing on your desk or walls, wear no gadgets etc.
You’re only allowed to run a browser with two tabs: one with the proper exam, and the other with a page under one of the allowed URLs:
The exam is proctored by PSI, which operates independently of CNCF and has no knowledge of the exam’s content.
It all starts with a meticulous checking routine: you present your ID, show the room by moving the webcam, then your desk and even under the desk, stow away your mobile and watch, and even demonstrate your ears to demonstrate you’re not wearing earplugs.
All that is performed in a one-way fashion: you’re being observed, but you have no idea who is there on the other side. Your only incoming communication channel is a chat window.
This whole rite of passage took much longer than I expected, some 35 minutes.
Once you’re through it, the actual exam starts. You get two hours and 15 to 20 questions. I got 19.
As I mentioned above, I didn’t find the real exam any easier than the simulated one, contrary to what they said in the simulator. Next to that, here you’re restricted by a 2-hour deadline, and also need to occasionally switch between different clusters.
Cluster switch commands are clearly provided, and the interface is somewhat similar to killer.sh, but not quite. I was a bit annoyed by the typing lag, amounting to half a second. The terminal’s colour scheme was also a hassle for the lack of contrast.
The two hours available was just enough for me to complete my 19 assignments.
What’s funny, the last one required me to create a CronJob running every minute. I did manage to create it, but the time was up after half a minute, so I couldn’t see it running.
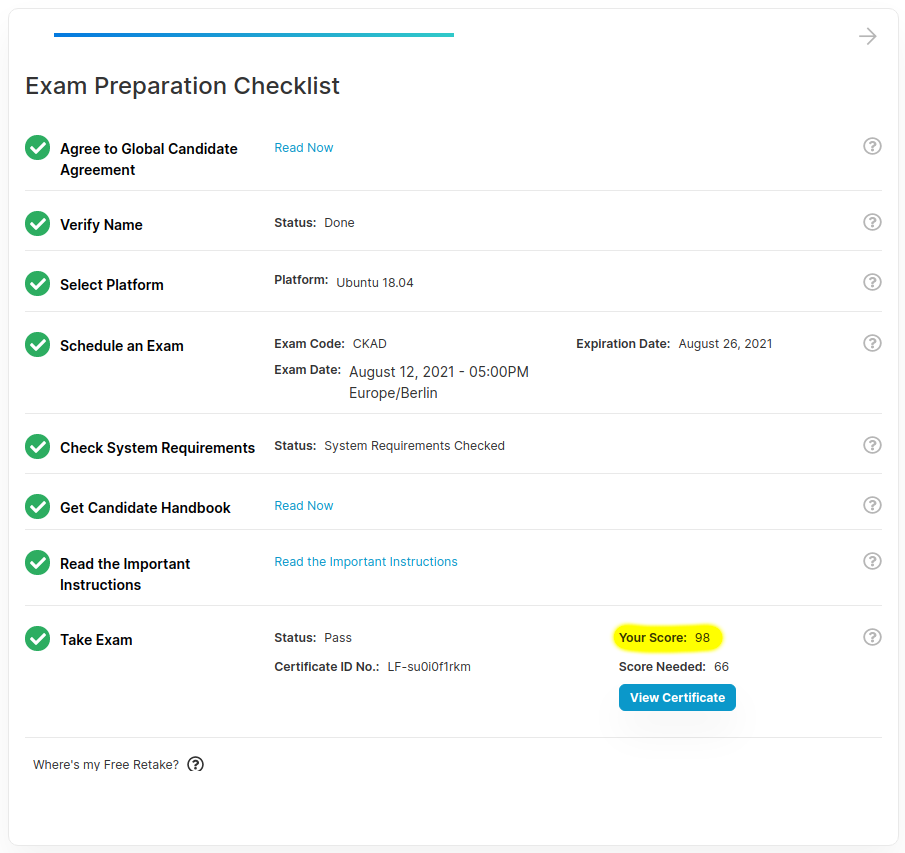
Anyway, I passed the exam with the score of 98 (seemingly out of 100). The passing score was as low as 66:
Tips and tricks
Should you ever want to also become a Certified Kubernetes Application Developer, I have some tips and tricks for you.
Bookmarks
Prepare a menu of bookmarks for concrete code snippets in Kubernetes docs, then put that menu on the Bookmarks bar in your browser such that you can open any of them in two clicks. Here’s how my menu looked like:
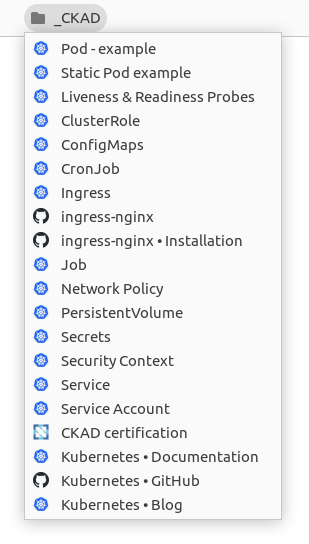
I added all three allowed sources here, but I only needed the docs. Links to GitHub and the blog didn’t prove useful, but your experience may differ, of course.
Terminal setup
Do spend a couple of minutes in the very beginning setting up your terminal: this will save you a lot of time afterwards.
Firstly, you’ll need to do a lot of .yaml editing. The machine will have vim pre-installed, so if you’re going to use that, begin by creating a .vimrc in the home directory, with the following content:
set ts=2 sts=2 sw=2 et nu hls
This will set the indents to 2 spaces and enable line numbers and search result highlighting.
Secondly, you’ll have to use the kubectl all the time. I saw a recommendation to alias that to k, but the author seemed to forget you’d lose all the auto-completion capabilities if you do only that.
In order to enable shell completion also for the k alias, append the following lines to your .bashrc:
alias k=kubectl
source <(kubectl completion bash)
complete -o default -F __start_kubectl k
You’re not allowed to use any files or notes during the exam, so you’ll need to memorize the above.
The last line, though, can be easily derived by running kubectl completion bash | tail and selecting the corresponding line up to the letter k:
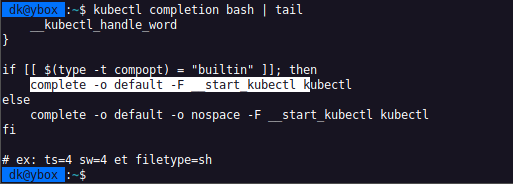
kubectl completion statement for k.Do not forget to apply the changes to the current session afterwards by running:
source .bashrc
Stay calm
People tend to get dumb under pressure. Hence, try to stay calm and confident during the exam, and you’ll make it.
Result
The outcome of the exam becomes known 24 hours after it’s finished. You’ll be mailed a PDF certificate and a link to your Credly badge. A while later you’ll also see your exam score.
The certification stays officially valid for three years.
On that note I wish you good luck and a bunch of nice certificates! ■
Comments