When a geek gets bored, he usually dives into home automation. And when there’s nothing more left to automate, he blogs about it.
When leaving my house I usually check the weather forecast for today and if there are any train disruptions. The thing is, it takes precious time and I’m usually in a hurry. Therefore the idea of having all the useful information on a single display was in the air for quite a while. Recently I’ve finally got to implement it. Please meet InfoPi.
InfoPi?
InfoPi is essentially a display connected to a minuscule single-board computer Raspberry Pi. The computer runs a tiny web server and the Chrome browser in the kiosk mode. The display is mounted behind a mirror (which hangs next to the front door), and here’s how it all looks like:
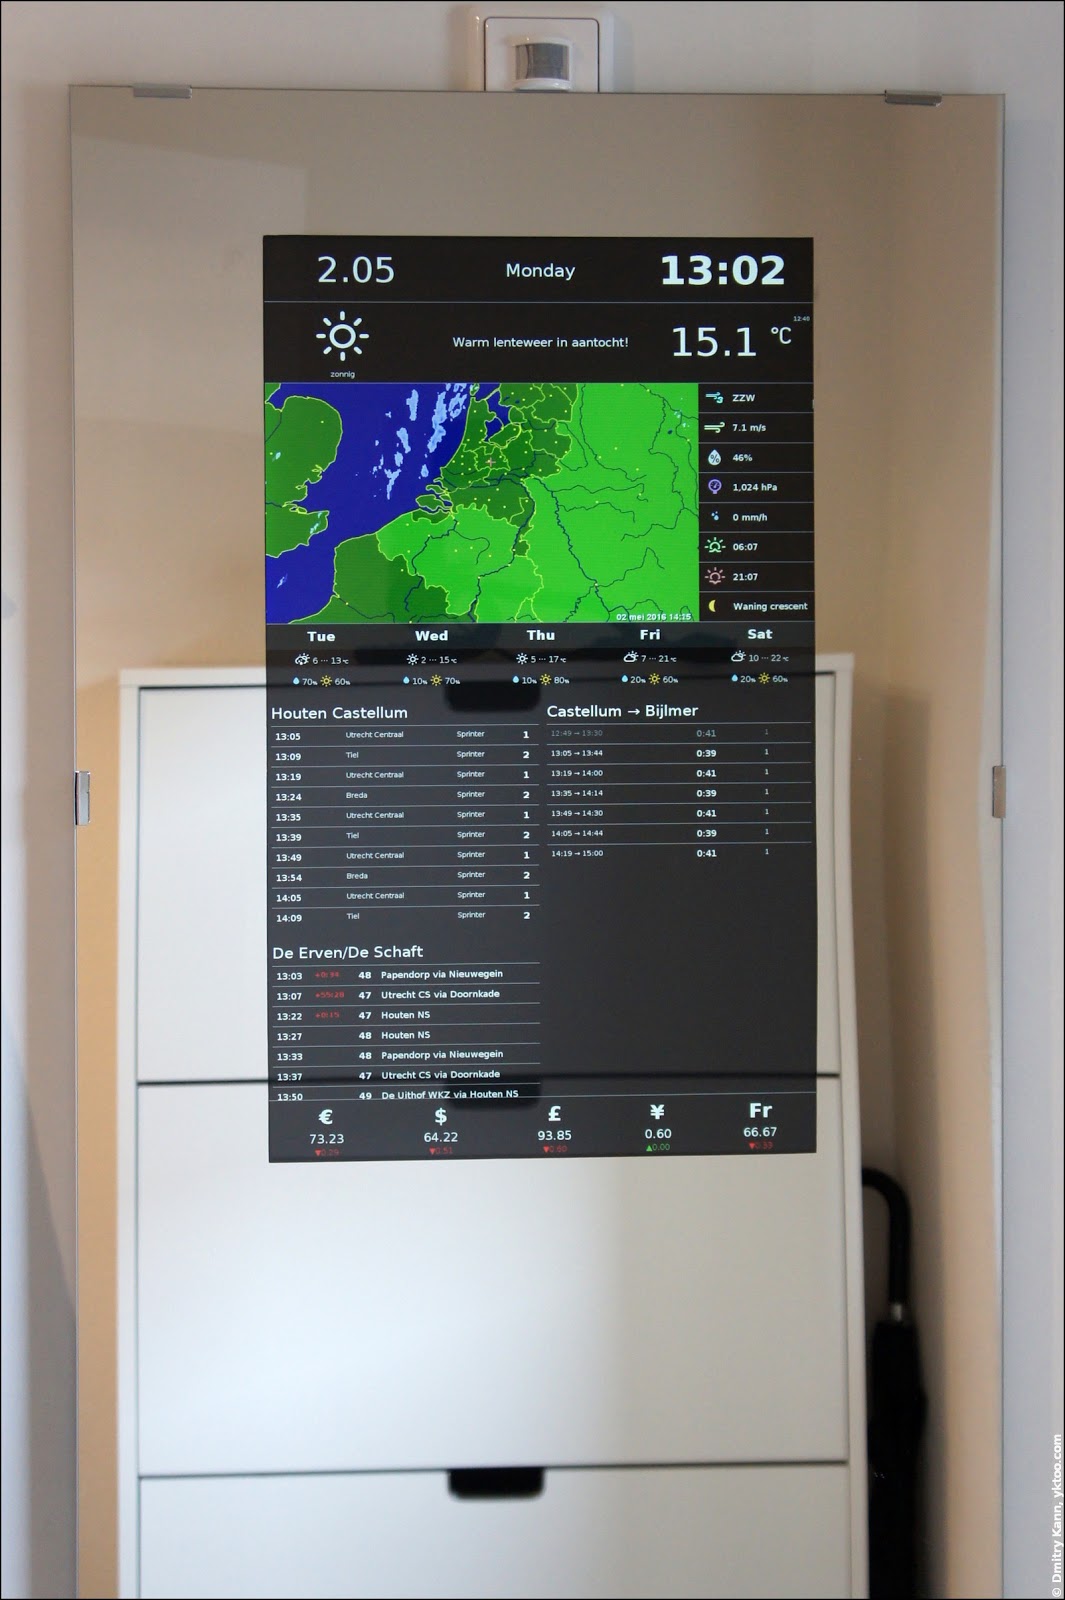
On the photo above you can also spot a motion sensor (tucked behind the mirror). It allows for the screen to only turn on once someone gets interested in it, thus avoiding wasting the energy.
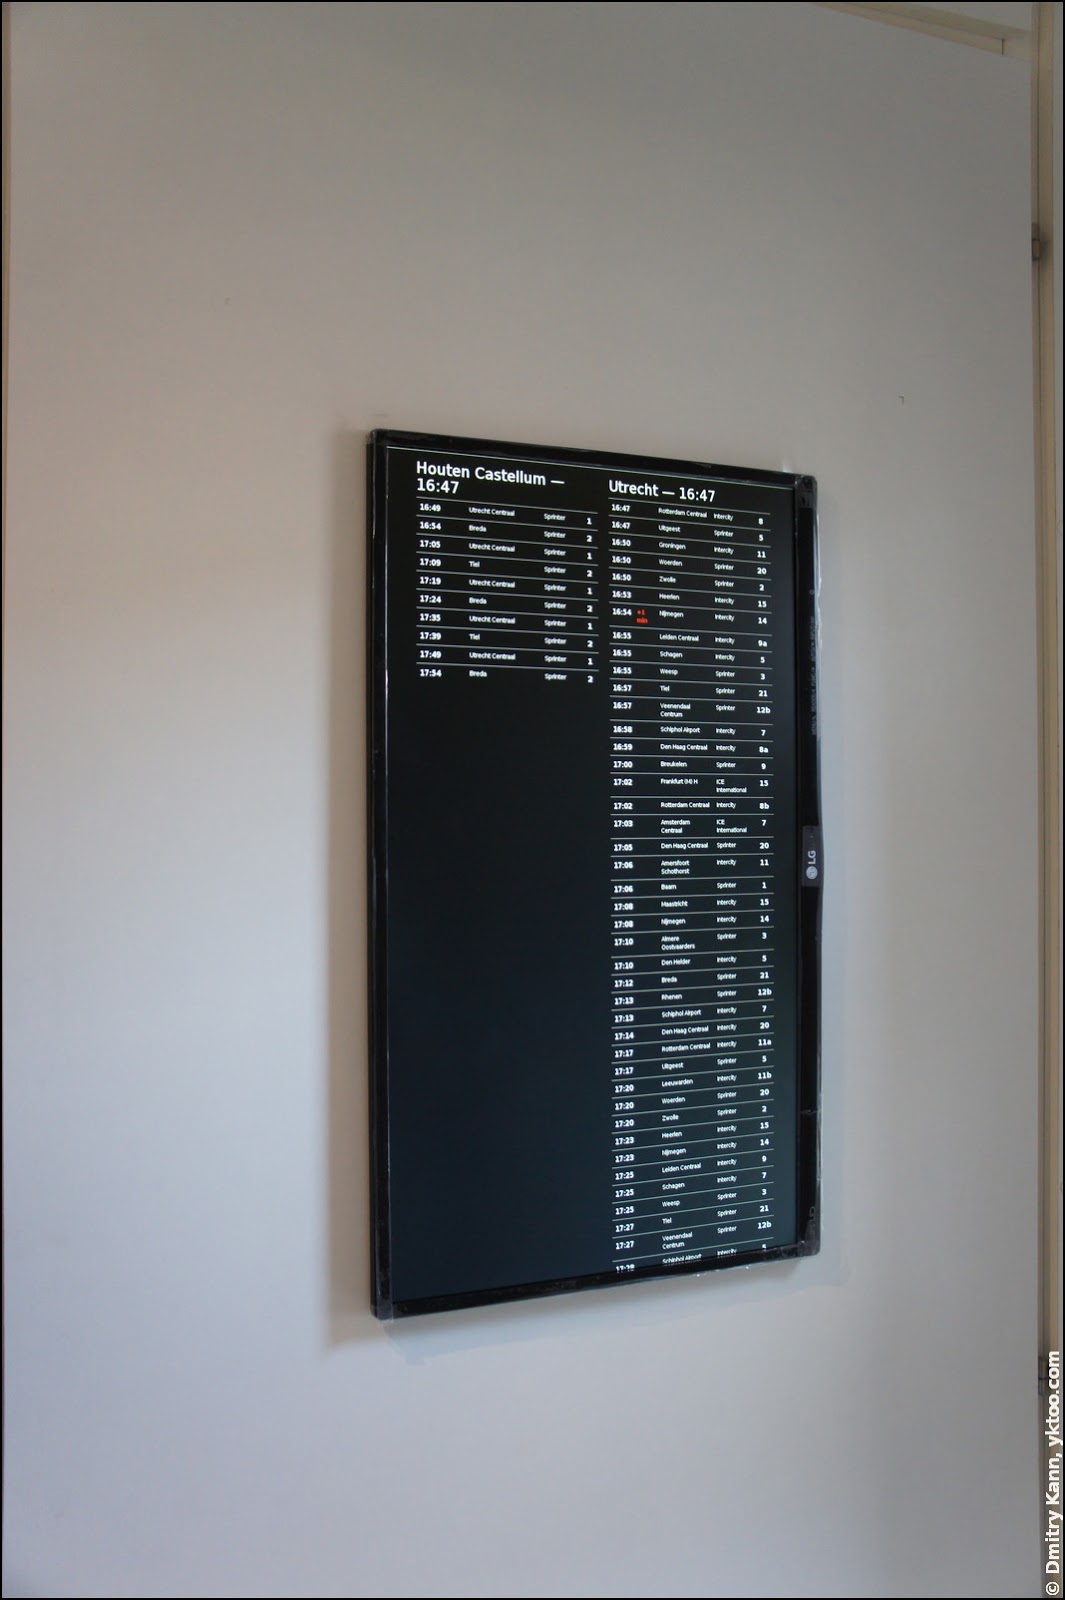
This is the display in close-up:
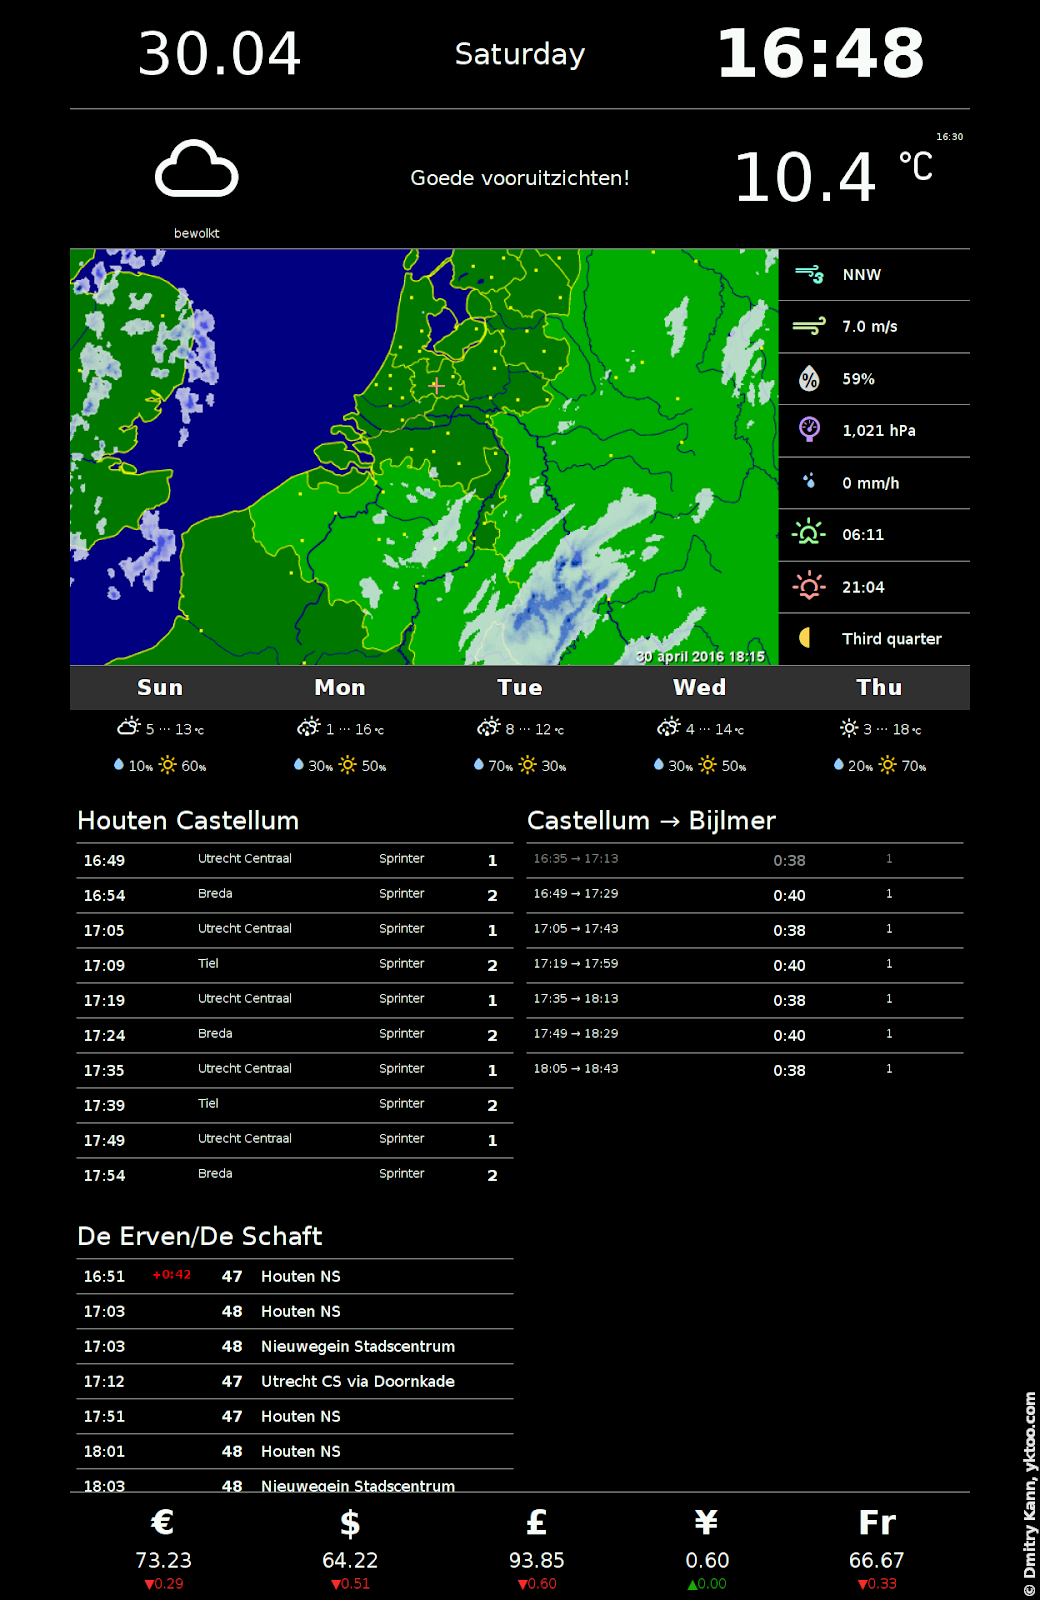
The current implementation displays the following pieces of information (left to right, top to bottom):
- Current date, day of the week, time
- Icon and description of the current weather conditions, air temperature
- Rain map (“shower radar”), wind speed, relative humidity, air pressure, amount of rain, sunrise and sunset times, moon phase
- Weather forecast for the next five days
- Train departure times for Houten Castellum (that’s where we happen to live), train routes to my work (via Utrecht)
- Bus departure times for the nearest bus stop
- Currency exchange rates relative to Russian ruble
All these bits are automatically updated with regular intervals ranging from 10 seconds (time) to 1 hour (exchange rates).
Below are the nitty-gritty details.
Hardware
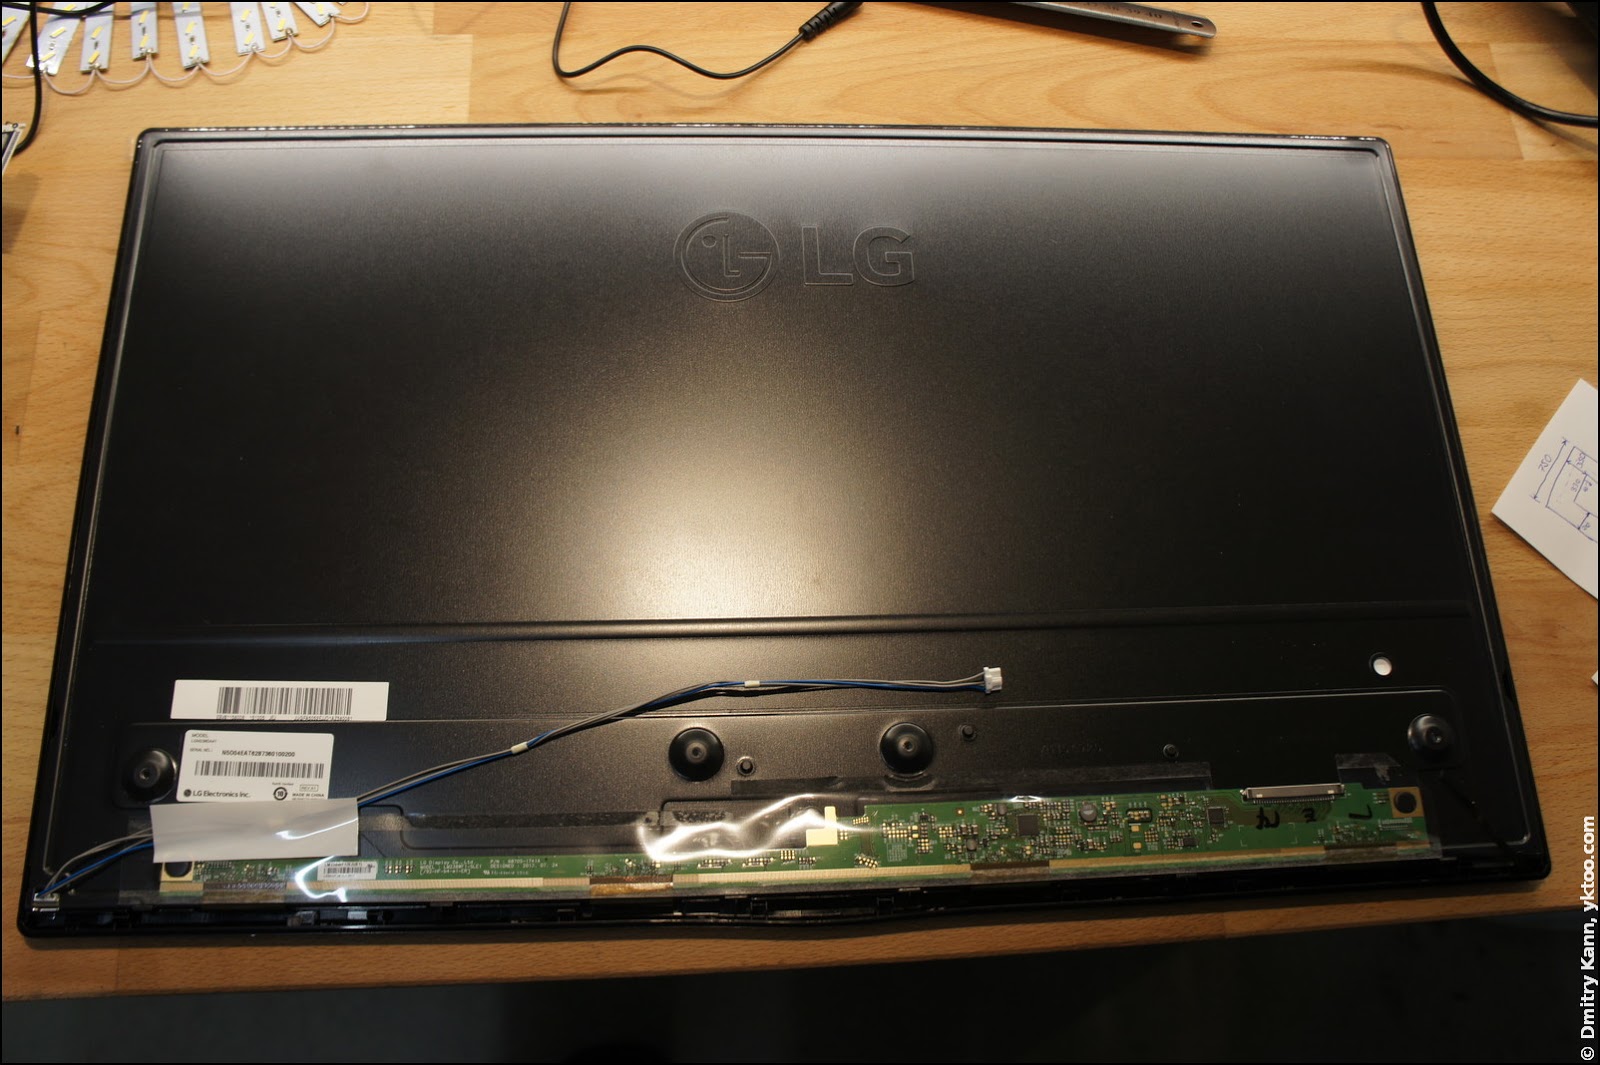
A while ago I bought a thin 24 inch LED display LG 24MP47 (IPS panel with 1920×1080 resolution). Without the control unit and its cover the panel itself is only a centimetre thick. Apart from being thin, it also had to have an HDMI input, because it would be plugged into a Raspberry Pi.
Here’s the display with the cover and the control unit taken off:
And this is the cover:
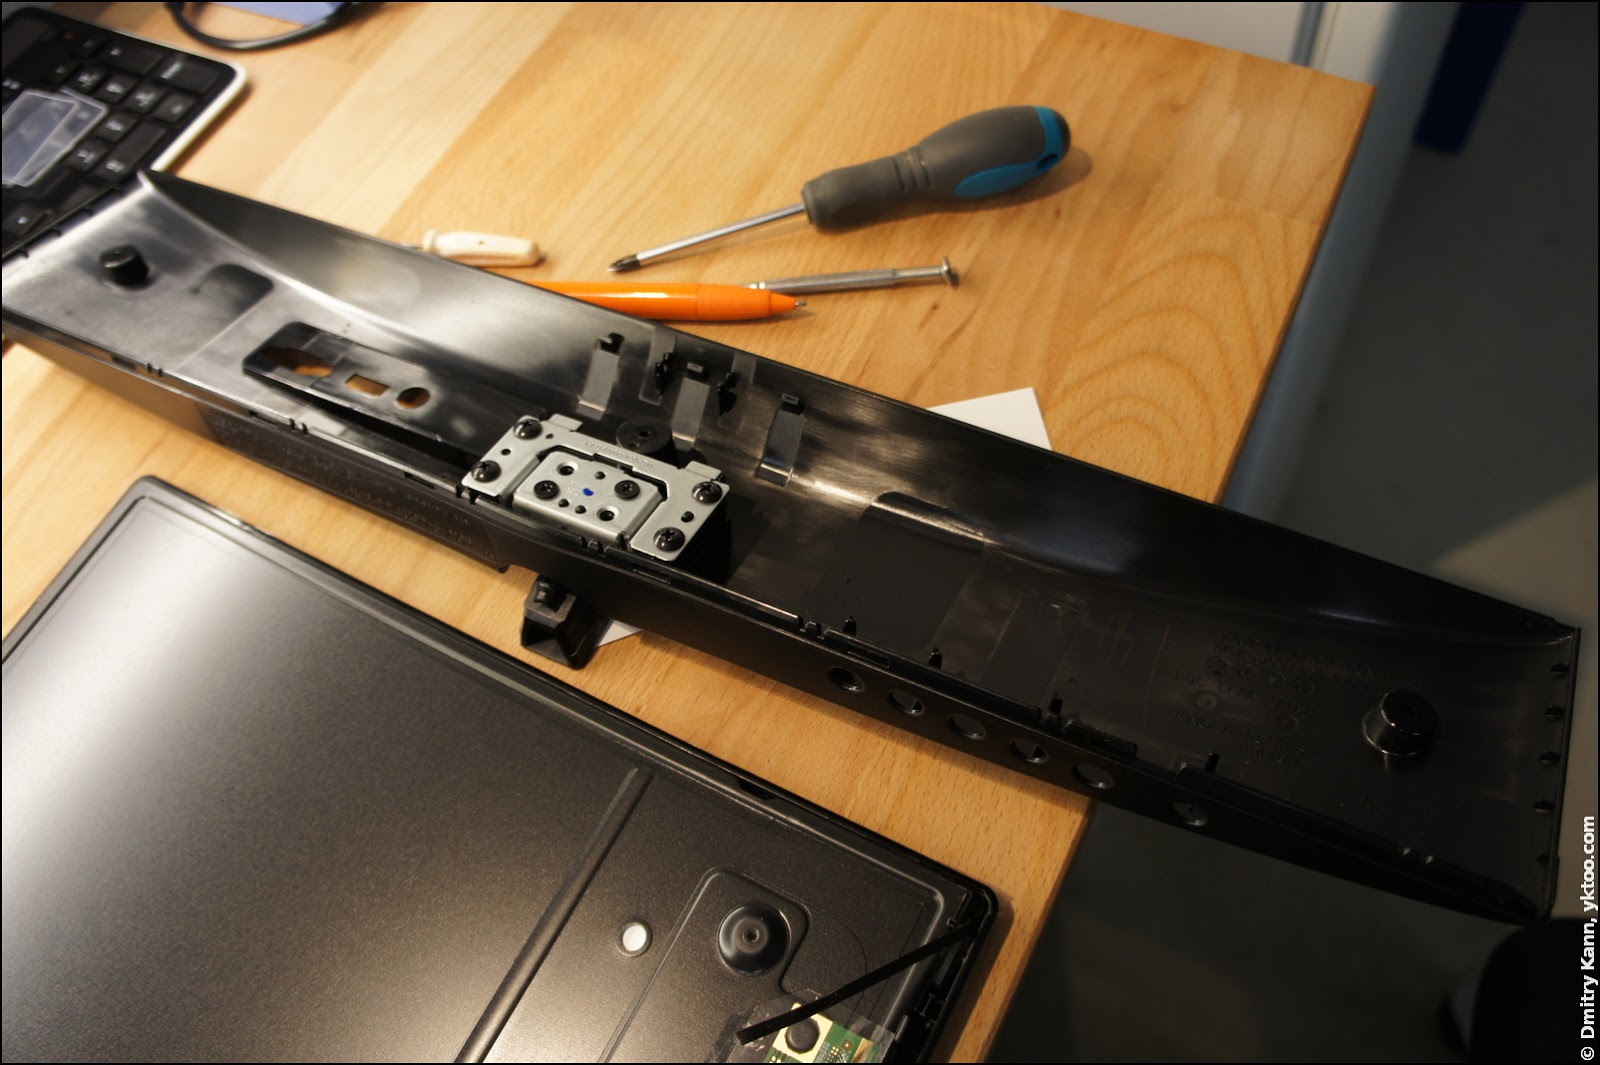
The control board, which carries the DC socket, an HDMI input etc., is connected to the panel controller via a flat cable of about four centimetres width.
The mirror (dimensions 50×140 cm) is hanging on the meter cupboard’s (meterkast) door made of wafer-board. My intention was to mount the LED panel on the front side of the door (behind the mirror) and the control unit on the inner side, and lead the flat connection cable through an appropriately sized slit in the door.
So let’s start off with a pristine meterkast door:
Drill a few holes for panel mount screws and cut a cable slit:
Then, armed with patience, fix the panel on the door and connect it to the cable, while trying really hard to not accidentally ruin the whole thing:
The original mount brace is to be fixed on the inner side of the door, after which the control unit can be also put in place:
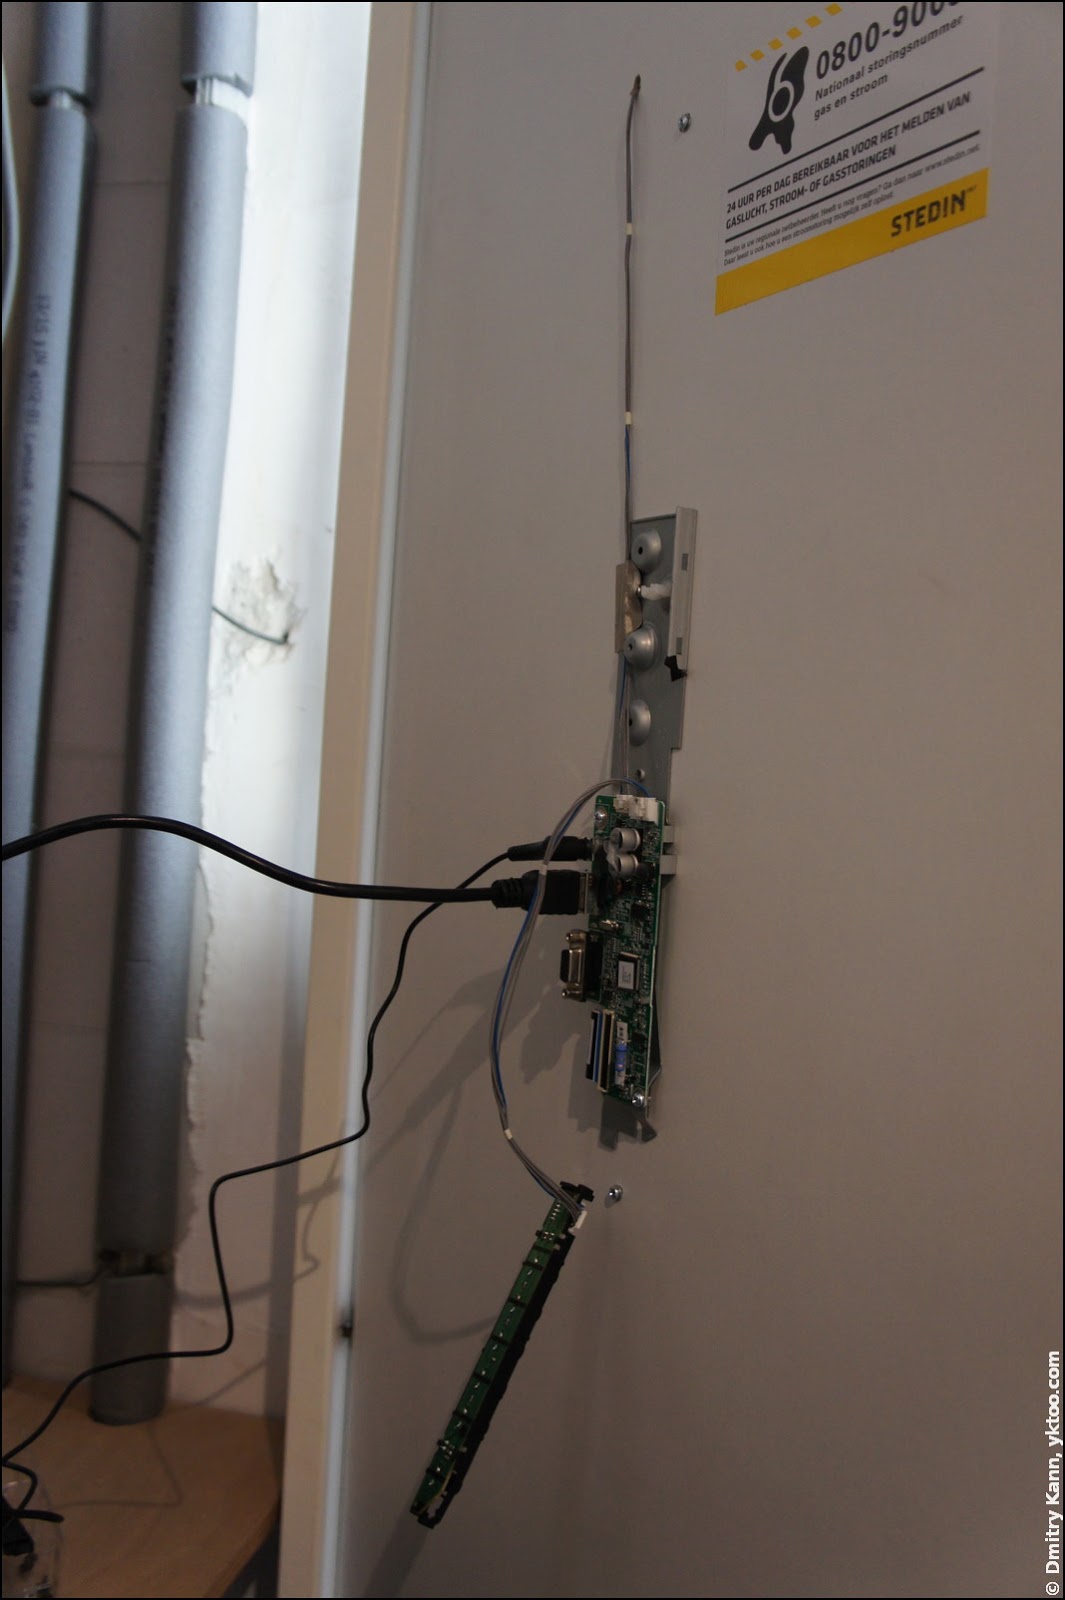
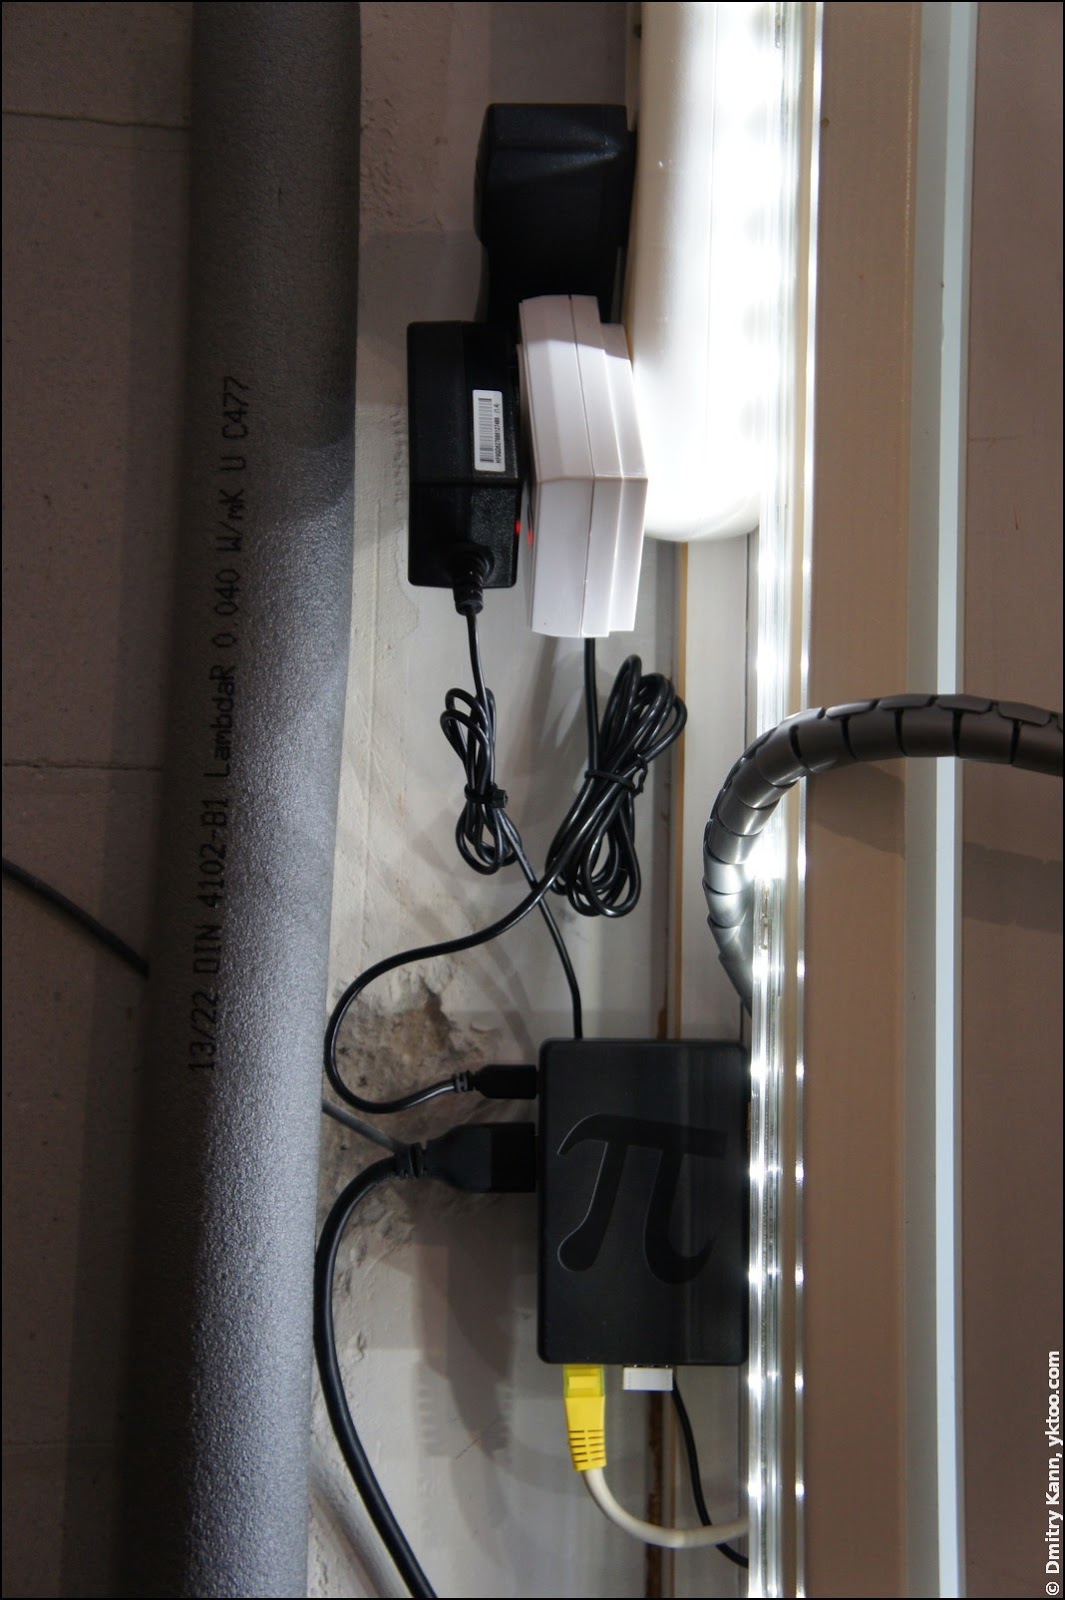
Finally the original cover is replaced and the cables are arranged nicely, making it all look almost professional:

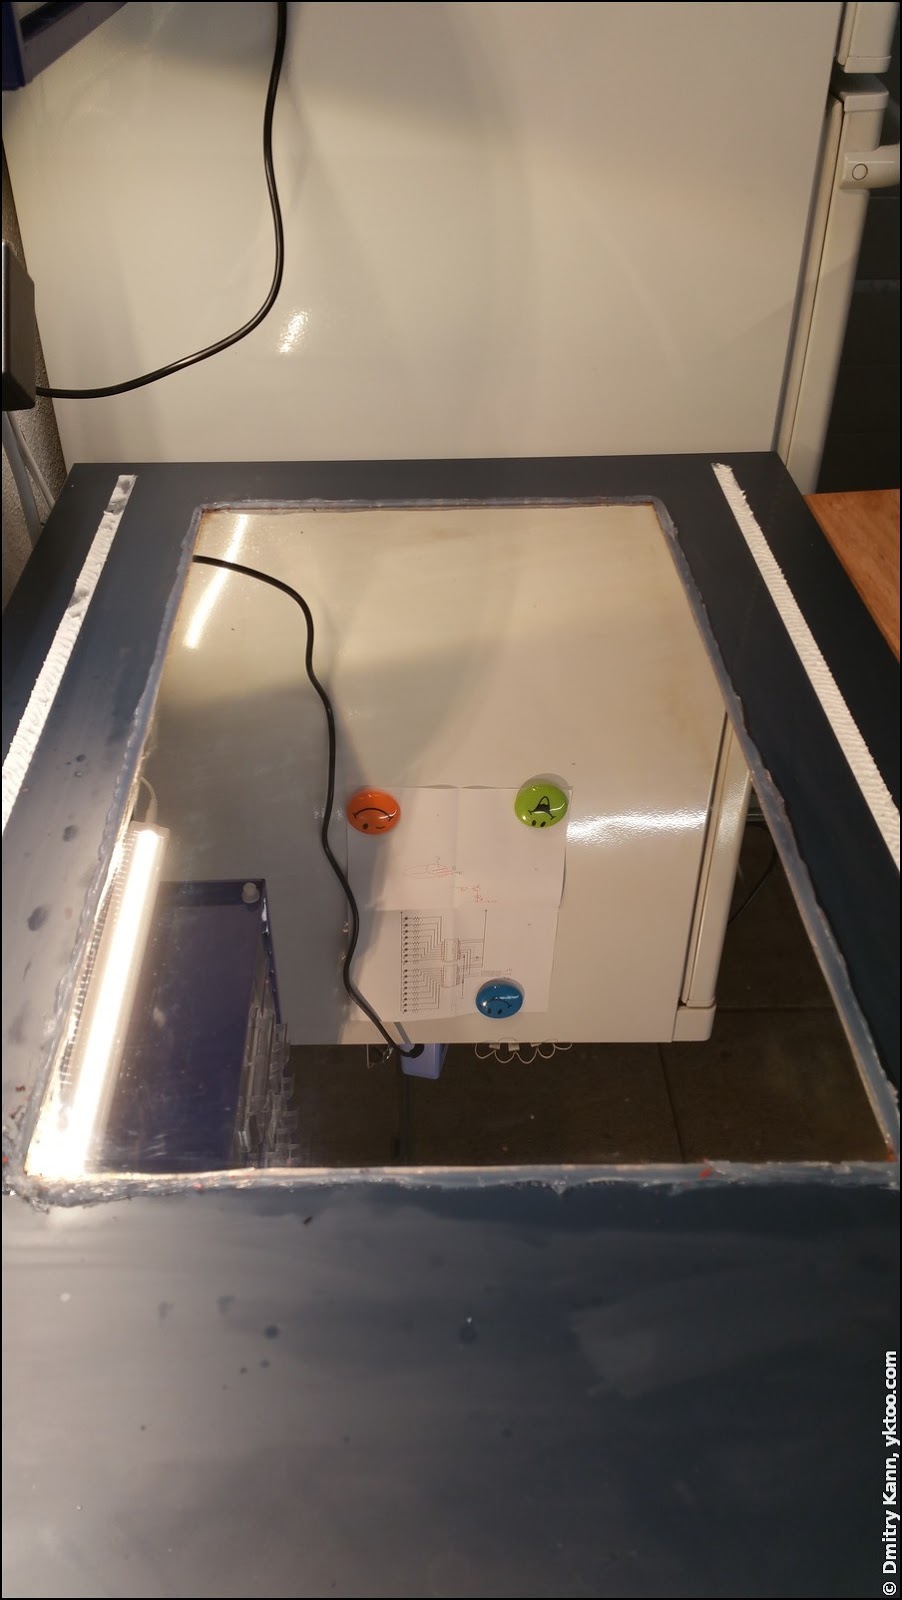
The Raspberry Pi is mounted inside the cupboard and connected to DC power (Micro USB), display (HDMI) and network (Ethernet). The monitor’s DC adapter is plugged via a wireless receiver controlled by the motion sensor mentioned above:
Mirrorware
Actually, InfoPi was meant to look differently. I wanted the mirror’s surface to be entirely reflective and the display to shine through it, like here.
In order to make it possible one needs to use a one-way mirror glass, like in those security windows you can see in supermarkets. But I’ve decided to do it the hard way by making one myself. In simple terms, what it takes is removing a few protective layers from the back of the mirror while keeping the last, reflective, one intact.
After a good deal of surfing the web and reading how-tos, I set off on a quite long journey.
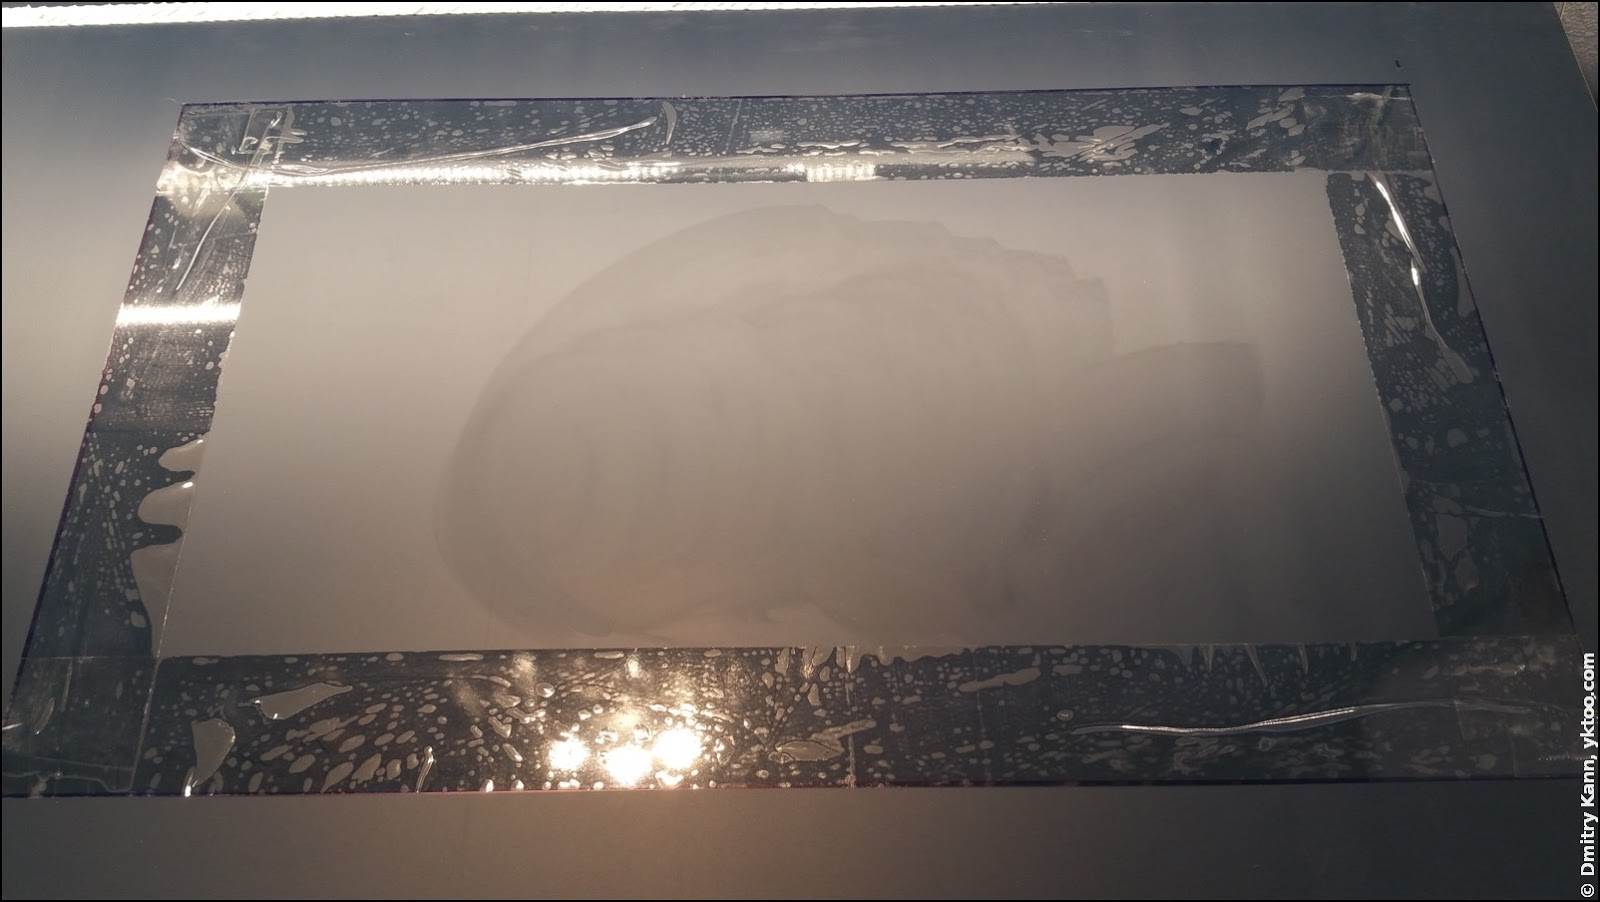
Any mirror has at least two protective layers, one of regular paint and one of copper paint. Both of them can be removed using acetone, but it’s a very slow process that takes at least a few days. Therefore I’ve decided to make a curb of silicone rubber so that it forms a kind of tray, and pour acetone into that tray.
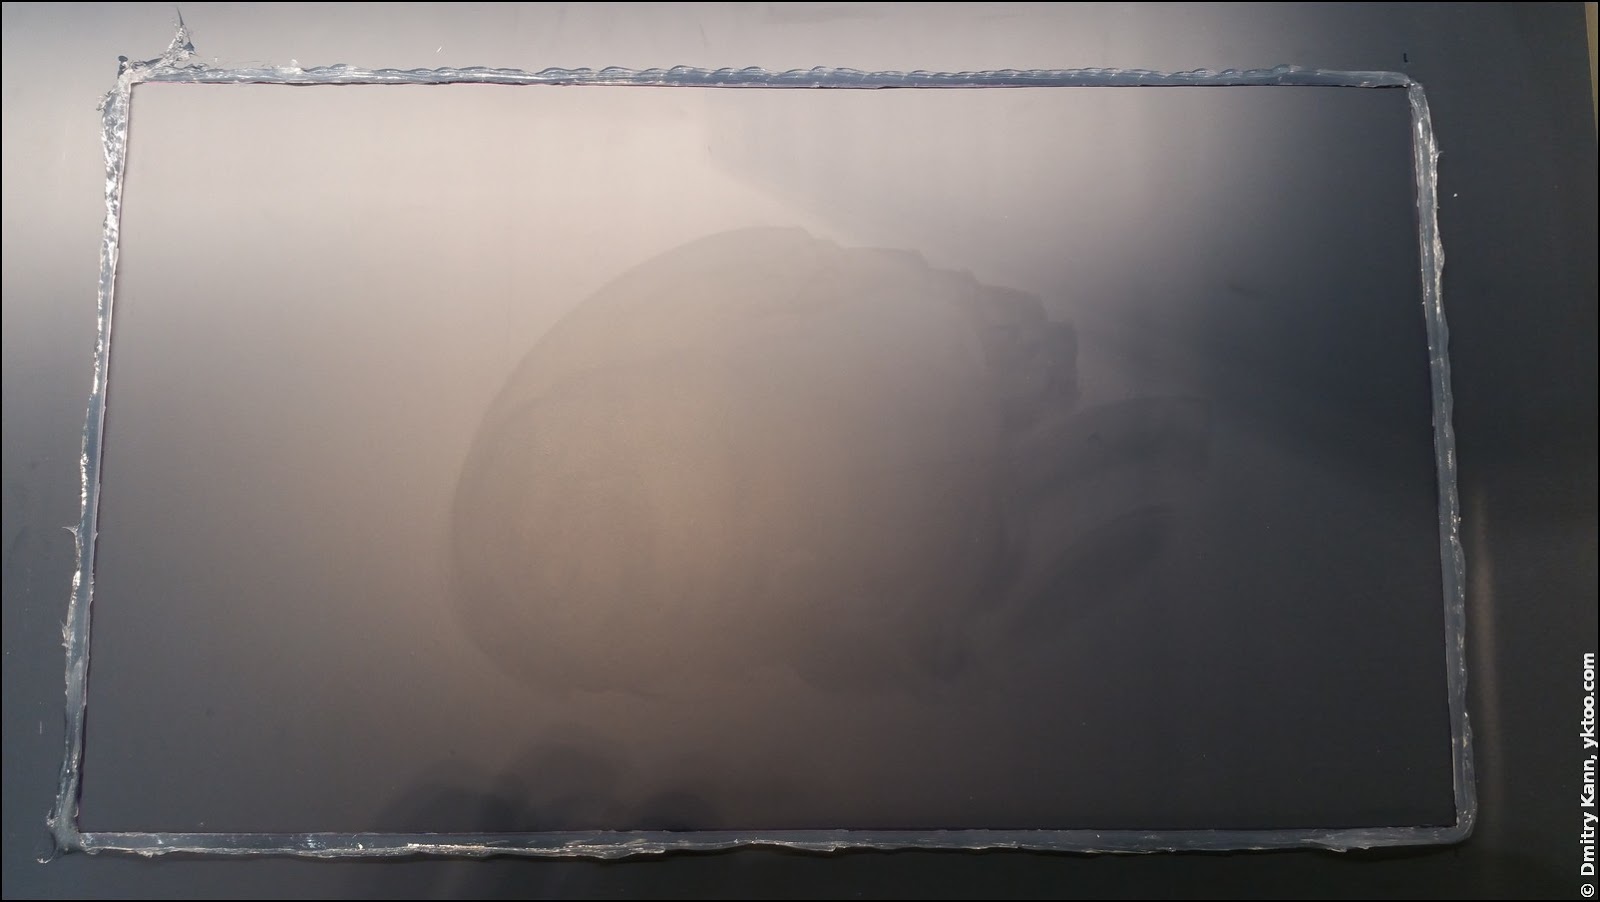
Step no. 1: draw a rectangle with the same dimensions as the display’s screen.
Step no. 2: put a layer of regular sticky tape along the inside of the rectangle to make peeling off of the silicone somewhat easier.
Step no. 3: carefully put the silicone exactly over the rectangle borders, trying to keep the same thickness.
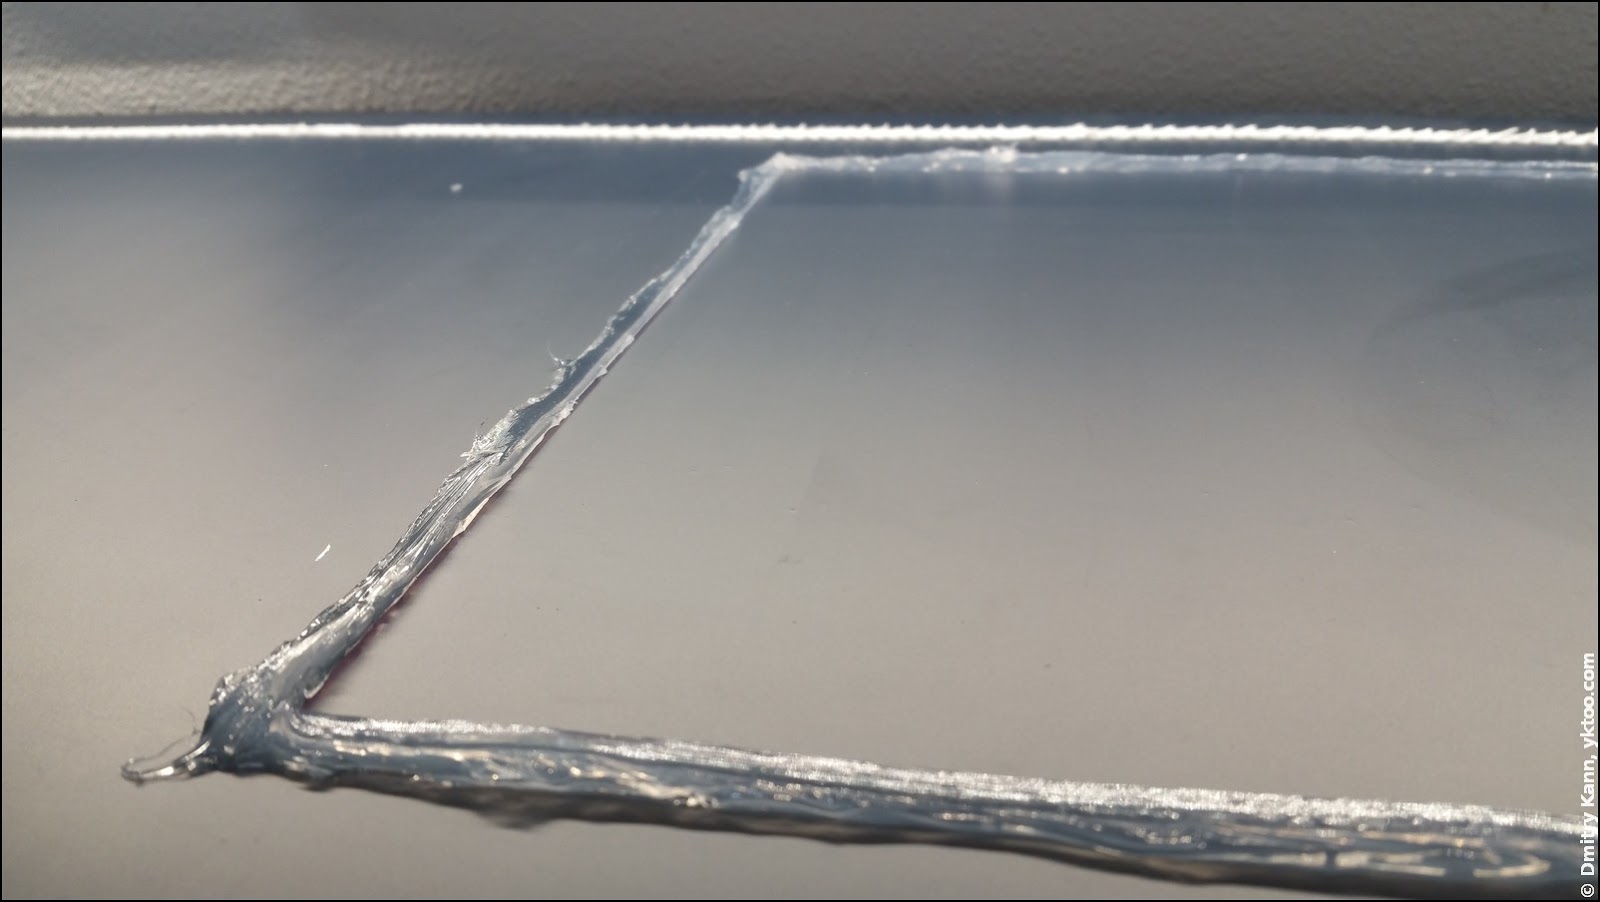
Step no. 4: let the silicone cure a few hours, carefully cut it along the rectangle border and remove the inner side together with the sticky tape:
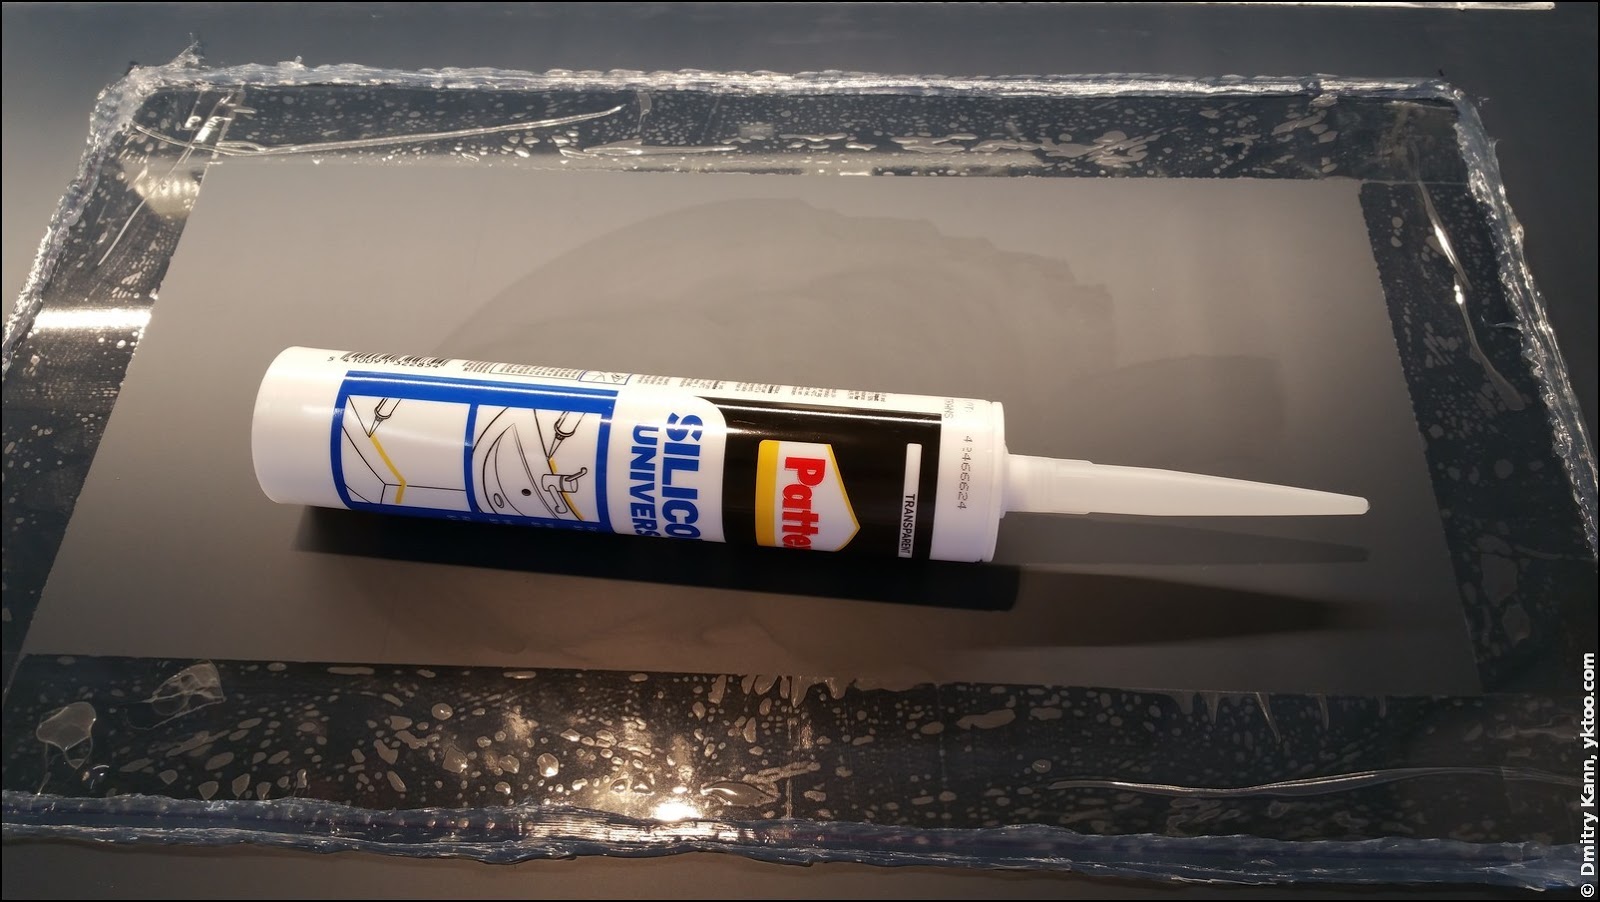
Step no. 5: very carefully pour acetone into the tray we’ve made:
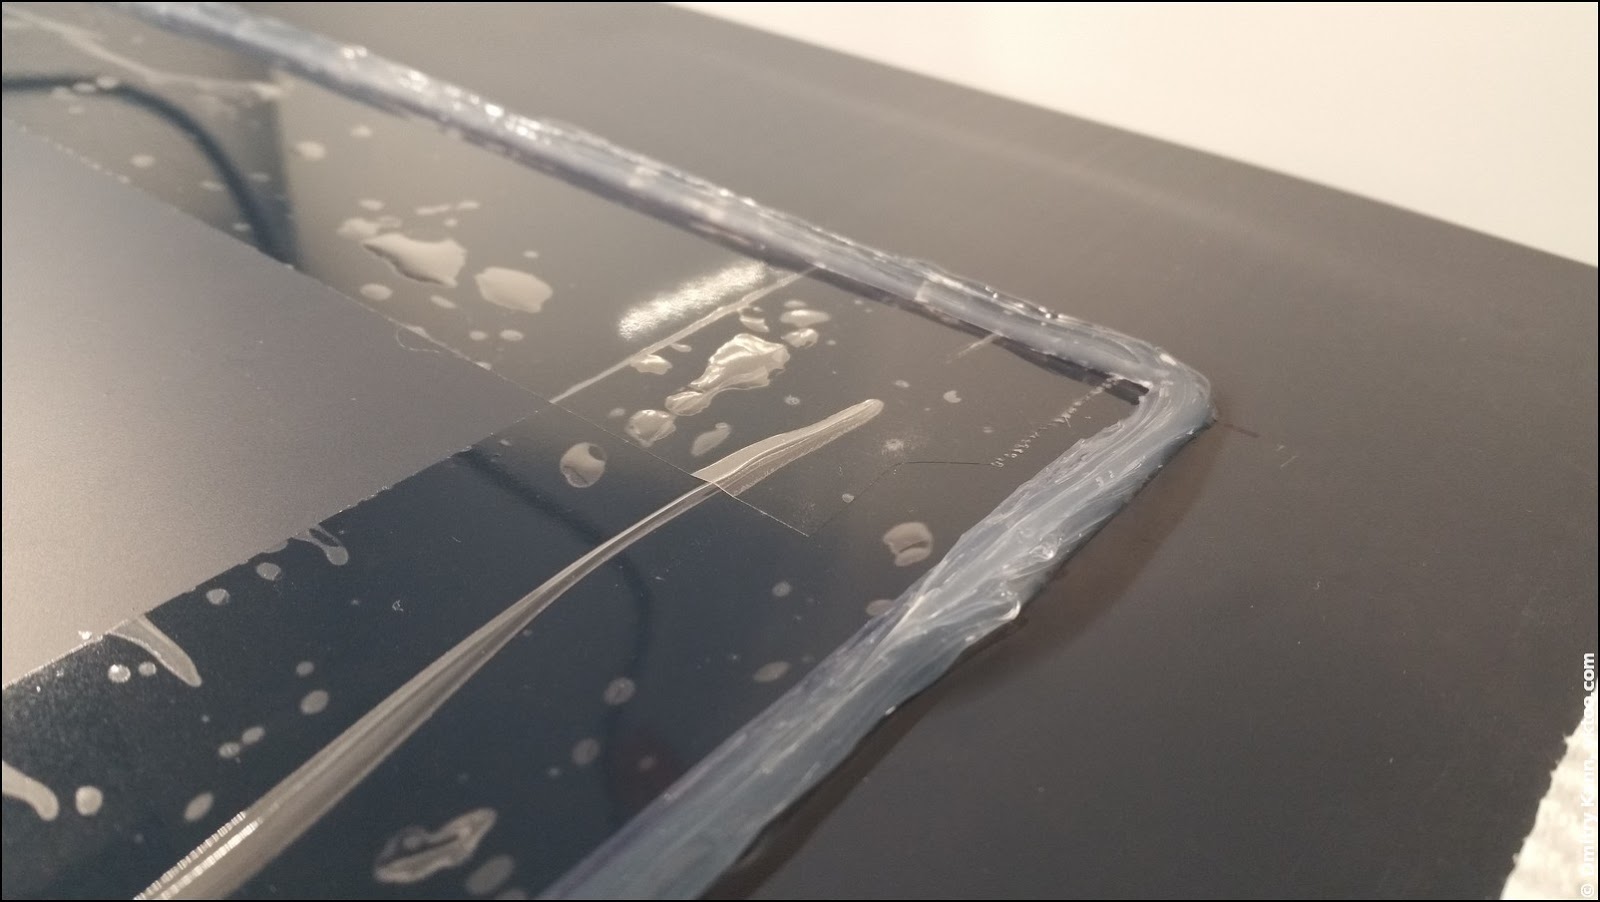
Blimey, it’s leaking! But it’s okay.
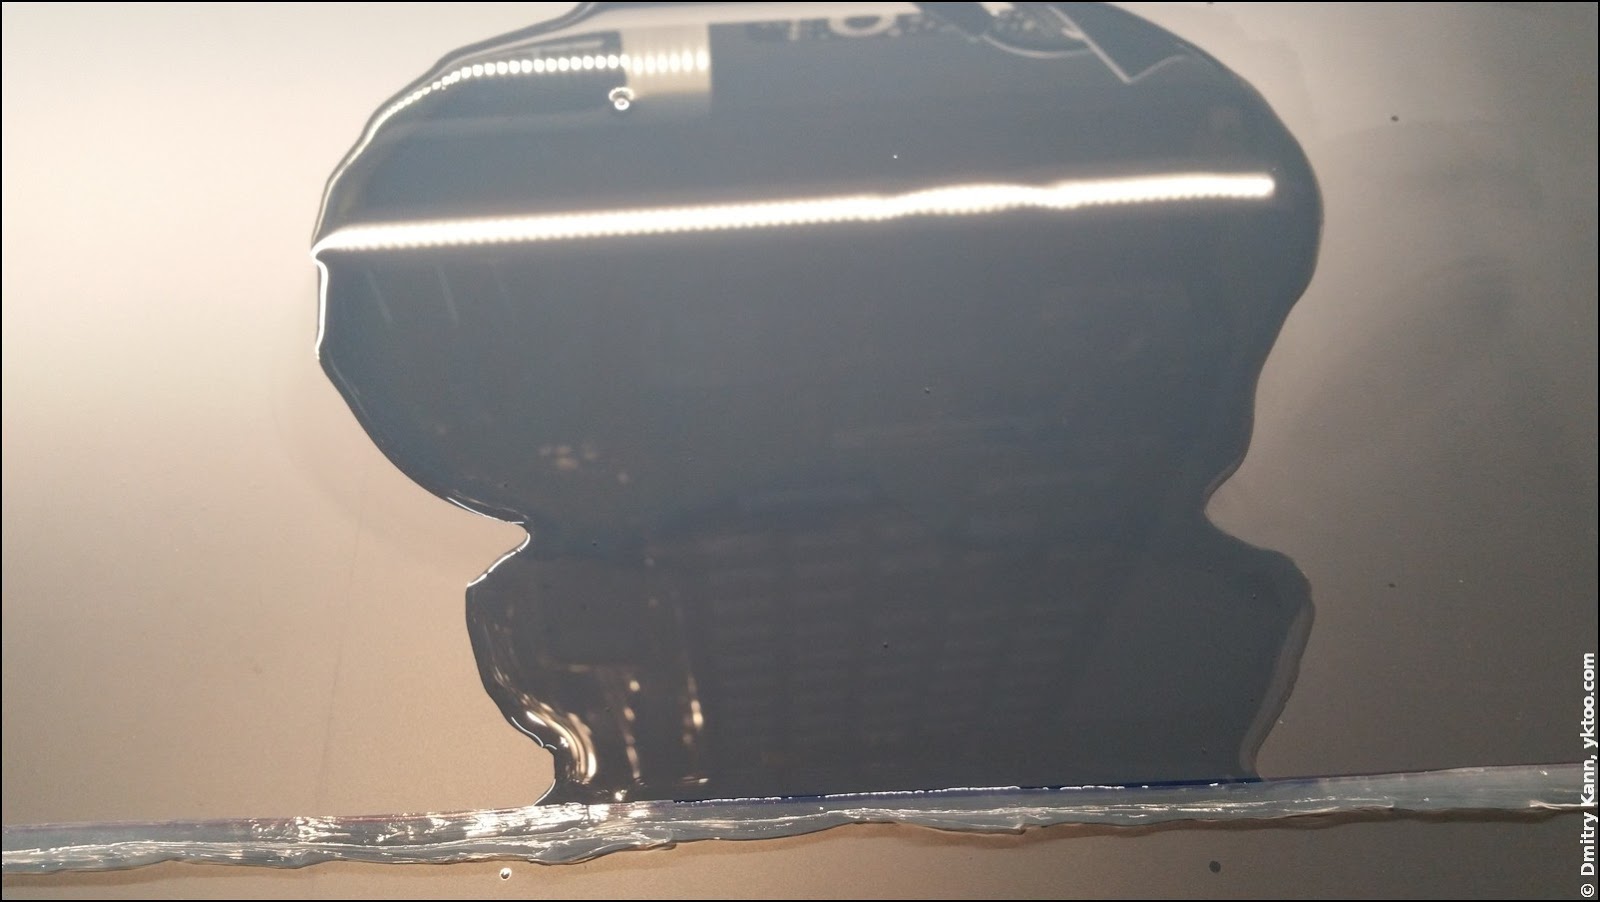
Step no. 6: be patient for the next few days, periodically stirring and refilling the acetone. It’s also be a good idea to cover the tray to prevent vapourising. After about a week the paint loosens and can be carefully scraped off with a PVC scraped. Which reveals the copper paint, as expected:
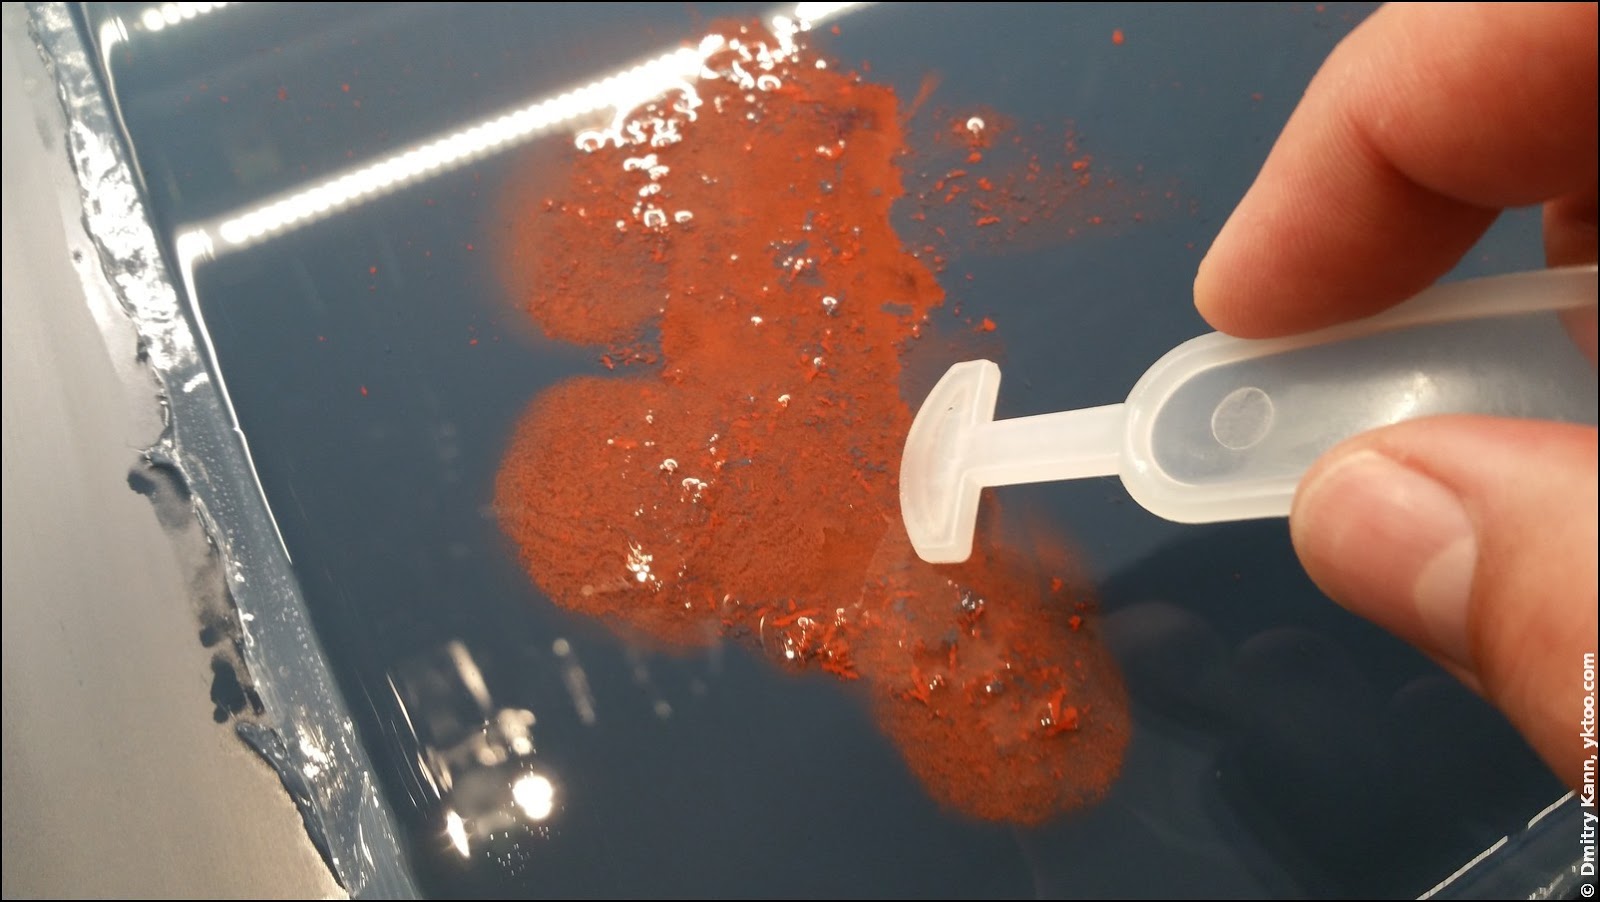
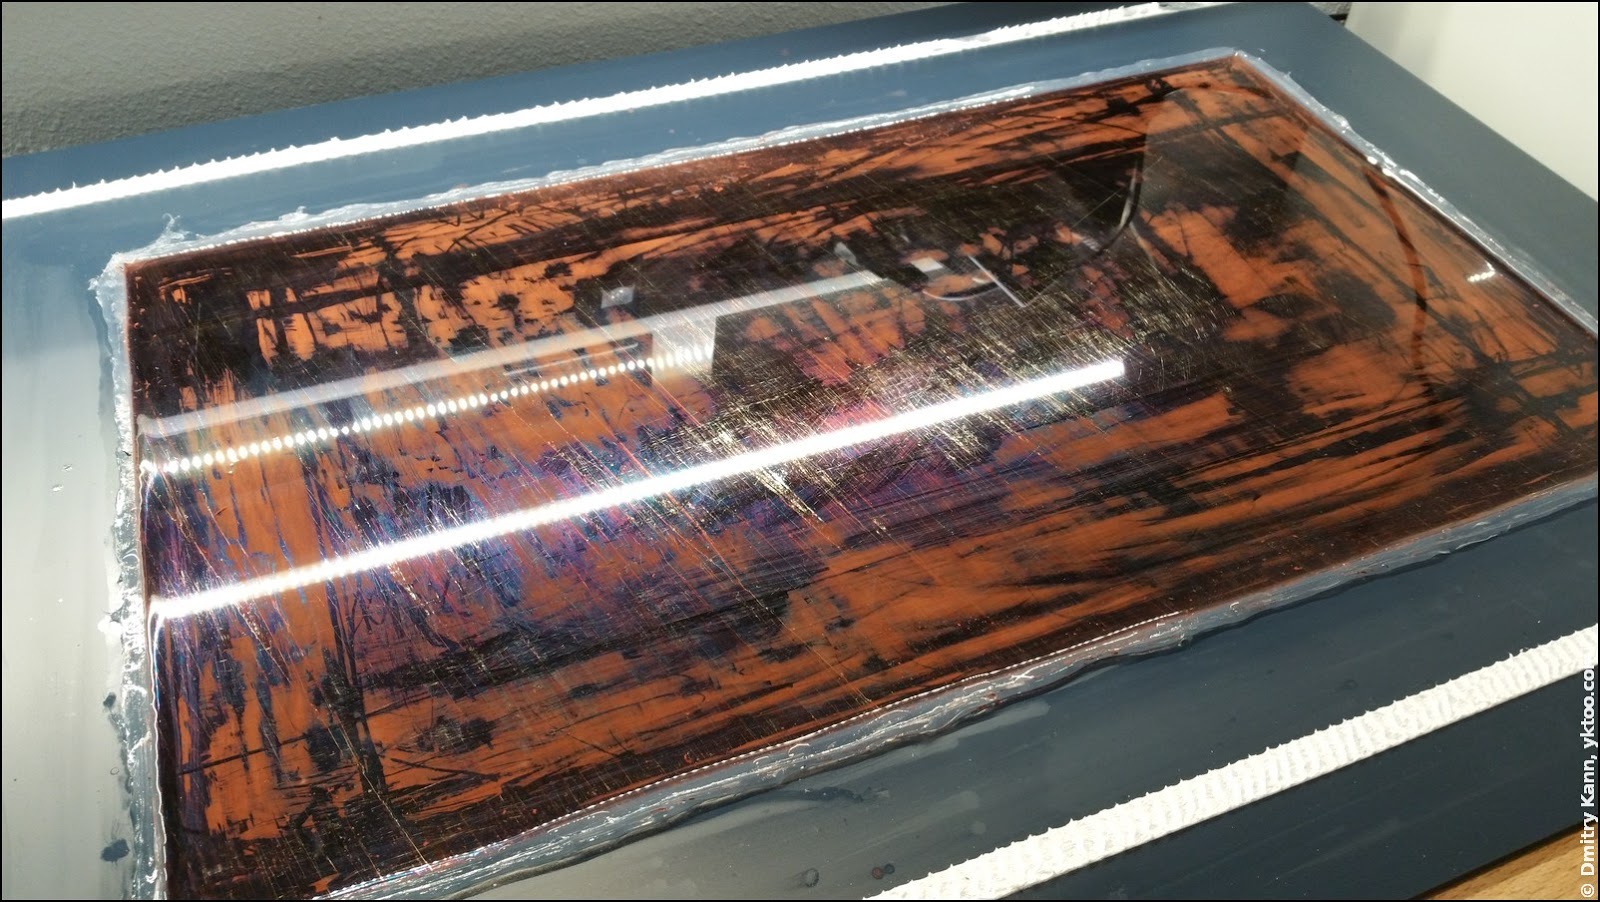
Step no. 7: scrape all what can be scraped, removing paint flakes from time to time and pour more acetone. At this stage I found out there’s yet another, dark protective layer:
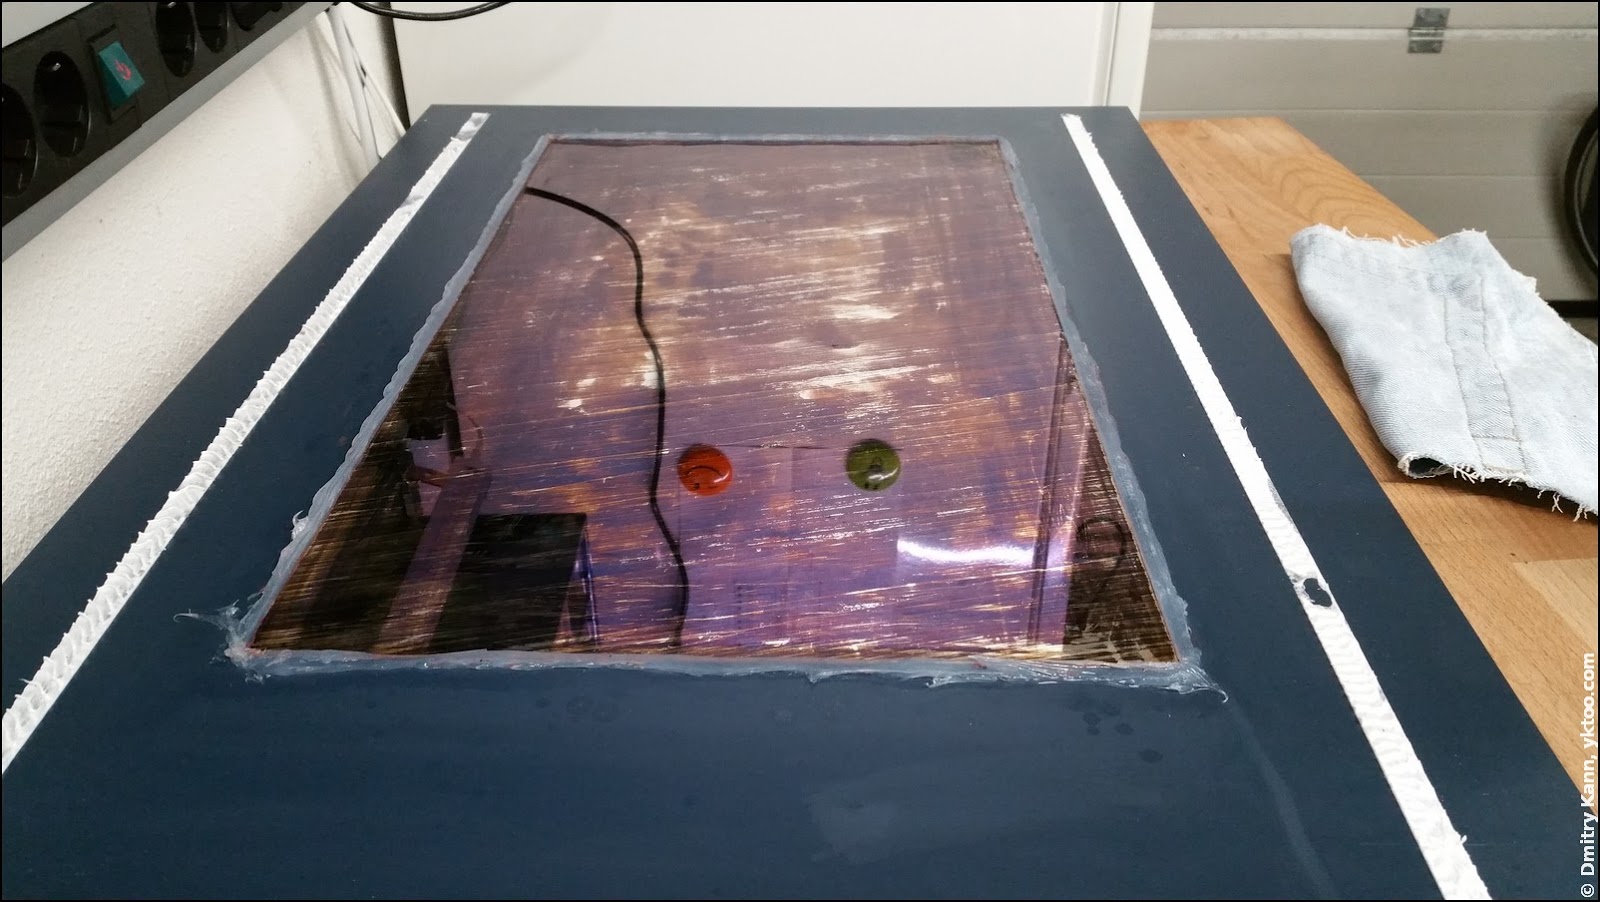
Step no. 8: the last layer is to be washed with acetone for another few days:
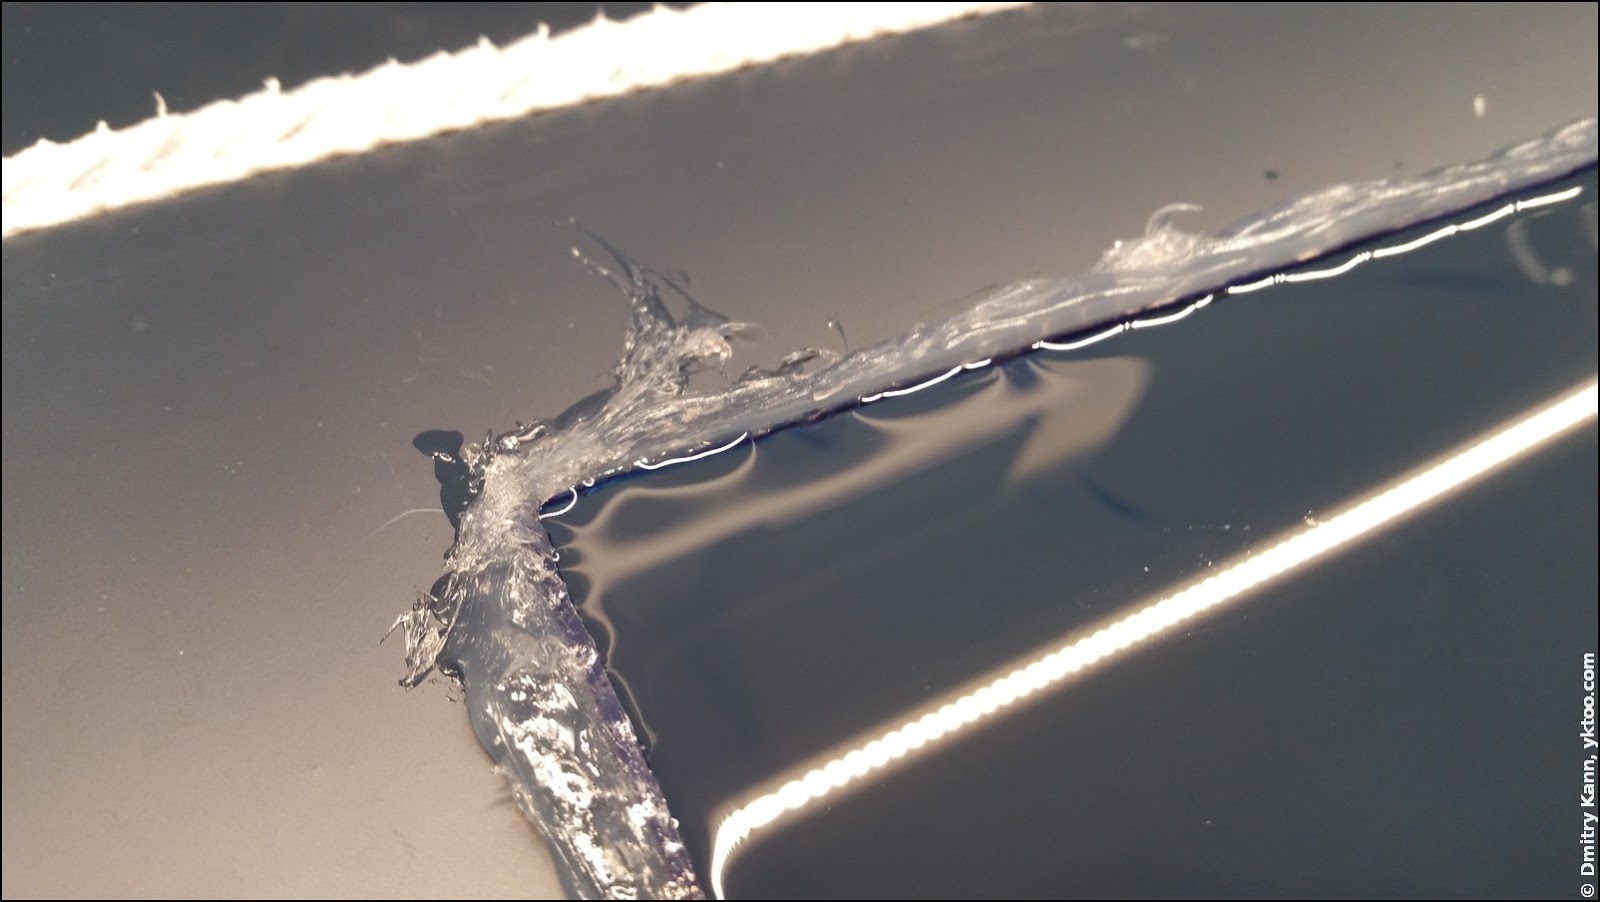
Step no. 9: remove that last protective layer as soon as it’s submissive enough. This can be better done using paper of cloth wipes to minimise the risk of damaging the reflective layer:
Step no. 10: remove the remaining silicone, trying not to damage the surface it’s stuck to.
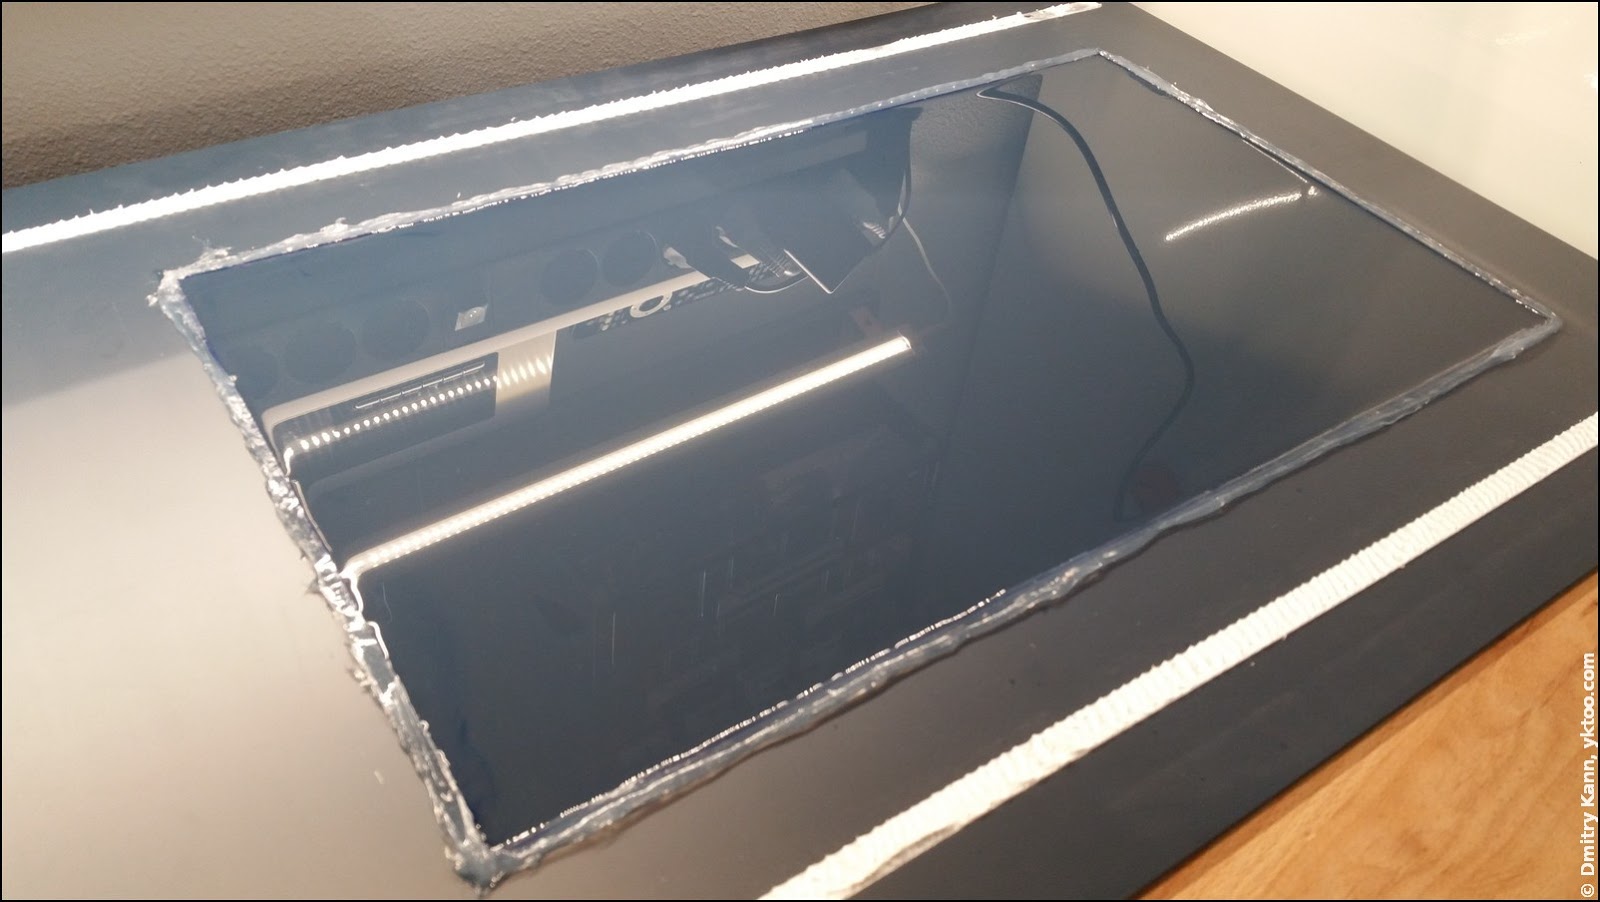
This was actually supposed to become the last step, but after testing the mirror with the display I found out only the biggest letters were readable, and that with moderate ambient lighting. Apparently, either the reflective layer wasn’t translucent enough, or the display wasn’t sufficiently bright. It might be the case an OLED display would do a better job here.
So what I’ve done was the following: fix sticky tape along the outside of the rectangle and wiped all the reflective part inside it using a polishing wheel. You’ve already seen the result.
It’s a pity the idea didn’t fully work out, but it’s still possible to swap the mirror with a proper one, we’ll see.
Software
It’s been a piece of cake to write a simple web server and prototype a web page. I was determined to write the front-end part (browser application) using AngularJS, because it greatly facilitates periodic updates and eliminates page flickering. In a longer run I might even want to add some subtle animations.
Initially the idea was to avoid having a server part altogether, so that all the data would be directly requested by the web application, but it failed with some data providers because of the CORS policy enforcement by the browser. Those are handled by a simple back-end written in Python 3.
The current version of InfoPi uses the following providers:
Weather: Buienradar.nl
Buienradar provides the most accurate and up-to-date information for the Netherlands thanks to numerous weather stations all over the country. The data is provided as an all-in-one XML file with no restrictions and no need for subscription.
InfoPi also displays a regularly updated “shower radar” map, which shows how rain clouds move, both in real-time and as a three-hour forecast.
Trains: Nederlandse Spoorwegen
The national railway operator Nederlandse Spoorwegen (NS) provides a public API for train departure times, train routes and so on. To use it a registration key is required (provided on request free of charge). The usage is limited at 50K requests per day.
Bus schedules: openOV
A huge open project that provides all kinds of information about public transport run by various operators, via a uniform API (trains included). Subscription is not required, CORS requests are supported (therefore this information is requested directly, bypassing the web server). InfoPi is perhaps using some 0.01% of its possibilities.
Exchange rates: fixer.io
Another freely available API with no restrictions.
The full source code is available on GitHub (MIT licence). My implementation is highly tailored to my personal needs and location, of course, but that can be easily adopted for one’s needs. Stop identifiers, station names etc. are defined in controller.js; it should also be pretty simple to extend the list of providers. ■
Comments