Intro
There was a moment when my smoke detector, which is as old as the house it’s in, had to be replaced.
And I did that with pleasure, because at that moment it started chirping regularly in a very annoying way. First once every five minutes, a bit later once a minute. And that would not be a big issue had this not been happening at 5:00 AM. And, of course, the chirping was so loud that no human being could ignore it. Just like in that scene from “Friends”.
Usually chirping means the battery is running empty, but that couldn’t be true as I had replaced it a couple of months ago.
Since the bastard was double-powered (power-line and batteries), I had to pluck it from the ceiling and remove the battery. The detector said “chirp” for one last time and held its peace ever since (unlike the one in “Friends”). It turned out later the device expired a decade ago, so most likely its radioactive source has simply deteriorated.
To be honest, I never liked it, firstly, for being annoying and secondly, for its ugly look. Smoke detectors are one of a few areas which stay out of reach of modern design trends, and they all look like ill-shaped plastic boxes with numerous inexplicable slits.
That is, with a nice exception I came across. After some deliberation I’ve bought a Nest Protect 2, a “smart” smoke and carbon monoxide detector.
Nest Labs
Nest Labs, once a not very well known company founded by two former Apple engineers, got into the spotlight after it was acquired by Google for a stunning sum of $3.2 billion in 2014. Their first and most popular product was the “smart” Nest Thermostat featuring an unusual puck-shaped design.
It was followed by the Nest Protect smoke and carbon monoxide detector (first generation), which also pretended to be smart and was full of unusual functions. After some difficulties at launch (they had to disable the controversial alarm silencing feature called Wave Silence because of doubts about its reliability), it became quite popular in Europe and the US.
Nest Protect 2
In June 2015 the second edition of the device, Nest Protect 2, was presented. This new version had a bit thinner case, a “split spectrum sensor” (whatever that means), self-test function, “safety temperature” feature and in general more intelligent firmware.
Frankly speaking, I was a bit sceptical about a smoke detector gone intelligent. After all, it’s no rocket science: detect smoke, activate the alarm. Well okay, it has to be tested regularly (and no one does that weekly as prescribed). And remind you of the battery going low. And give a heads-up when the whole detector is about to expire (which is usually 5 to 10 years). So perhaps some of that can indeed be automated…
The only problem was the price, in the Netherlands it’s as much as €119, which is a bit pricey since a commodity detector only costs 5 to 10 euros. On the other hand, this one also detects carbon monoxide, which, being odourless, is much more dangerous. Such devices are more expensive (€25 for simplest models and €50-60 for advanced ones, with Bluetooth etc.).
But after considering the specifications for Nest Protect 2 I decided that is a good value for this money.
Specifications
Nest Protect 2 is available in two flavours:
- Battery is completely autonomous and requires six lithium AA batteries.
- Wired requires a power-line connection (120 VAC in the US, 230 VAC in Europe) and uses three lithium AA batteries as a backup.
Since my previous detector was AC-powered, I chose the second option, Wired.
| Sensors | |
|---|---|
| - Smoke sensor | Split spectrum sensor, 450 and 880 nm wavelength |
| - Carbon monoxide sensor | 10 year electrochemical carbon monoxide sensor |
| - Humidity sensor | ±3% RH |
| - Temperature sensor | ± 1.8°F (± 1°C) |
| - Occupancy sensor | 120° field of view to 20 feet |
| - Ambient light sensor | 1-100k Lux Dynamic Range |
| - Microphone | Omnidirectional microphone, 70dBA SNR |
| Power | 6 long-life lithium L91 AA batteries or 3 long-life lithium L91 AA batteries + 120/230 VAC |
| Sound | 2 Watt Speaker, Horn: 85dB SPL at 10 feet (3 m) |
| Indication | RGB color ring with 6 LEDs |
| Connectivity | Wi-Fi 802.11 b/g/n 2.4 GHz Wireless Interconnect: 802.15.4 @ 2.4GHz Bluetooth Low Energy (BLE) |
| Operating conditions | Temperature 40°F (4°C)…100°F (38°C), relative humidity 20…80% |
| Color | White, black |
| Dimensions | 134 × 134 × 38,5 mm (5.3 × 5.3 × 1.5 in) |
| Weight | 380 g (14 oz) |
The list of available sensors is impressive. What is it all used for?
Smoke sensor
According to Nest Labs’ website, it would take about 30 minutes for a fire to take over a room in the 1970s. Today, it can take less than 5 because of synthetic materials widely used. The Split-Spectrum Sensor developed by Nest uses a 450 nm wavelength of light to detect the tiny particles created by fast fires and a second, 880 nm infrared wavelength to look for the larger particles created by smouldering fires (white paper in PDF). And, of course, it’s the first of its kind and unique.
According to a study referenced by the manufacturer, “ionization detectors are eight times more likely to false alarm.”
Carbon monoxide sensor
An electrochemical CO sensor that lasts up to 10 years. Carbon monoxide is very dangerous since it’s colourless and odourless, and if there’s a source of it in the house, there’s a good chance you won’t ever wake up.
Humidity sensor
Nest Protect 2 uses a humidity sensor and an “advanced algorithm” to cut false alarms from steam by 50% (white paper in PDF).
Temperature sensor
The device has a “safety temperature” feature, such that if your home gets too hot or cold, you’ll get a notification that the heating or cooling system has gone into override mode via Nest Thermostat (provided you have one) to get your house out of the danger zone. For example, if it’s too hot for your pets or cold enough that water pipes would burst.
Occupancy sensor
Nest Protect 2 can work as a night light (Pathlight) by lighting up its LED ring whenever someone passes by. It can also notify the thermostat there’s someone home.
Ambient light sensor
Required for the above Pathlight function to work. It also triggers the so-called Nightly Promise, which lets you know if everything is working okay when you turn out the lights.
Microphone
Used to test the speaker and the horn once a month. It is stated that it’s only active during the test (and of course we believe that).
The device runs on the Freescale Kinetis K60 CPU and uses the ZigBee wireless protocol for the interconnect. With all of the above the price doesn’t seem that high anymore.
Unboxing
So let’s unpack the smarty monster.
The packaging box is very solid and resembles ones of Apple products.
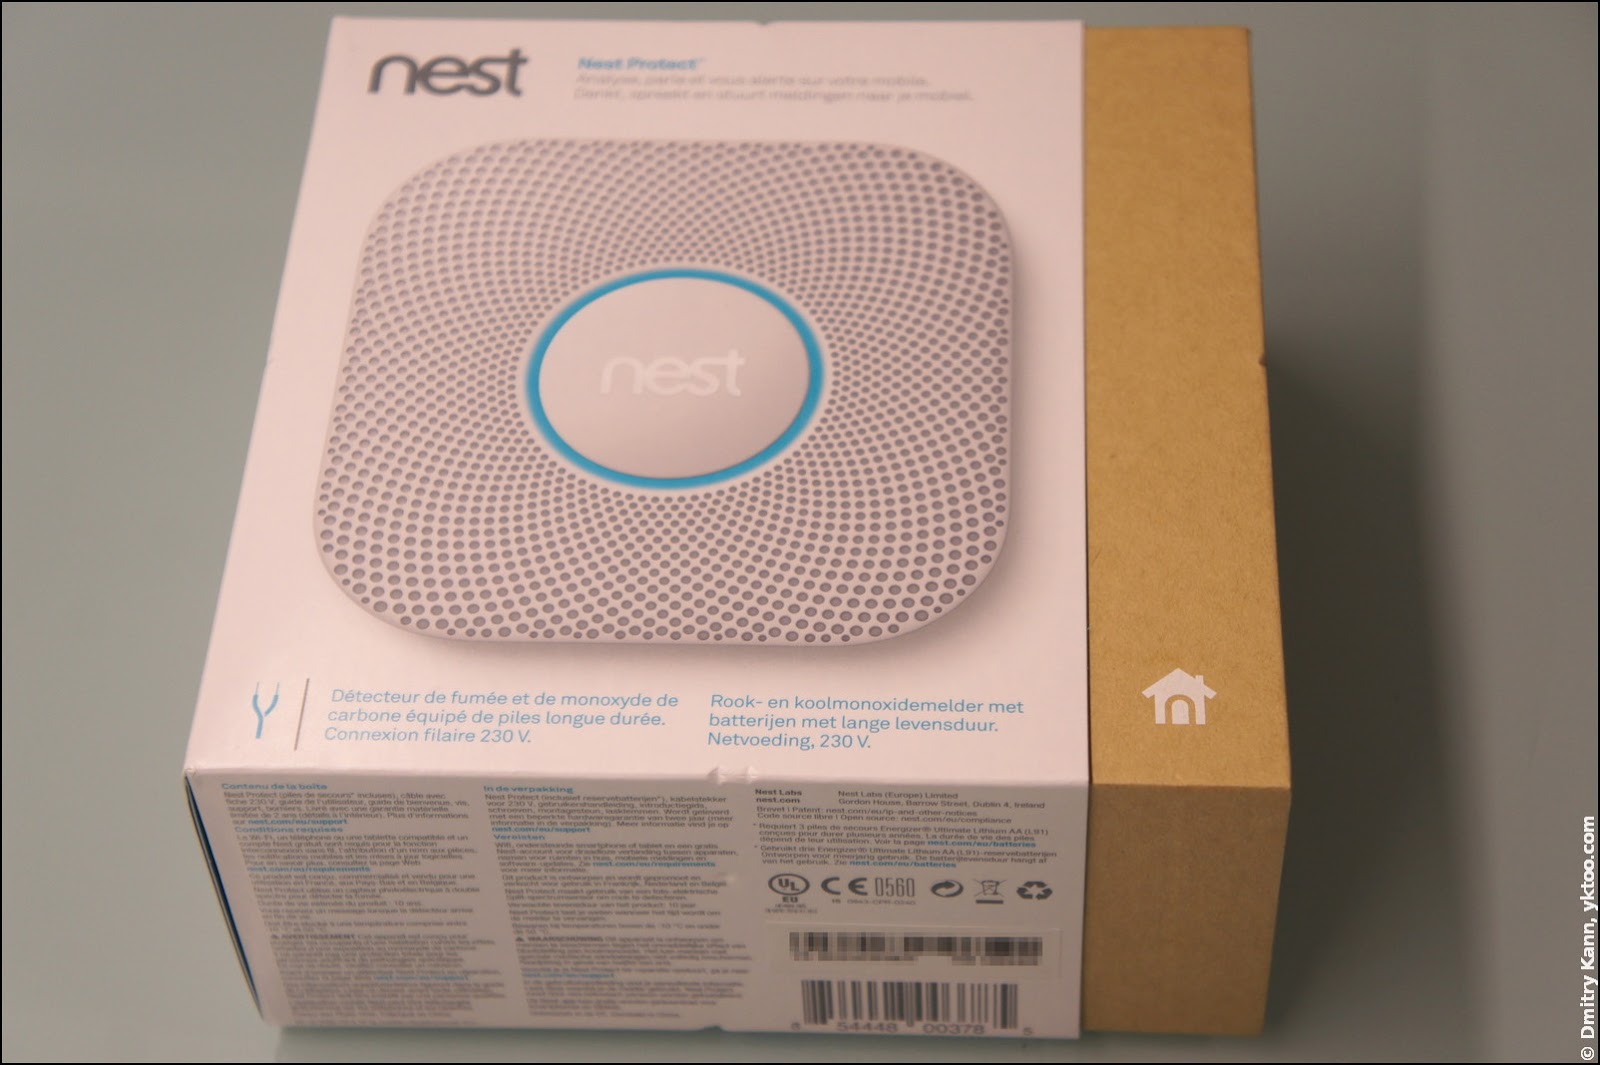
The wire pictogram in its bottom left corner, which looks like my website’s logo, denotes the Wired version of the device.
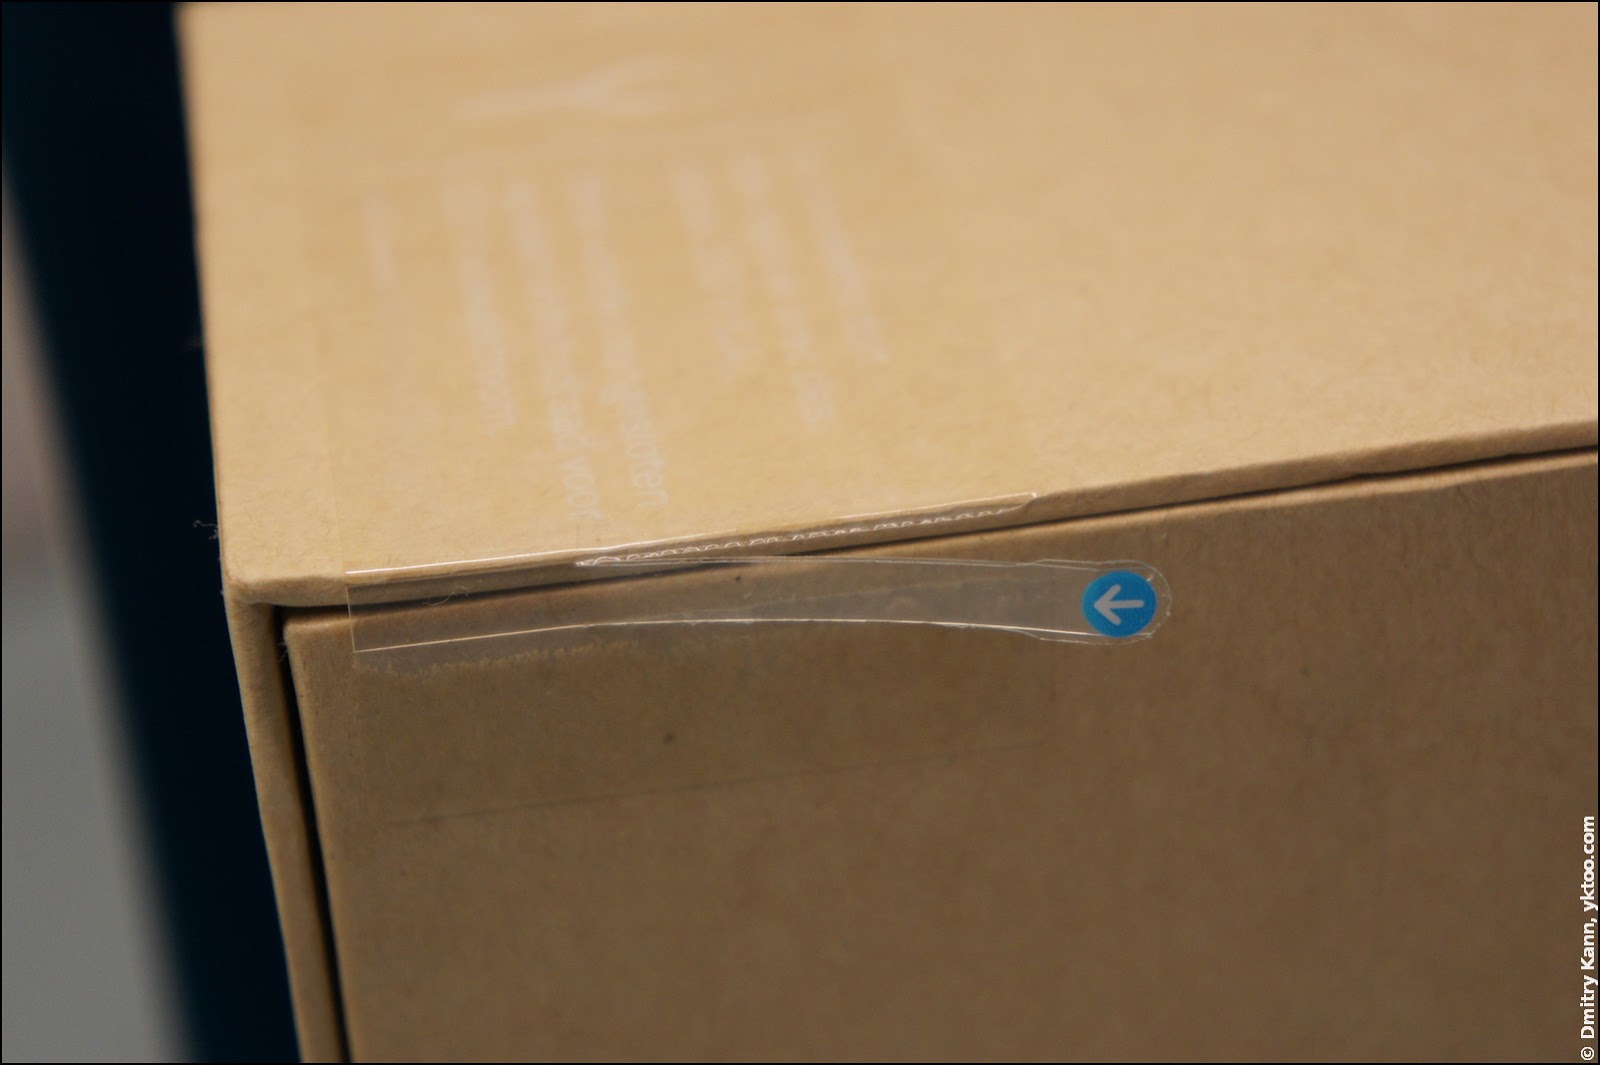
The box is sealed so one can’t open it without a trace.
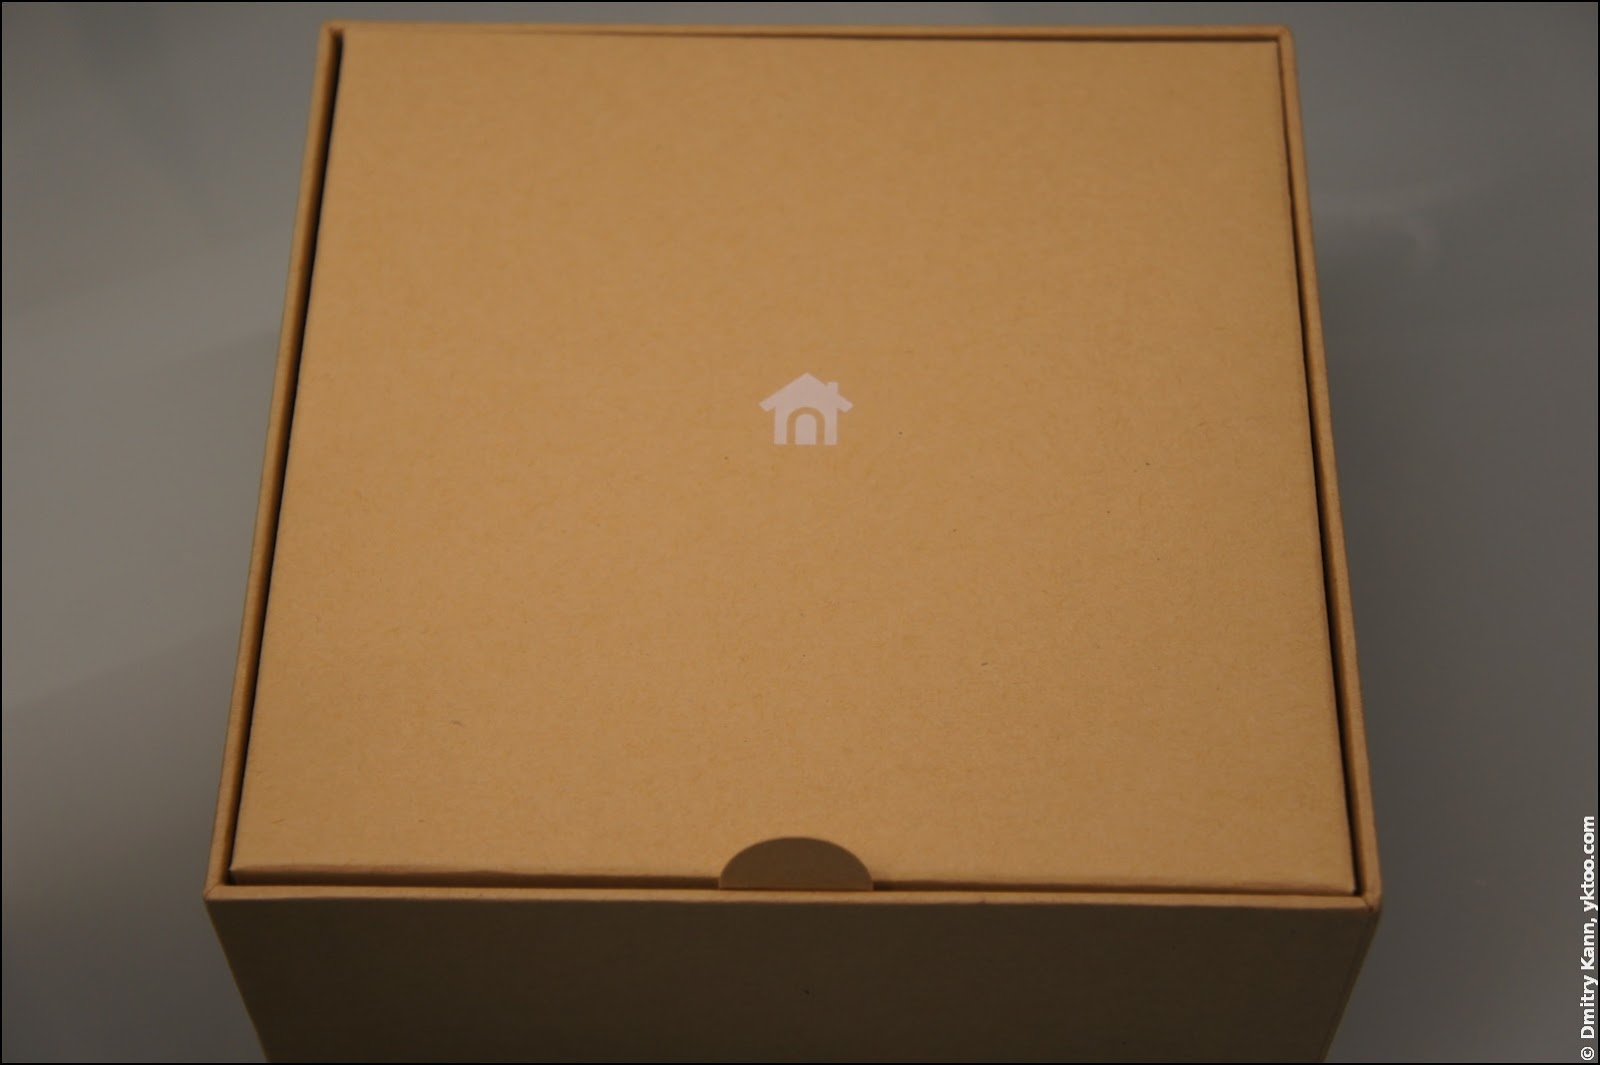
Under the cover the first thing to see is an envelope with user guides.
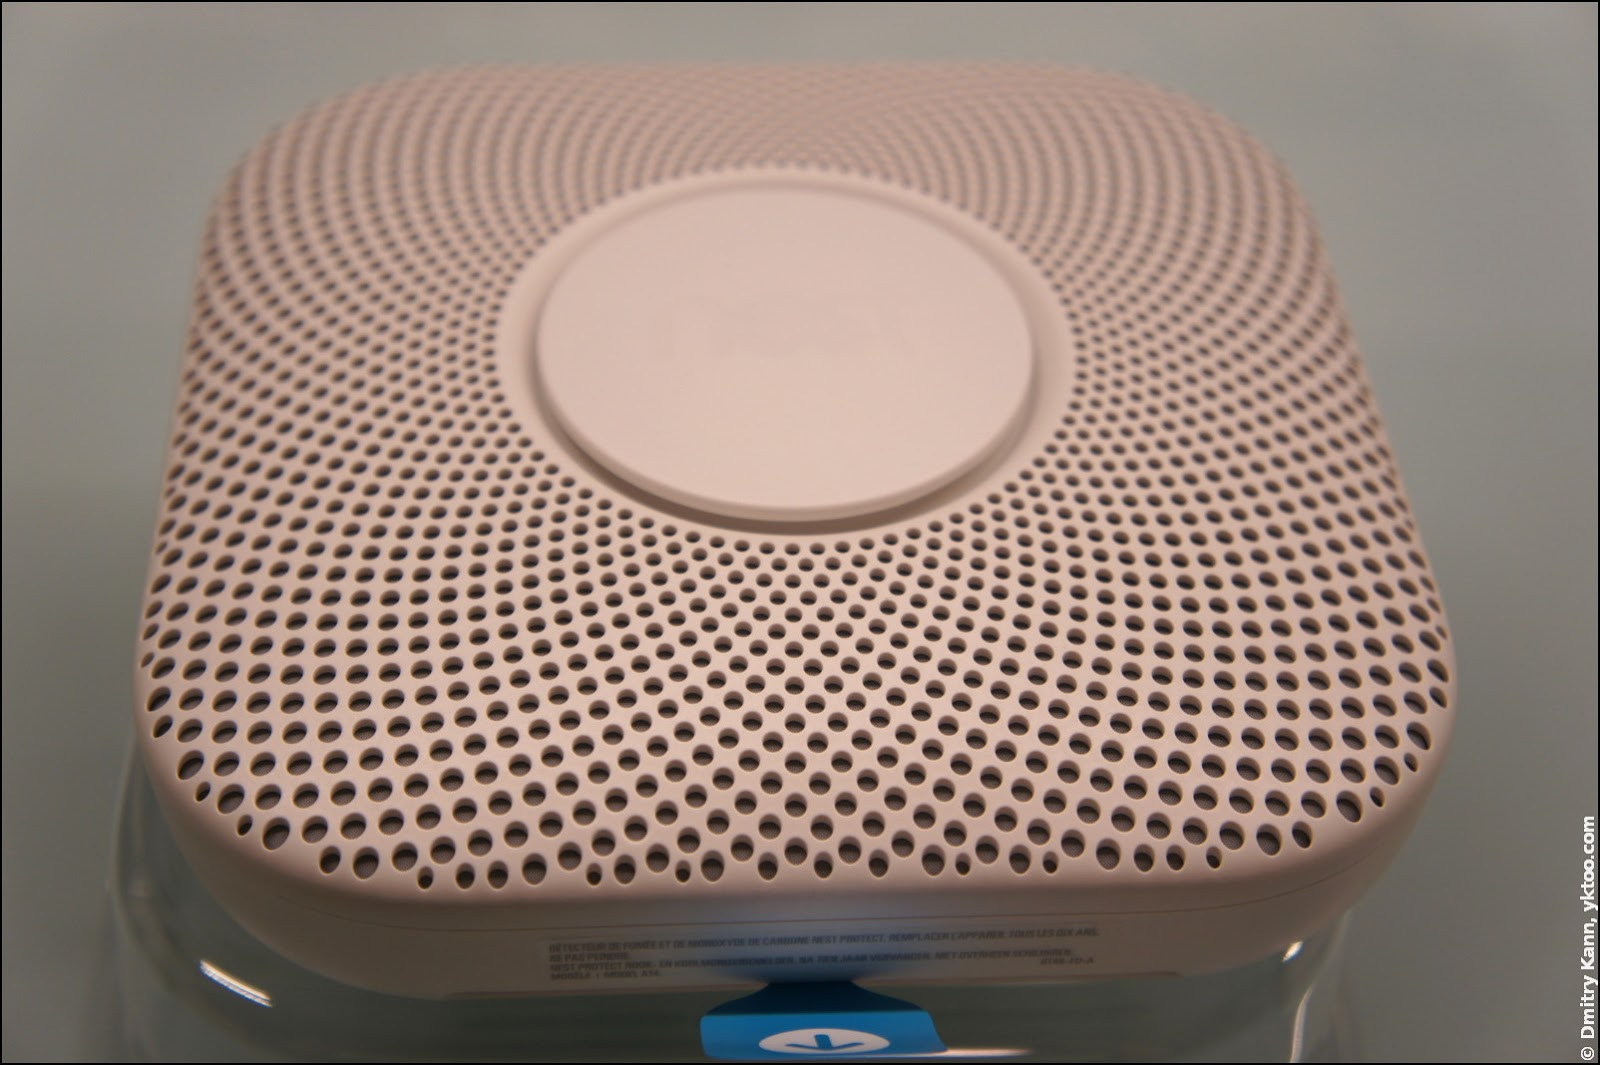
The device is hiding under the envelope, covered with a plastic cap.
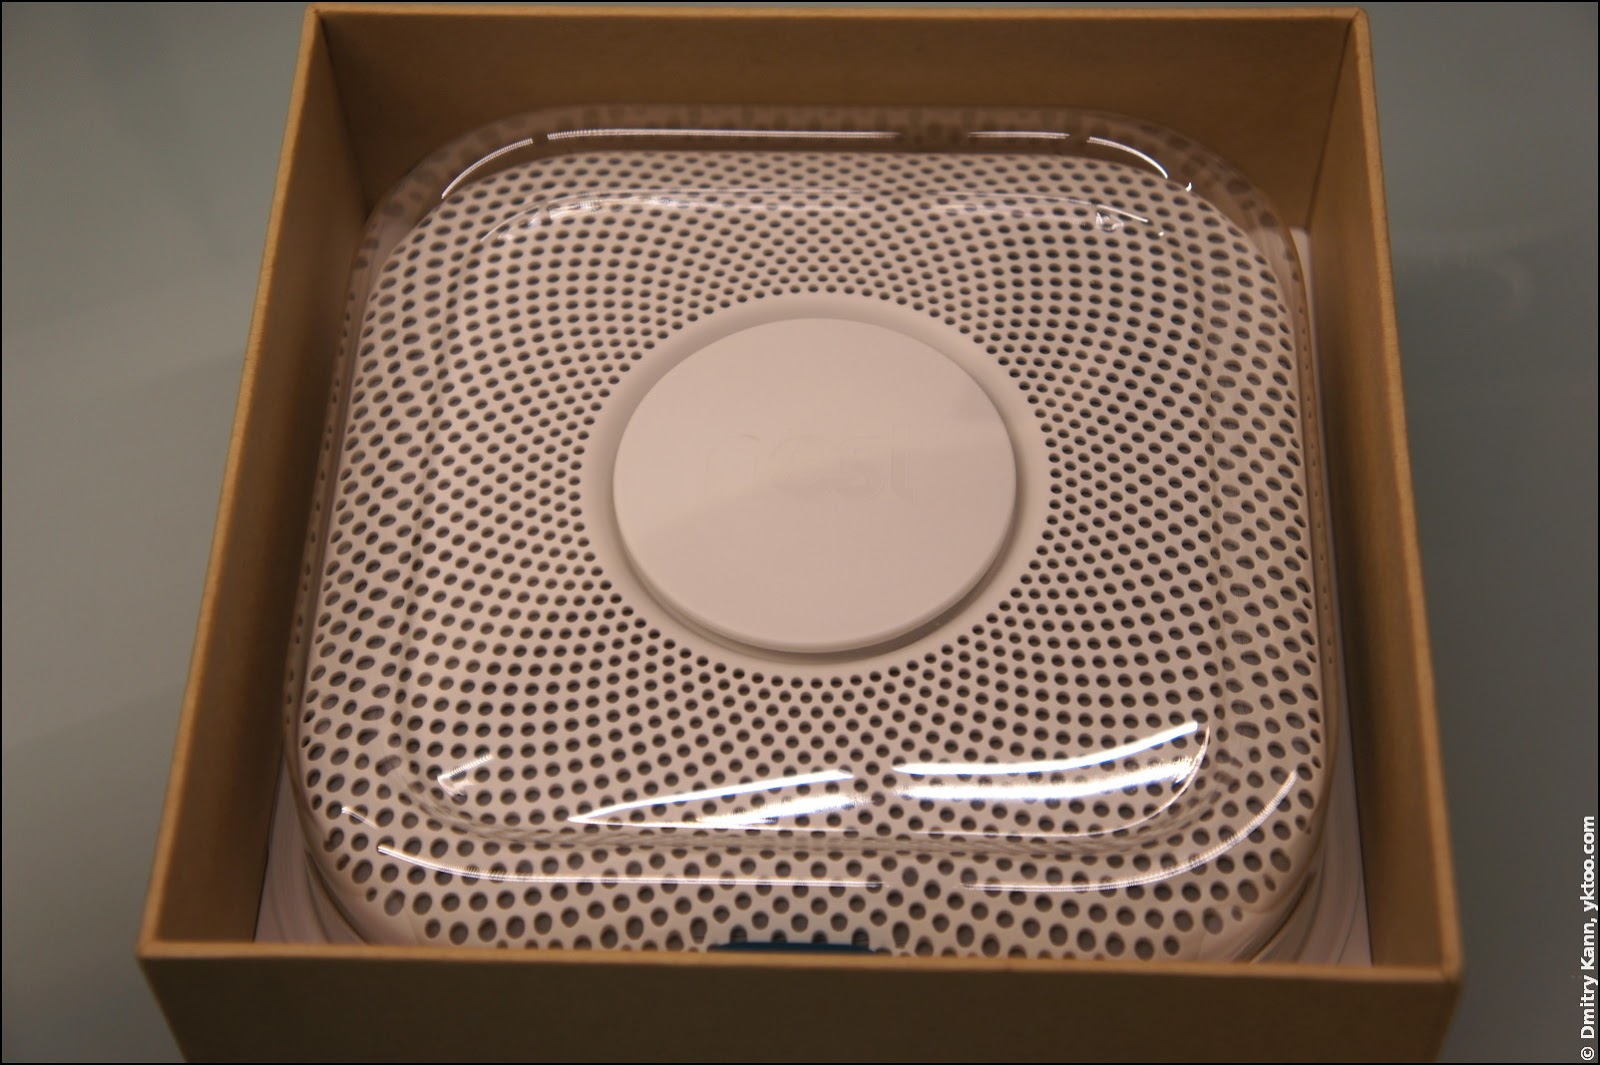
The cap is quite solid and supposed to protect the detector during painting, otherwise it must be removed.
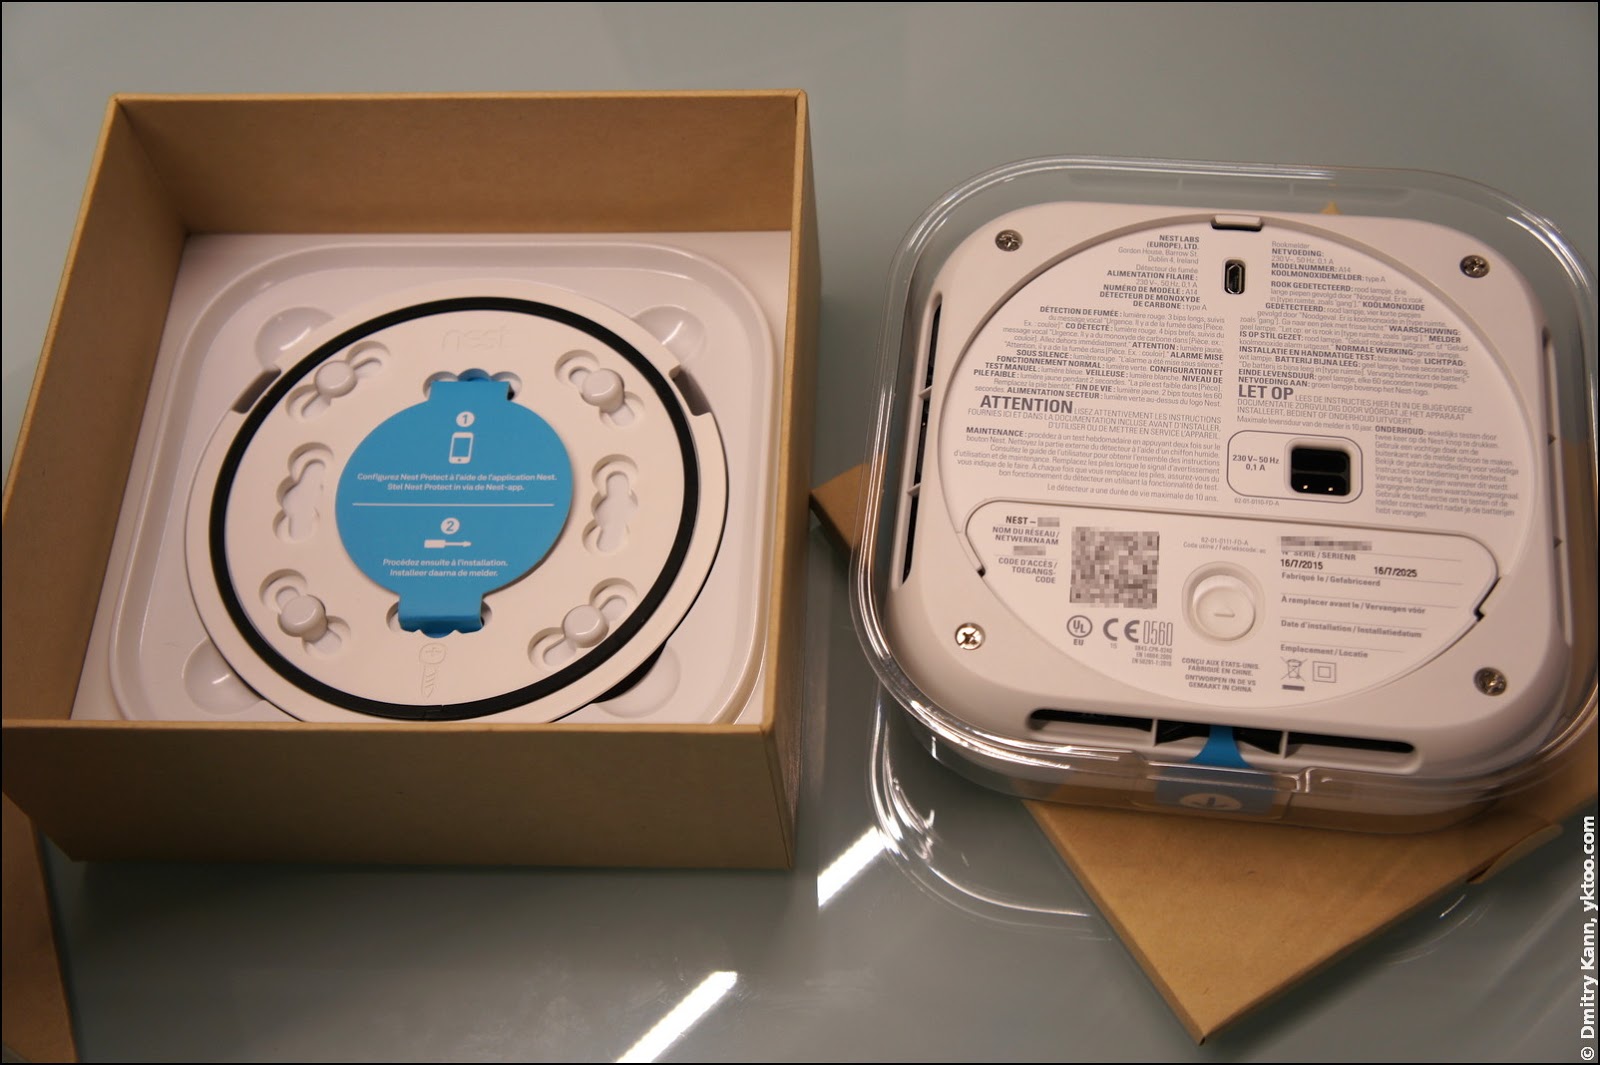
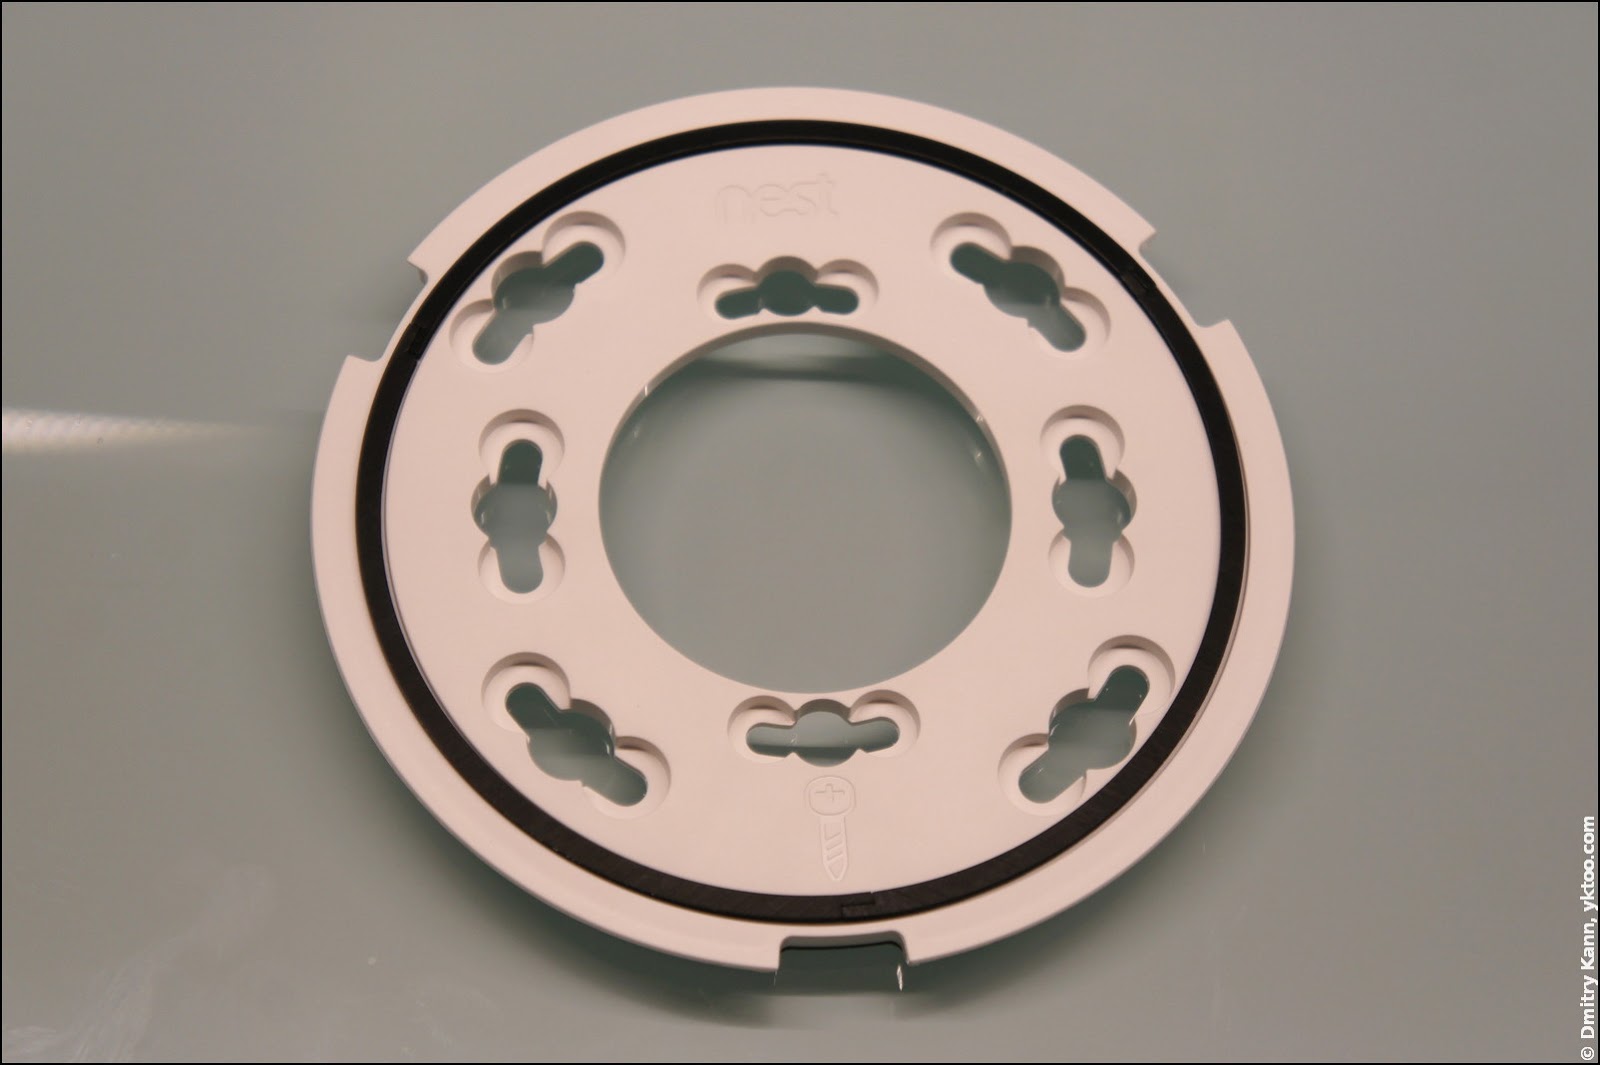
Under the device you find a backplate for wall/ceiling mount. The label on it says you should first activate the detector using the mobile app before plugging it in.
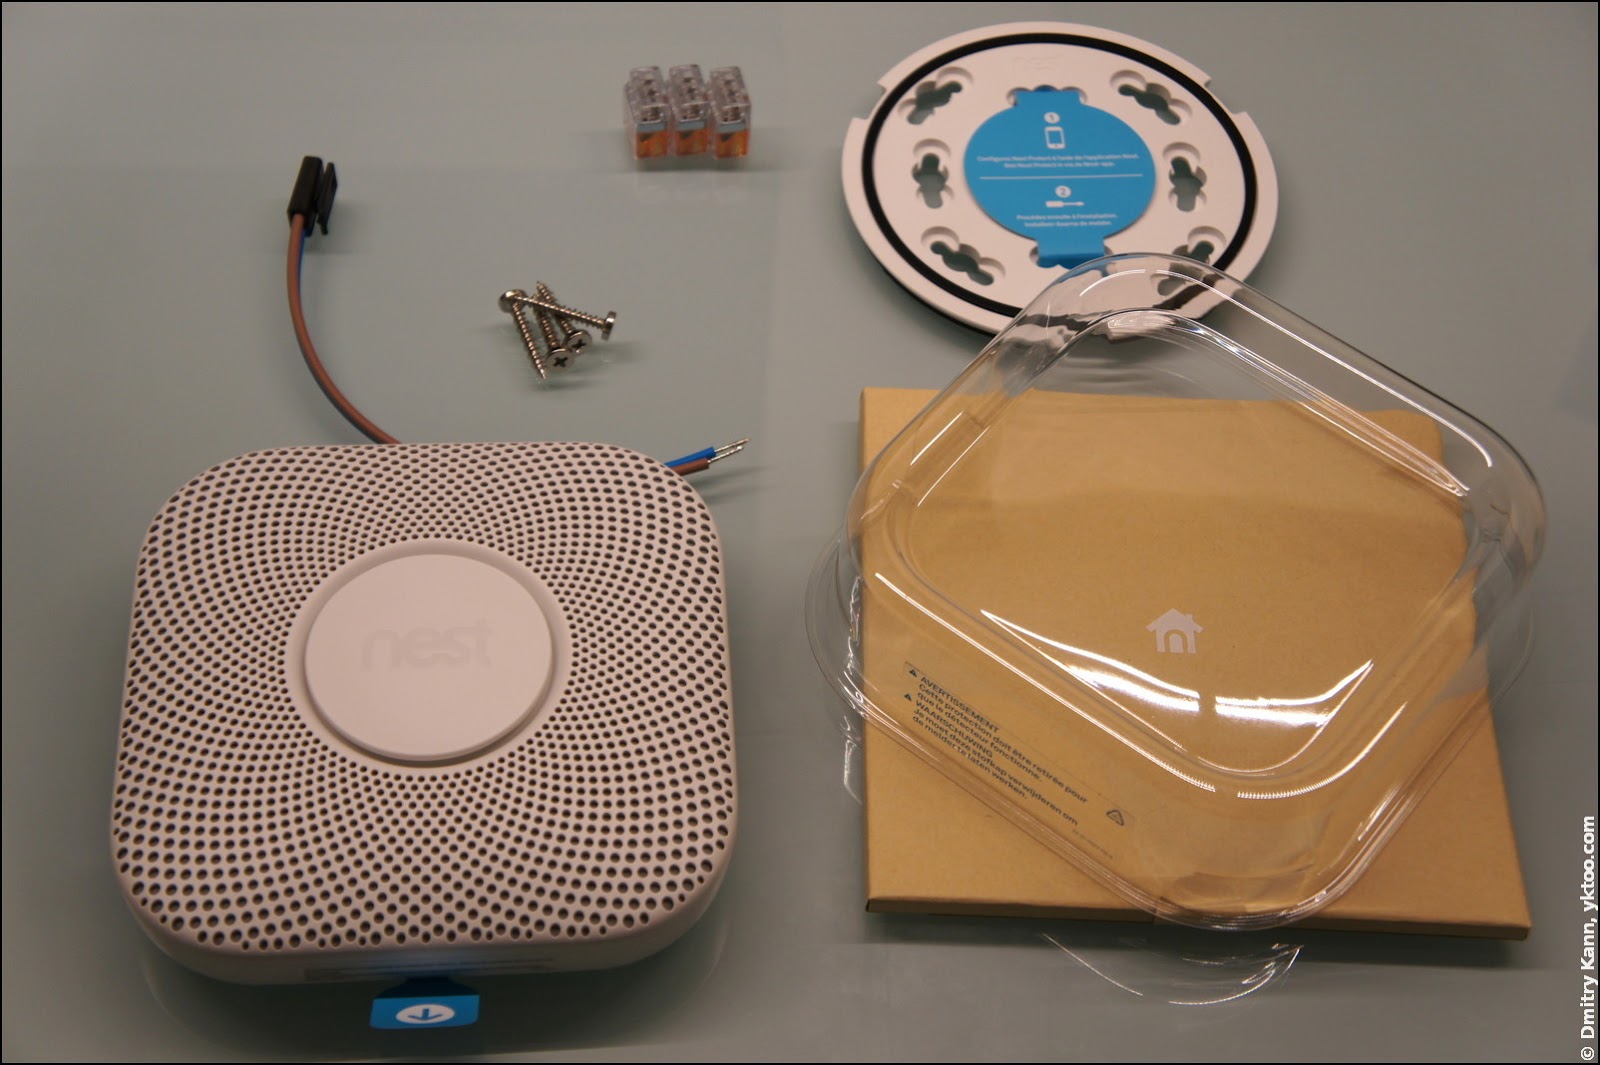
All the way to the bottom there are: a power wire with a plug, three wire nuts and four screws. Judging by how neatly and precisely it’s all laid out, it seems it’s a work done by a techno-fetishist (and no, it’s not a coincidence, because another box had them exactly the same way). And I like it!

The entire contents of the box:
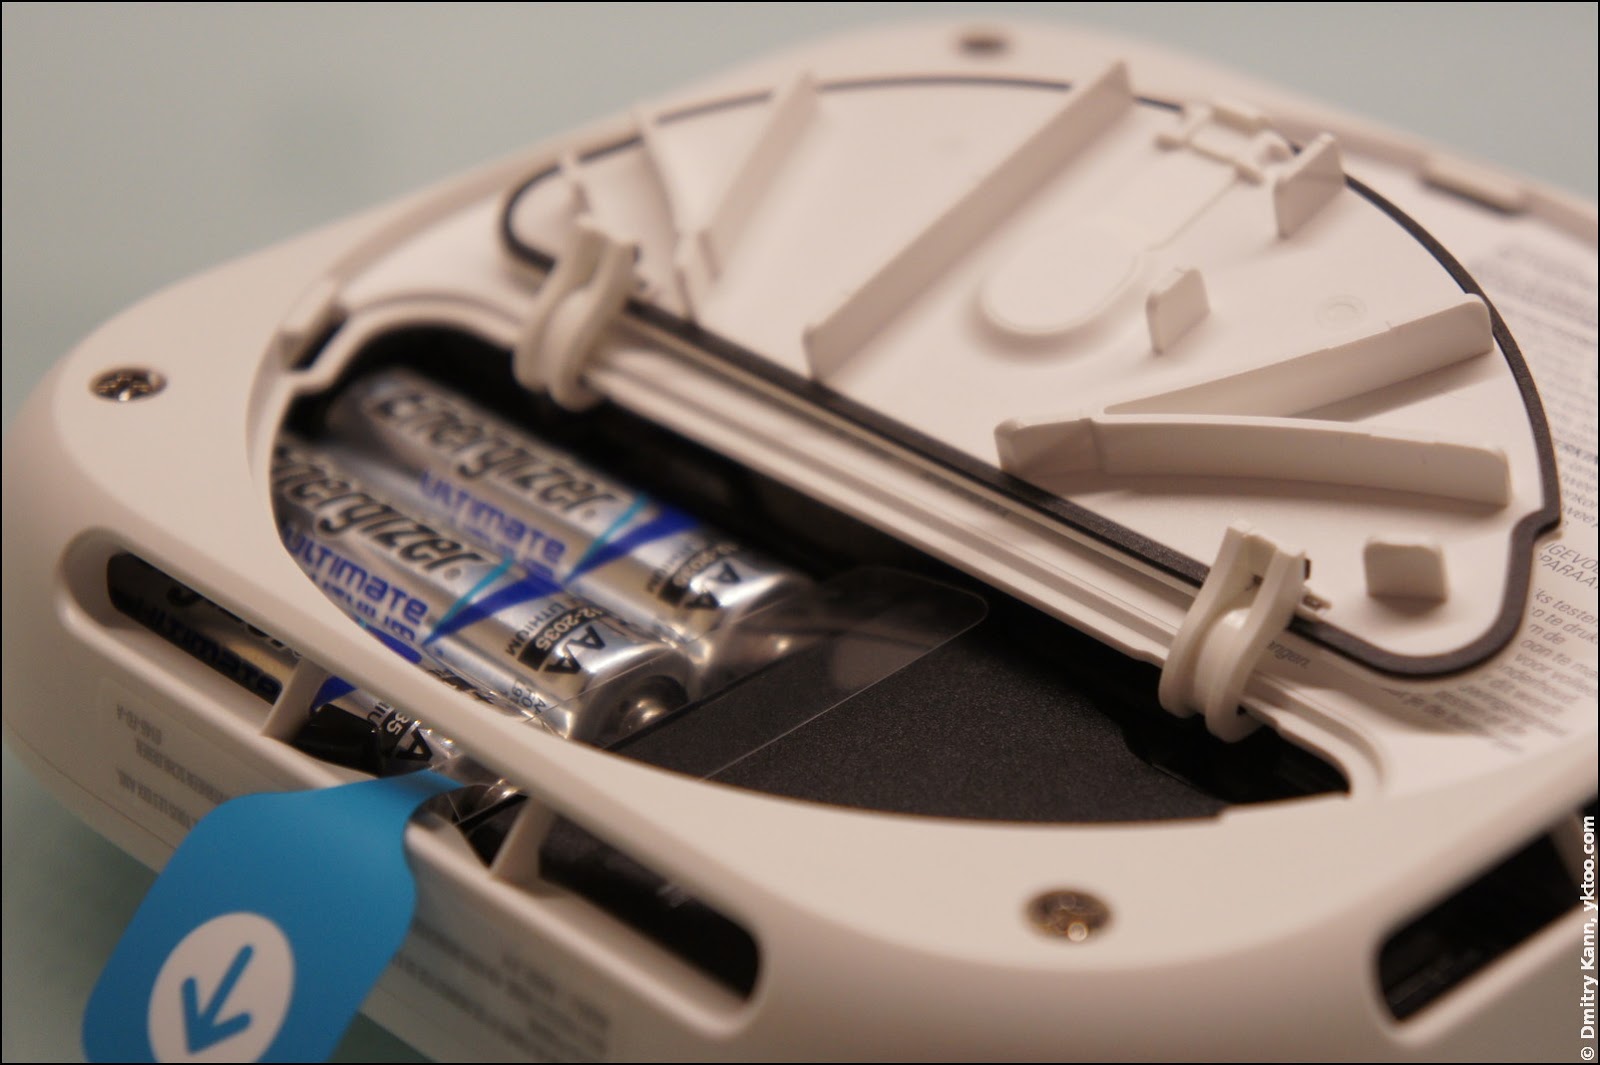
On the device bottom, top-down: a diagnostic Mini USB socket, lots of warnings and instructions on both sides of it in French and Dutch, a power socket in the middle and a battery compartment lid at the bottom, with an individual QR code on it.
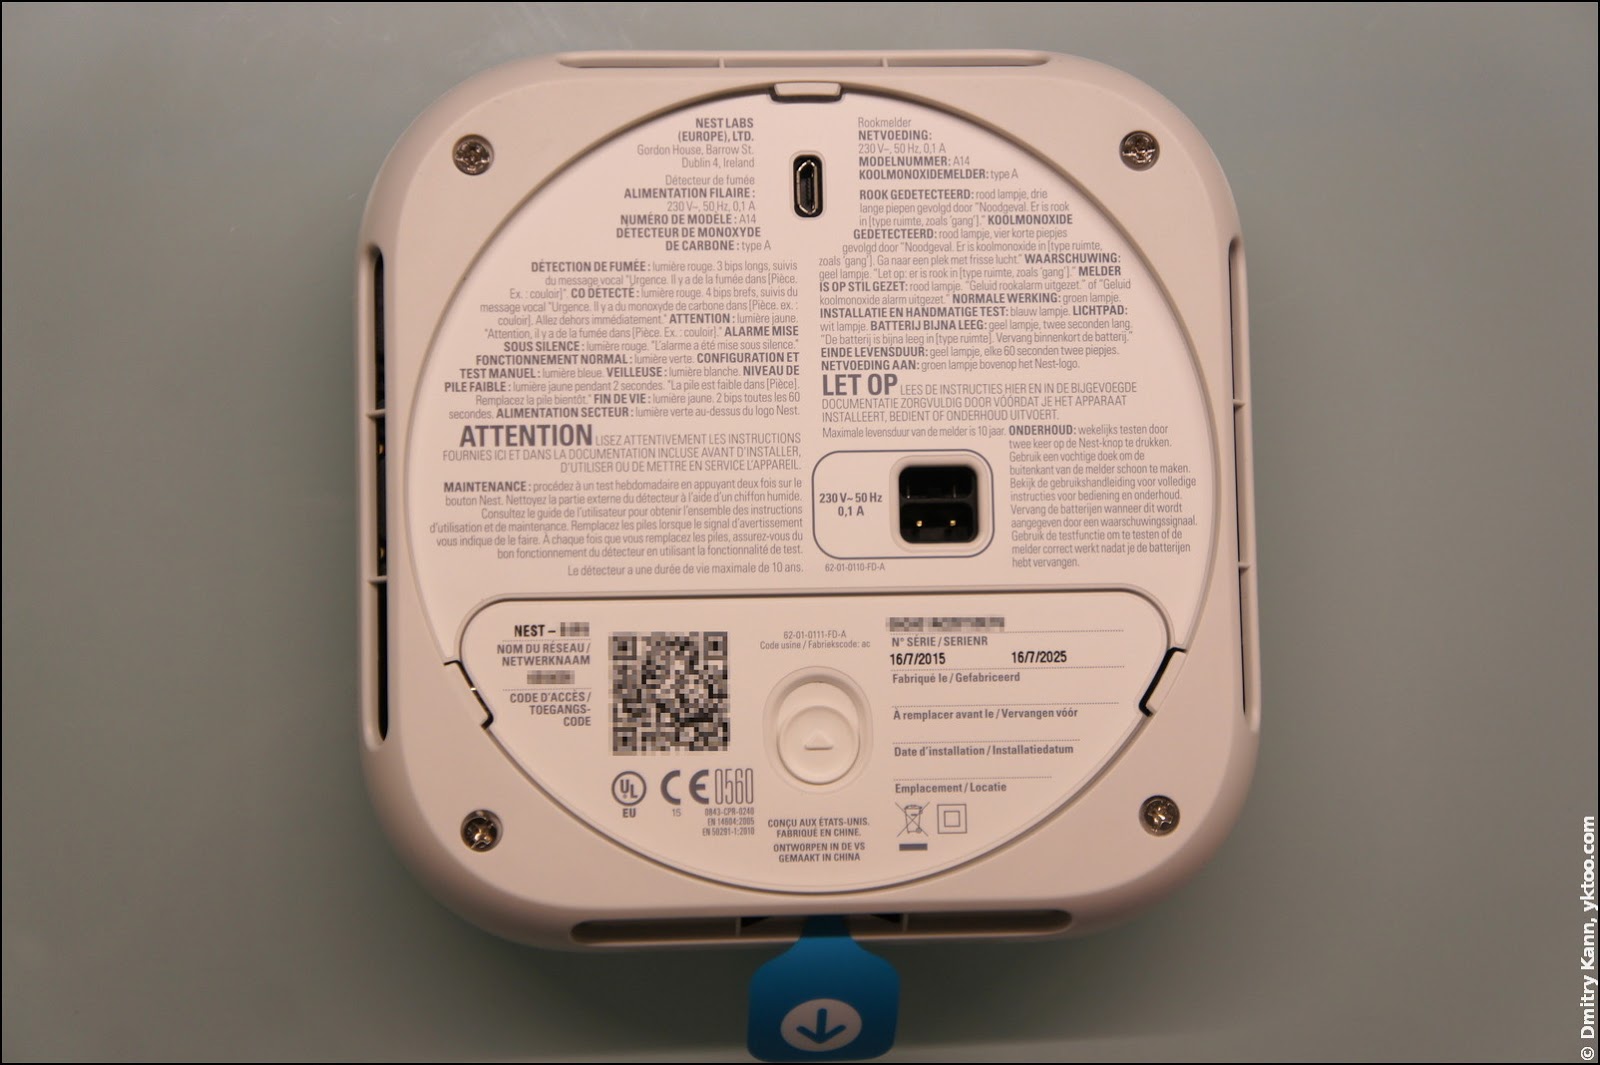
The batteries are initially disconnected by an insulating film to keep them from discharging. As mentioned above, it’s long-life lithium batteries, type Energizer Ultimate Lithium L91, size AA.
Nest doesn’t provide any concrete figures on the battery life, only declaring that “all Nest Protect models are designed for multiple years of battery life.” But based on the fact that the Protect issues a first warning six months before the battery is dead, it should indeed be years.
They also discourage you from using any other types of batteries, more details are available in a special section on the website. Lithium batteries are somewhat more expensive than alkaline ones, but still affordable: you can buy four for €10.
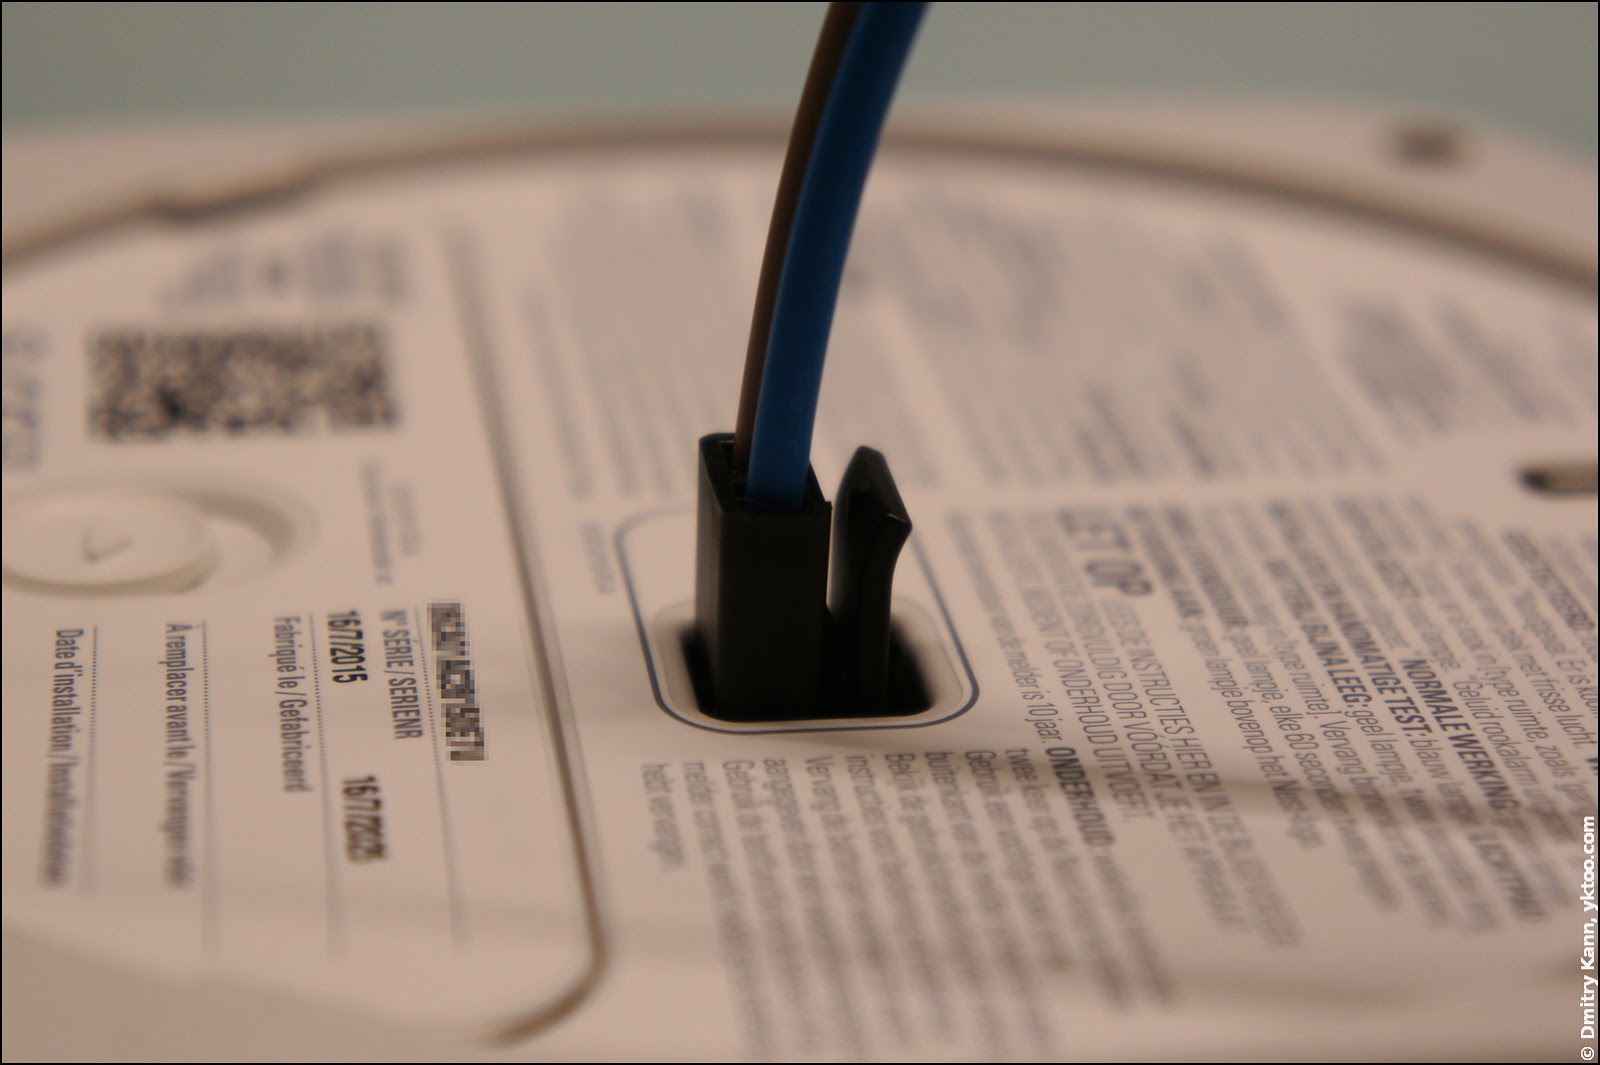
The power plug has a latch and sticks out for about a half inch, so you’ll need an appropriate hole on your wall or ceiling.
The backplate has a rubber ring on its face side:
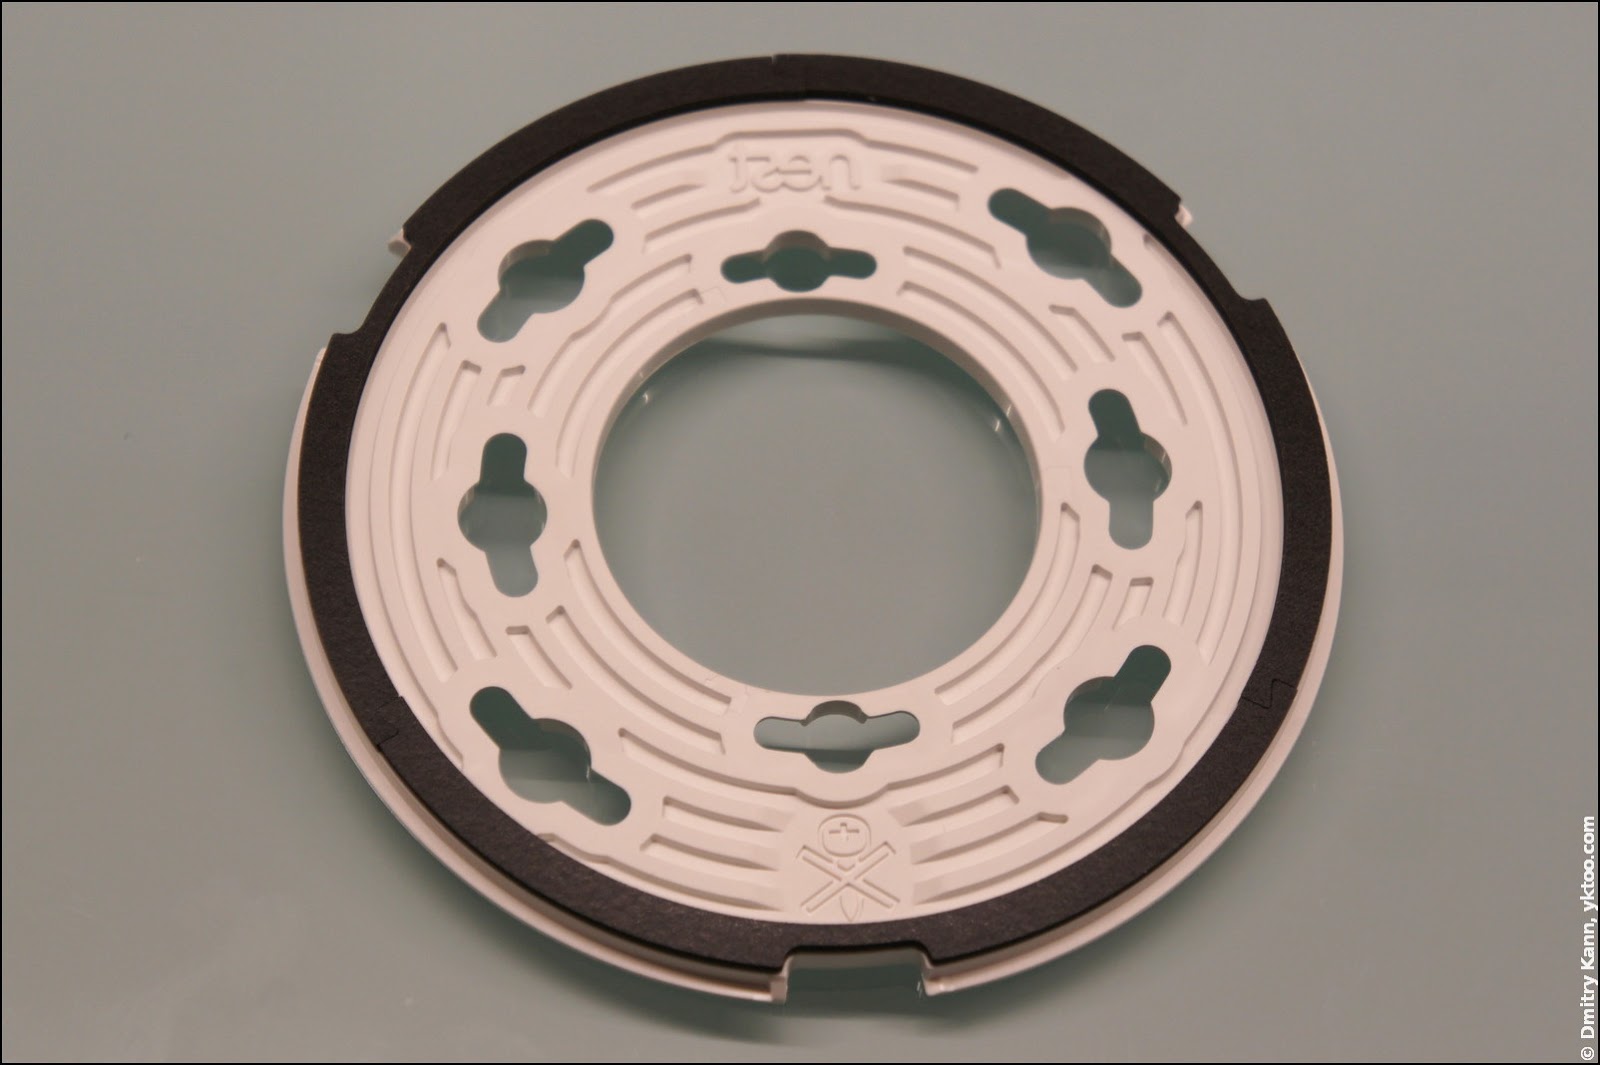
And also on the back side, which is indicated by a crossed screw:
Initial setup
As per the instructions, the first thing to do is installing the Nest App on your phone or tablet (only Android and iOS are supported at the moment). Apart from that, you’ll need Wi-Fi with Internet access and a Nest account.
Upon opening the app you select the product, Nest Protect, and the application offers you to scan the QR code on the bottom of the device. The home screen of the application is shown below on the right; if you have other Nest products (Dropcam, Thermostat), they will also be listed here.
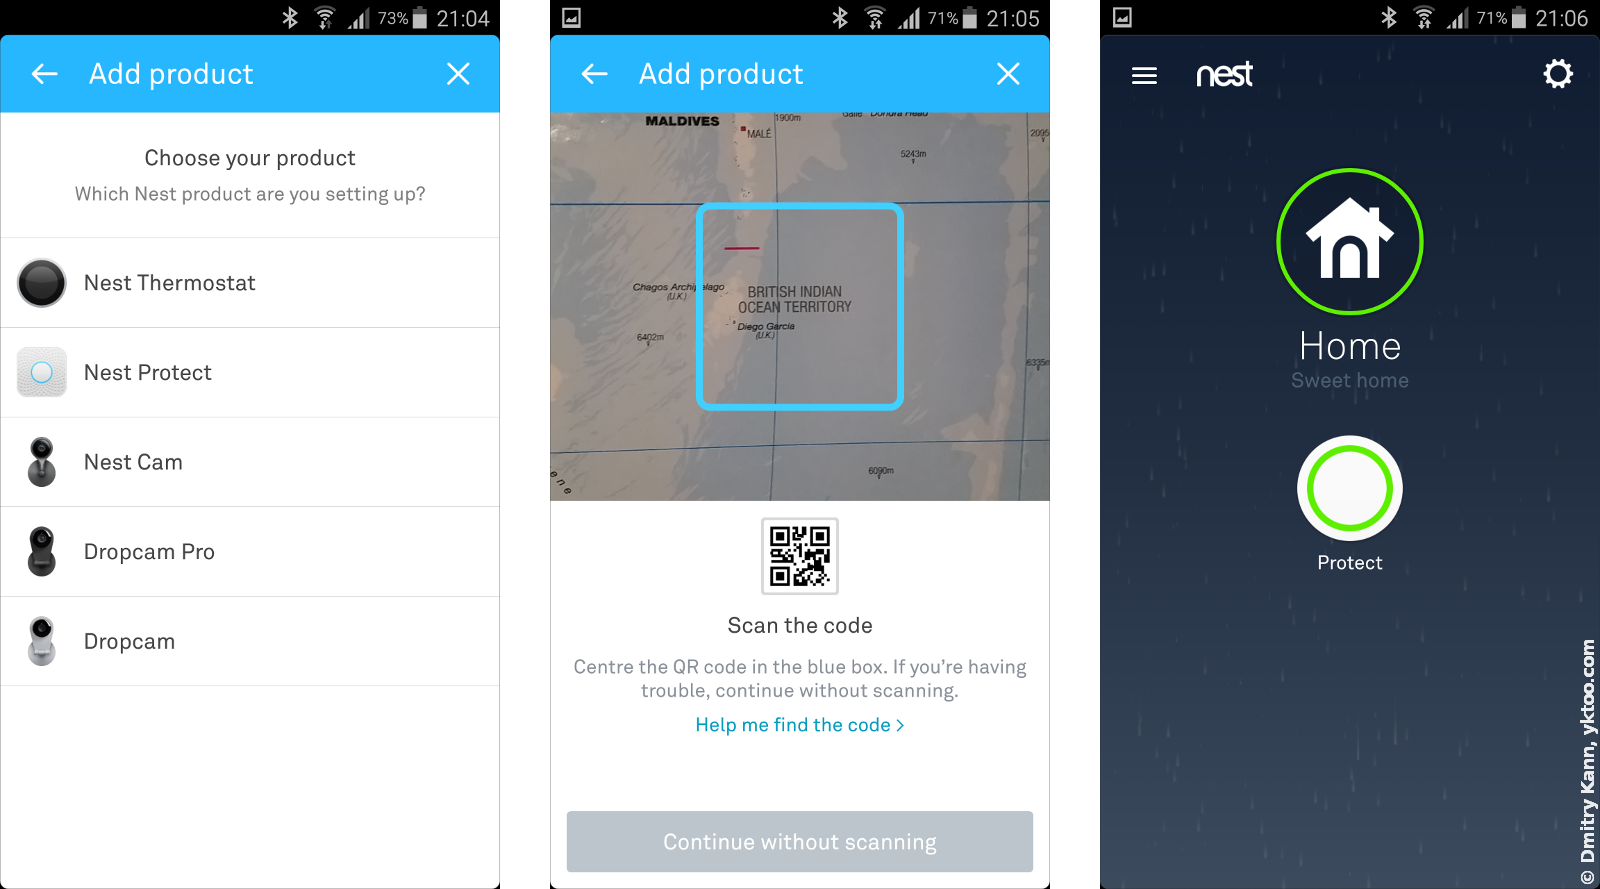
Once the device is registered with the app, the latter tells you to pull out the protective film from the battery compartment. Then the device lights up its LED ring and starts speaking to you, asking to choose the language. Since I’ve bought it in the Netherlands, the initial options only included French and Dutch.
After that a self-test sequence is initiated, which checks alarms for smoke and carbon monoxide. The application connects to the detector via Bluetooth and provides it with your Wi-Fi password; you also have to name it, for instance “Kitchen” or “Living Room”.
This is pretty much it for the setup.
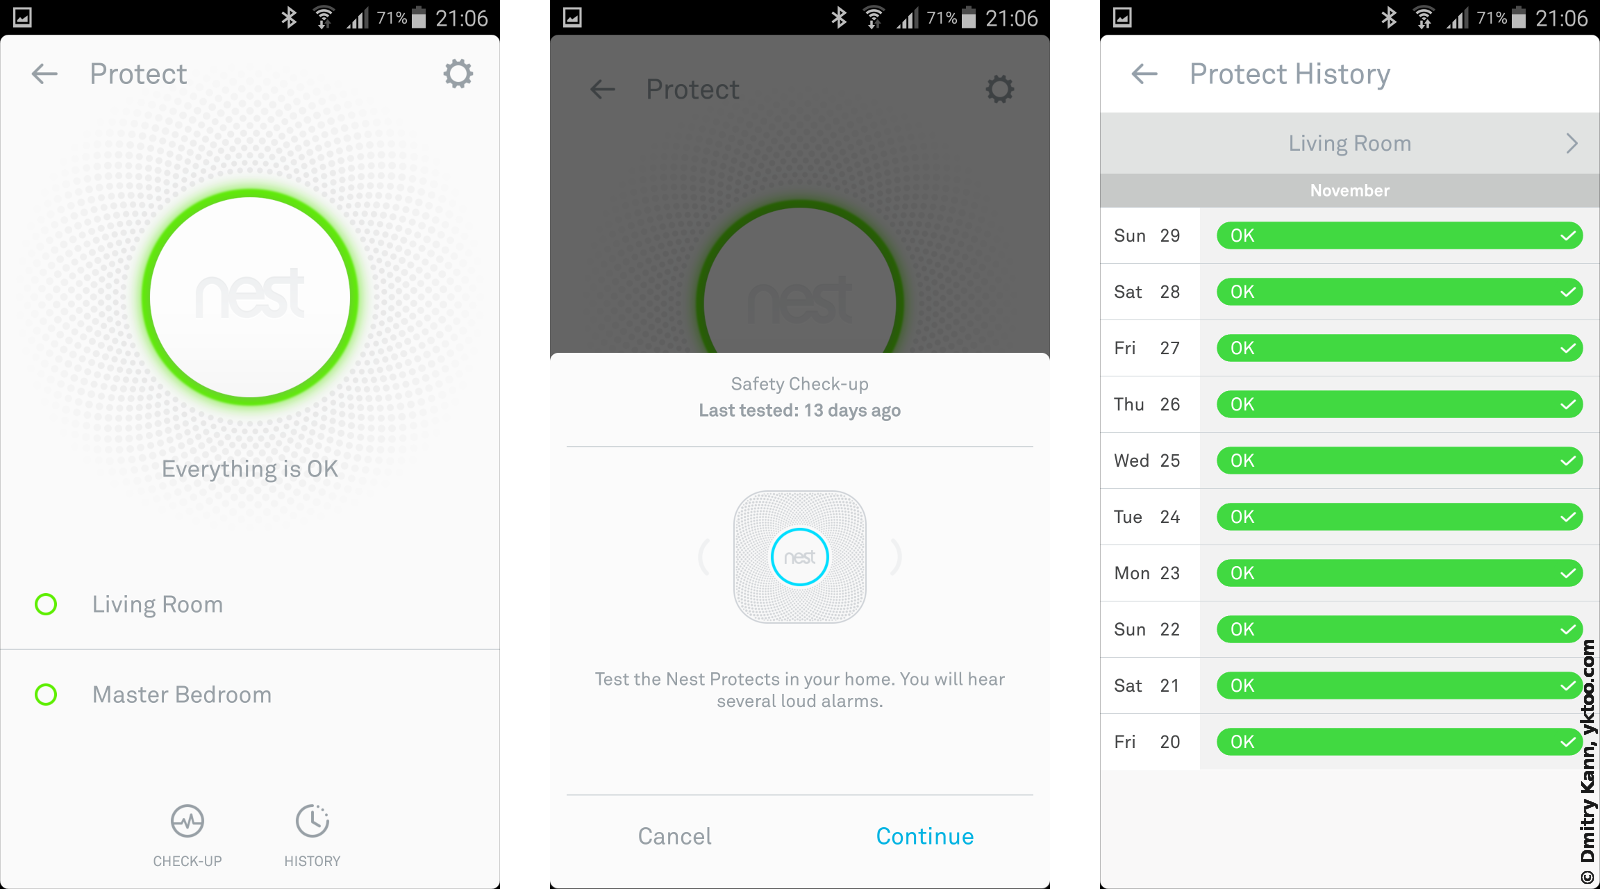
By tapping on Protect on the home screen you get to the status page, on which you can run a self-check or view the event history:
Every single device can be set up individually, including settings for Pathlight, Nightly Promise, Steam Check, a preliminary warning about a possible alarm (Heads-Up), time for self-testing and language (in addition to the two available initially):
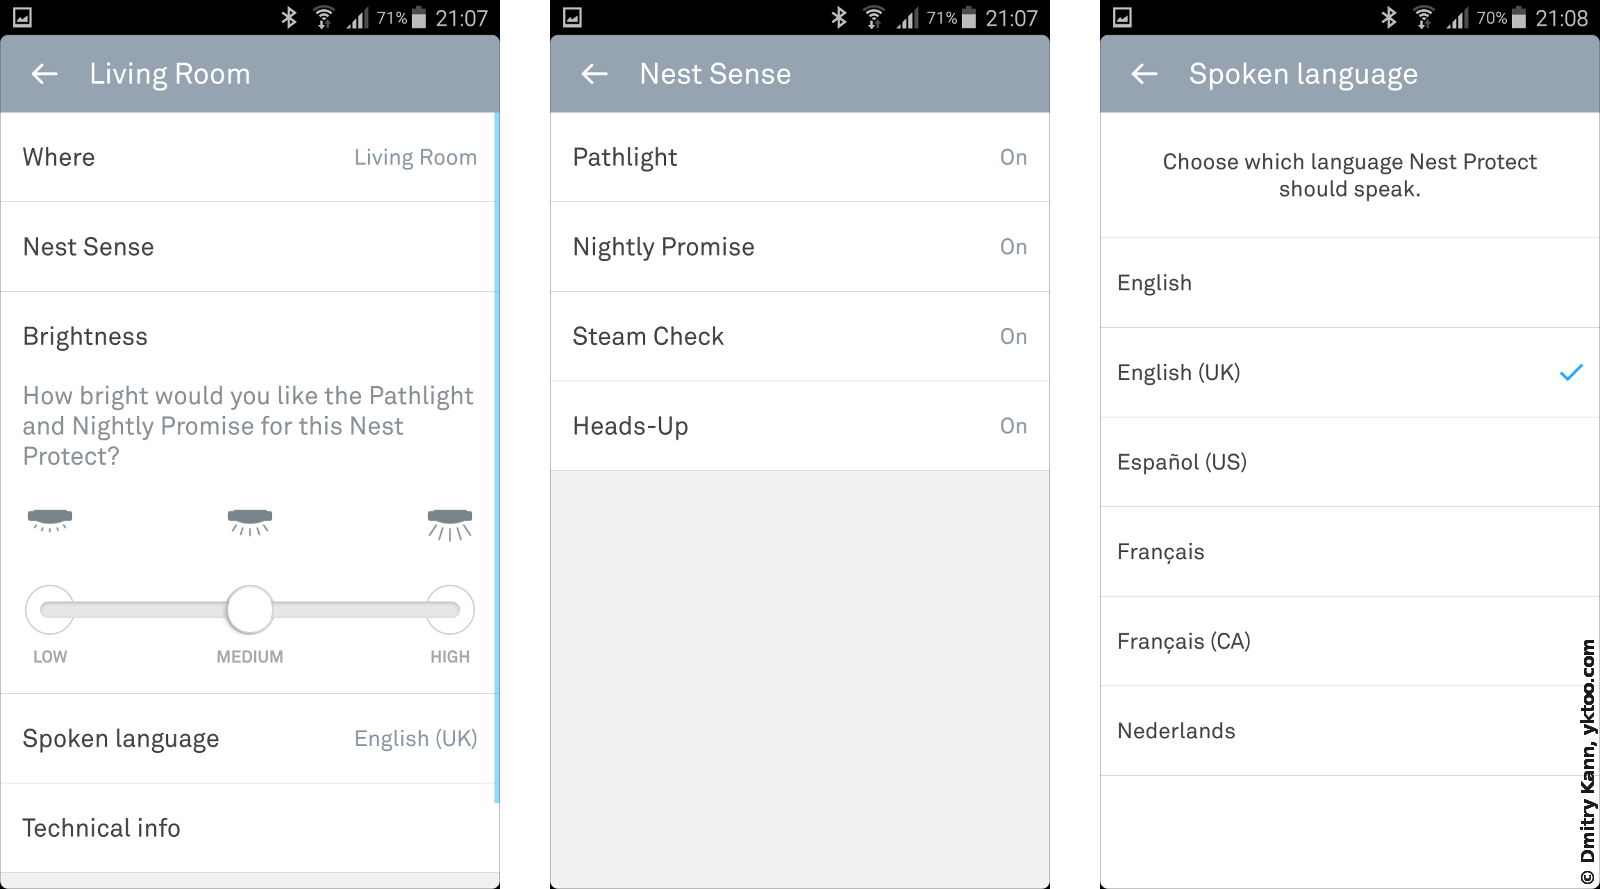
It’s all quite straightforward and simple.
What I find good about it, is that you can see the status of your Protects from anywhere via Internet, but for horn testing the Bluetooth is used, so you need to be nearby in order to do it. This is smart because no one can hack into your device to make it scream at night.
Another way of initiating a self-test is a double tap on the big button in the centre of your Protect.
Mount
Despite all the perfectionism this device is made with, I failed to find a pair of holes that would match the standard Dutch socket box, so I had to improvise:
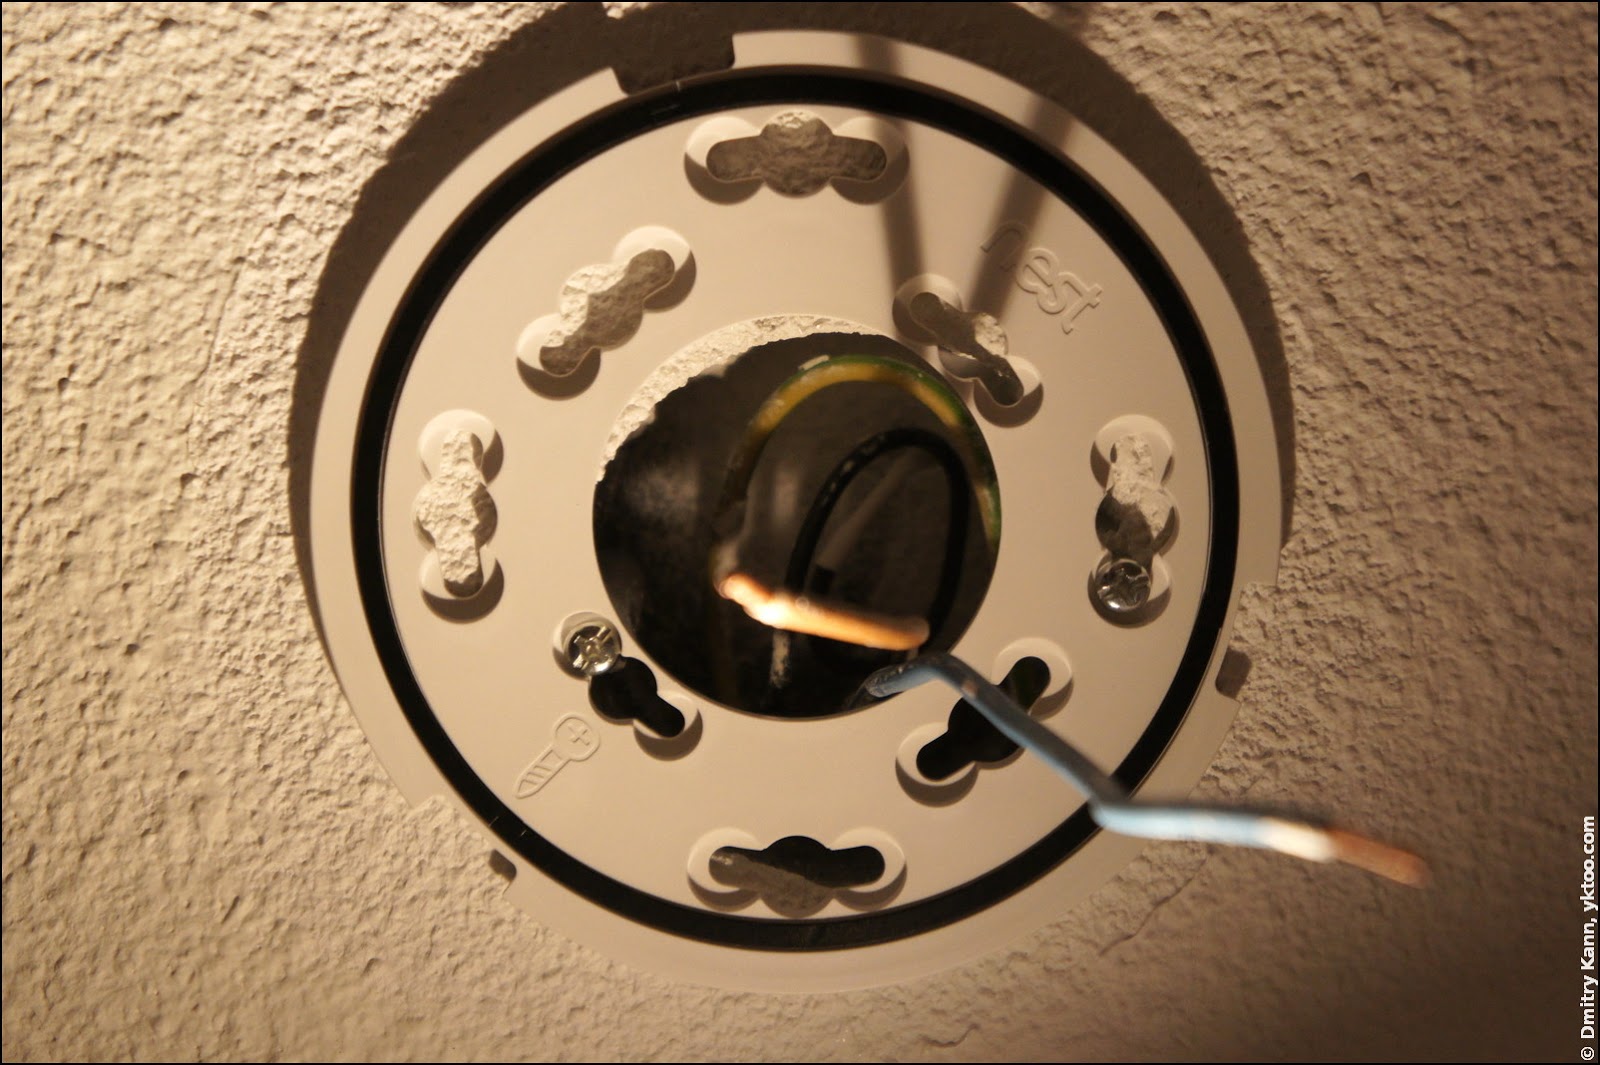
One should also take into account that the detector has to be rotated 90-120° to have it locked on the backplate, so the hole behind the backplate should be big enough to allow that.
The power wire is attached to the power/neutral line with the provided wire nuts, then the plug is inserted into the socket on the device’s bottom, Nest Protect is pushed onto the backplate and rotated clockwise. It expresses its gratitude by lighting the ring blue:
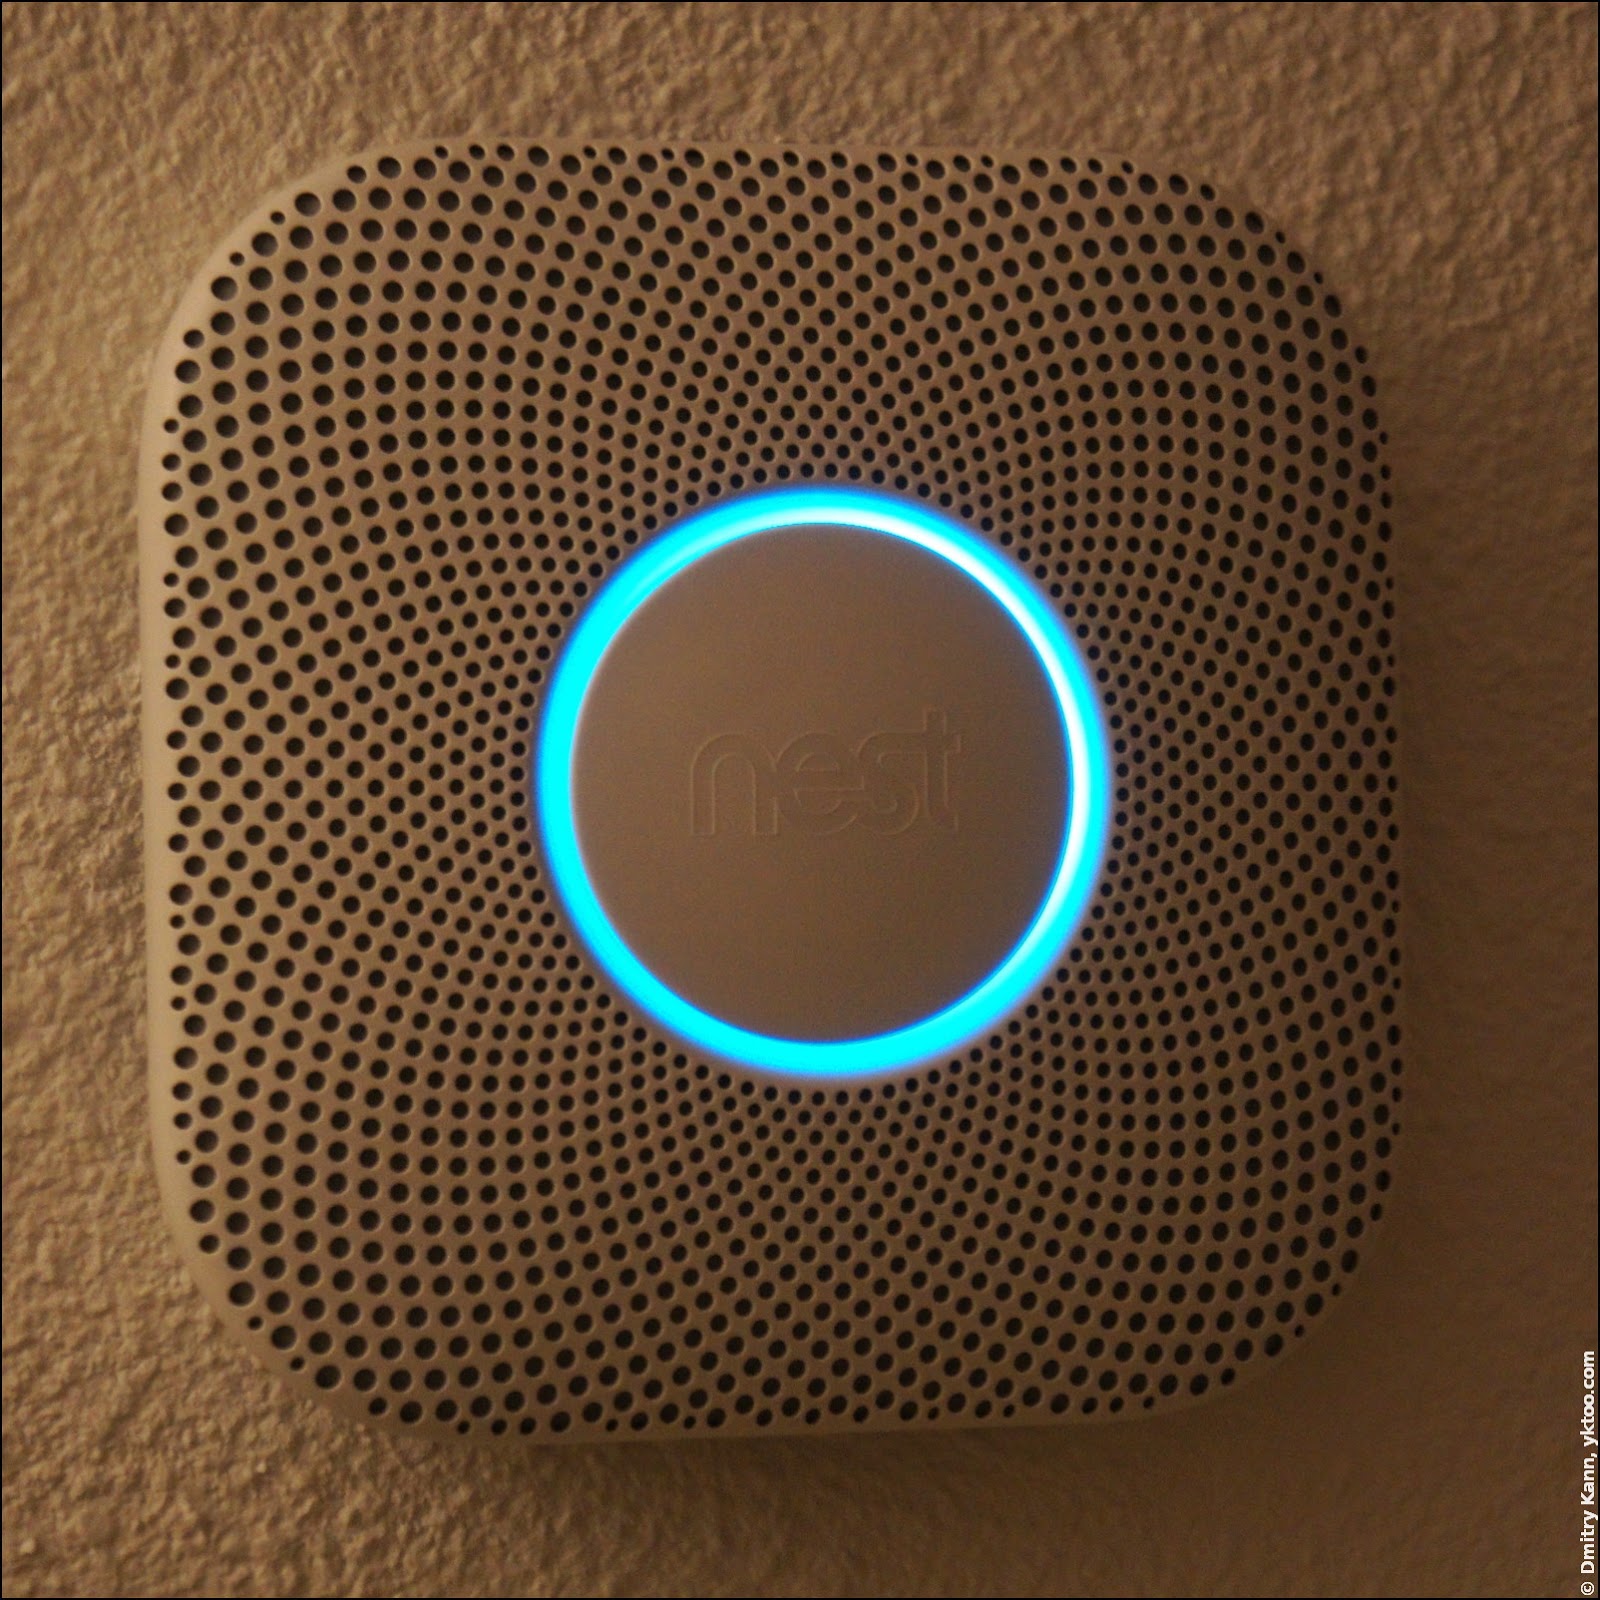
After a while it enters stand-by mode, the ring goes out and a small green LED indicates that the device is on mains power.
My experience
So far I’m quite happy about the detector’s build and performance. This second generation Nest Protect is of high quality and well thought-through. The website of the manufacturer also leaves a good impression as you see the customer is put first with Nest (unlike many others).
The main advantage of Nest Protect over a regular smoke detector is that it tells you clearly what and where exactly has happened. For example, “Heads-up, there’s smoke in the kitchen!”. How does it know it’s in the kitchen? You configure this during the setup of each specific detector.
And if you own a number of them, they all talk to each other via wireless radio, and all the messages are broadcast by all of them. So if you are, say, in the kitchen downstairs and the problem is in the bedroom upstairs, you’ll still hear all the messages via a detector on your floor.
Fortunately, I haven’t been able to evaluate its performance in a real fire. But for testing purposes I’ve lit and blown out a match right under the device. It responded immediately with “Heads-up, there’s smoke in the bedroom”. Once you’ve checked that everything is fine, you can silence the alarm via the mobile app.
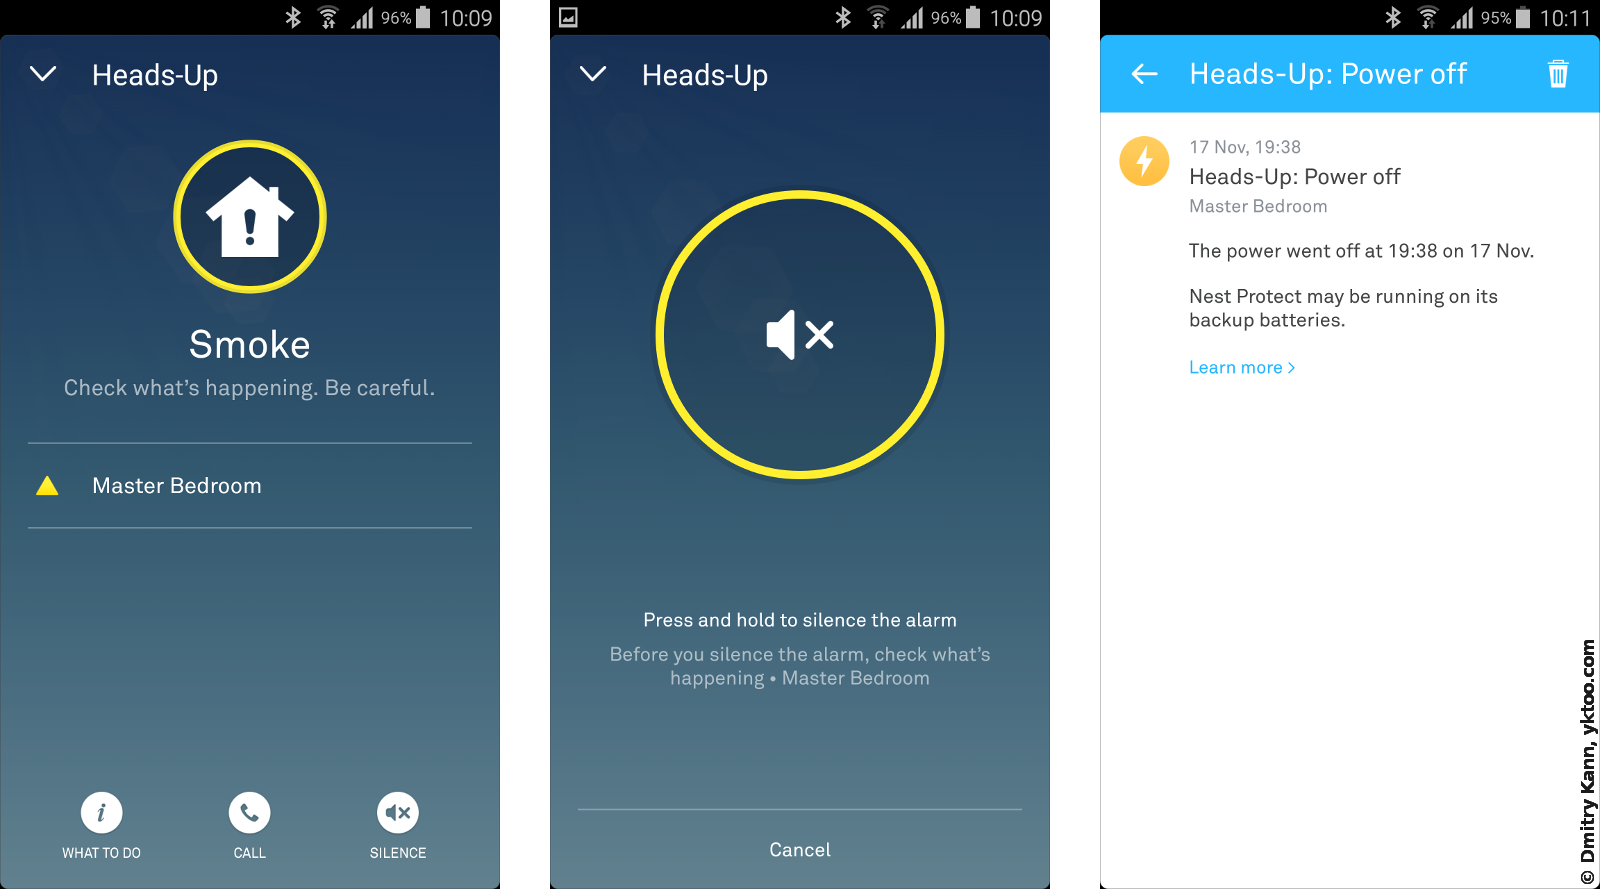
You can also see message history on the screenshot above. It logs various events, like power interruptions.
It’s also quite useful as a night light. The LED ring lights white, and it’s just enough to find your way in the darkness.
At the moment Nest Protect 2 is only officially available in the following countries:
- USA
- Canada
- Belgium
- France
- Ireland
- Netherlands
However I don’t think American smoke and carbon monoxide are any different from Ukrainian ones. So the only real argument against using it elsewhere could be lack of official support (and maybe the local language).
Conclusions
Pros
- High quality build and software
- Lots of built-in functions
- Stylish design
- Well organised user interface
- Protection against false alarms and annoying reminders
- Night light function
- Access to status via the Internet
- Long-life sensors (10 years)
Cons
- High price
- Officially sold only in a few countries
- Potential risk of hacking via Internet
- No guarantee the microphone is used for what it’s stated to be used
- It’s unclear what will happen if Nest Labs ceases to exist
Comments