Upgrading Mac OS X to Lion
A while ago I made up my mind to upgrade my Apple iMac 27" from Mac OS X 10.6 Snow Leopard to 10.7 Lion. Not that I’ve been actively using it, but did it rather out of curiosity: I heard many positive reactions about it.
My main system on this machine has always been Ubuntu.
In theory, upgrading should not be a big pain. All you need is to buy Mac OS X Lion in Apple’s AppStore:
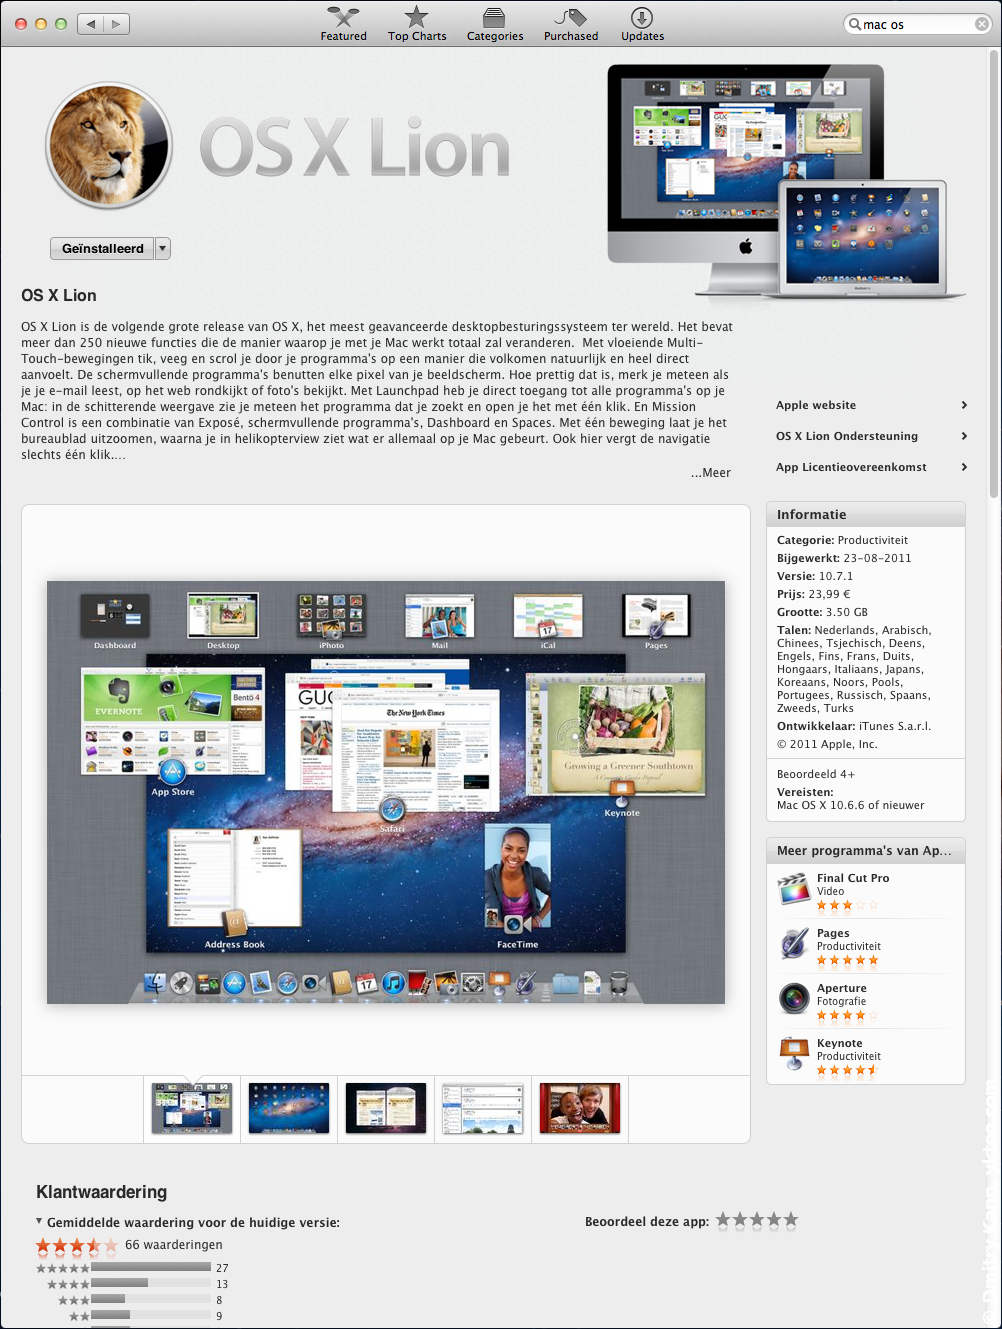
After that the system would download the installation package (3.5 GB) and install it.
In practice however, it is a bit more complicated.
If you have an Apple ID account with a credit card linked to it, buying Lion is the most simple step, and very similar to how you do it in the mobile AppStore.
Downloading three and a half gigabytes even on my not really slow connection took much longer than I would expect: after a few hours the download progress gauge was still showing about one third of the bar. Apple servers seem to have issues with maintaining connections. Thus a practical advice: start and watch Network Utility, as soon as the Received Packets counter stopped spinning, right click the downloading Lion icon, select Pause download, and then immediately Resume download—data starts streaming through the wires again—until the next choke:
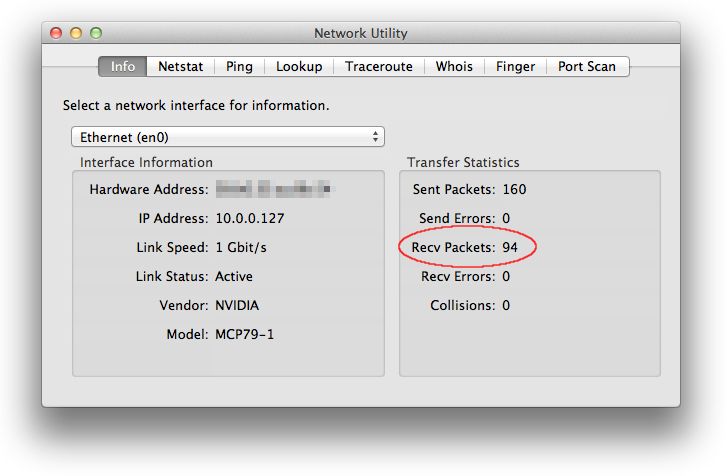
Exercising the pause option you can download Lion in a quarter on an hour.
But the main trouble was still ahead. The setup program attacked me with a news that my hard disk was partitioned using MBR partitining scheme, whereas it would only install on a GUID partitioned disk, and because of that no installation was possible. You can use Disk Utility in order to check out what your disk partitioning scheme is:
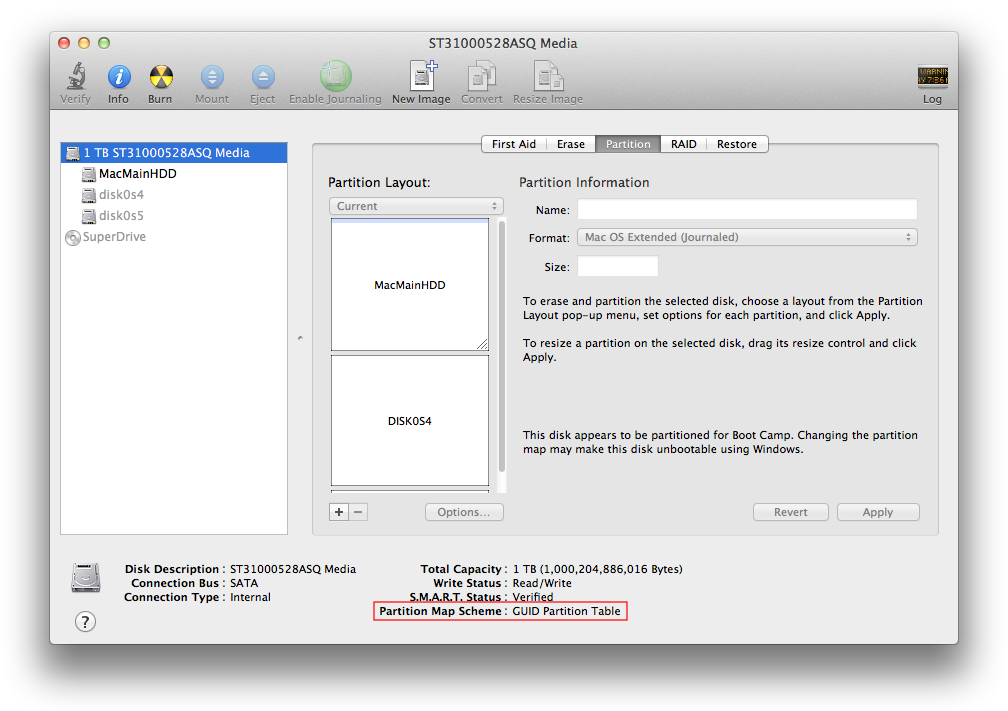
If you see GUID Partition Table there, just like on the screenshot, you can feel happy. Otherwise there’s no other option than to reinstall the whole system, because repartitioning a disk erases all data on it. And to be honest, I have no idea why my disk was partitioned that way; most likely I bought it already like that.
So, with a deep sigh, I made backups of both Mac OS and Ubuntu, found the recovery DVD that came with my iMac and booted the system from it. The funny thing is that it wouldn’t install Mac OS even from that DVD because of, yes,—the partitioning scheme. Therefore I opened Disk Utility from this disk and changed the scheme to GUID Partition Table. I also resized the main Mac OS partition to about a half of the available space, because the rest was meant for Ubuntu.
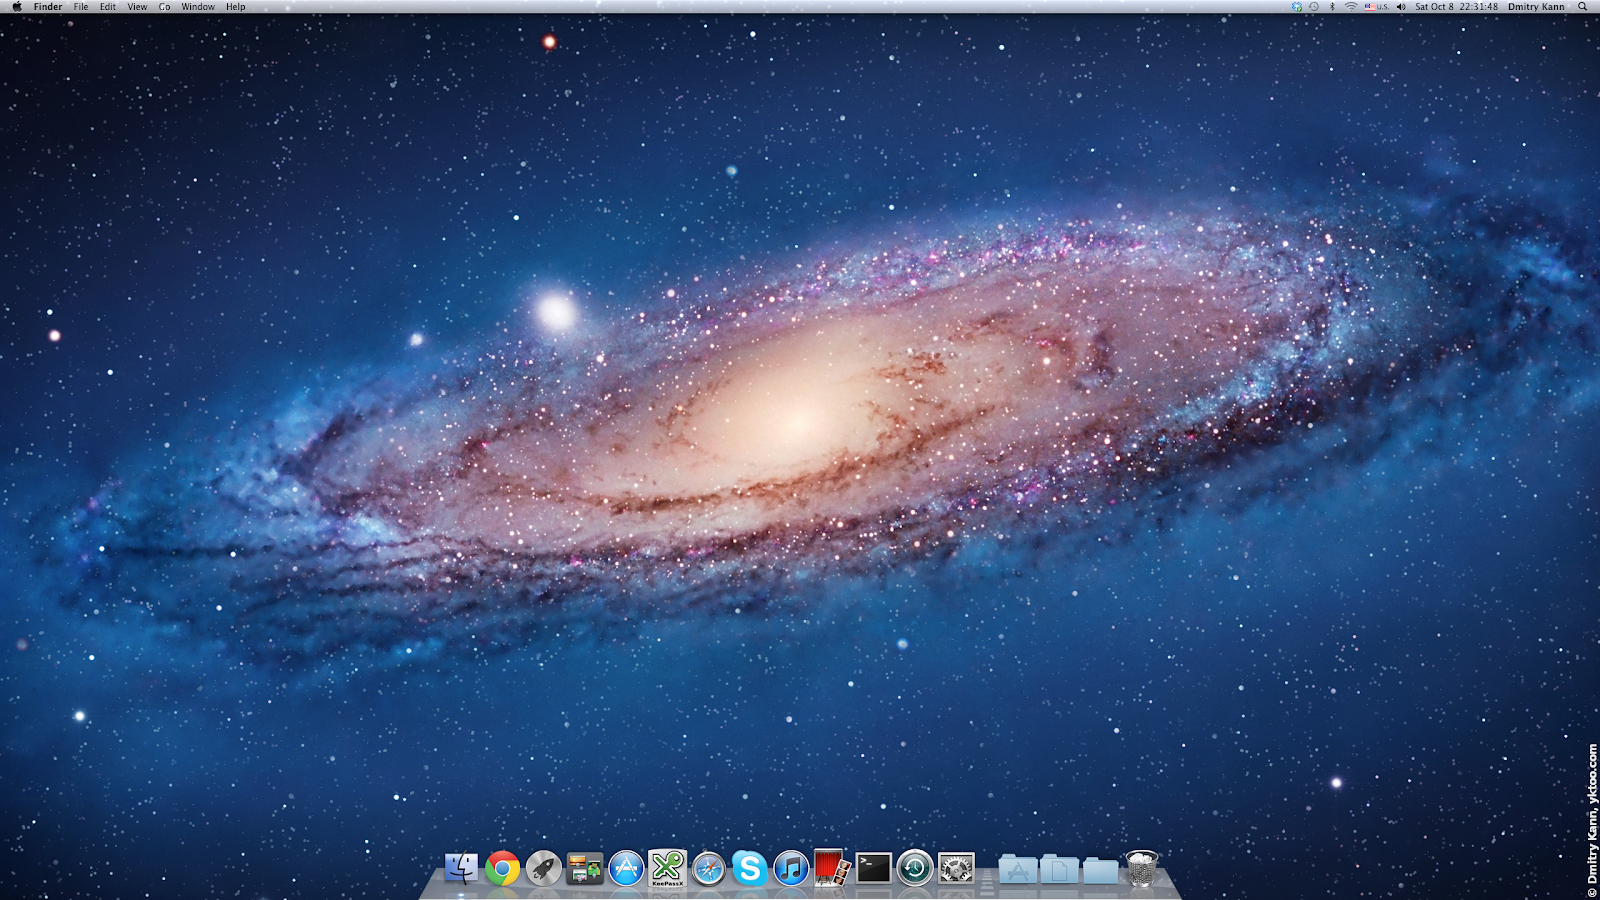
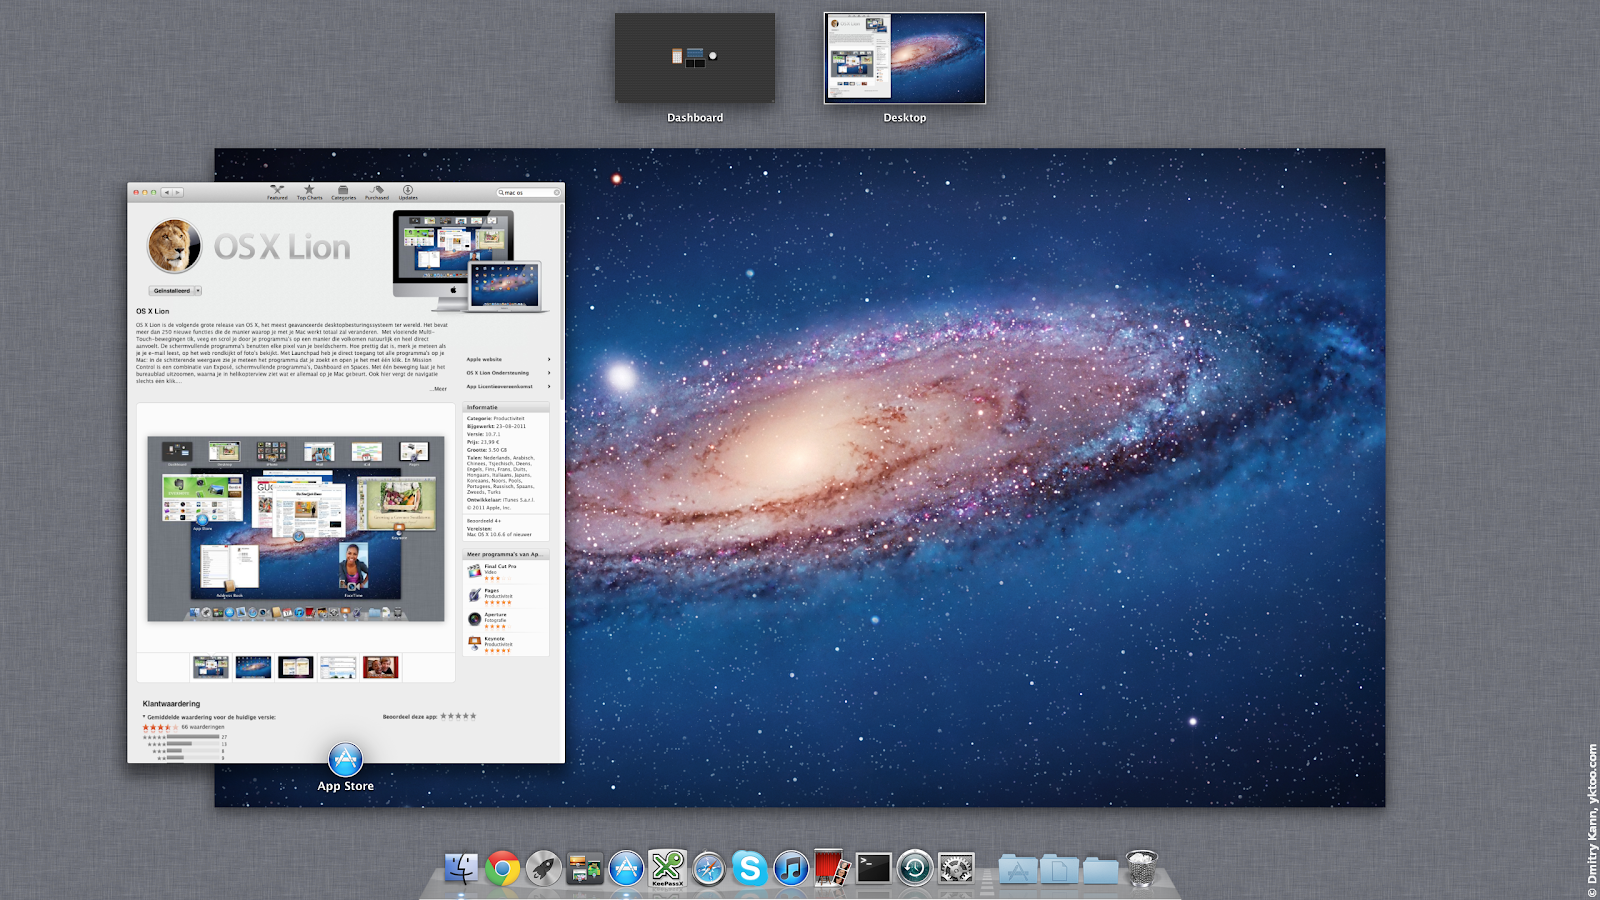
Remaining steps are simple: you install OS 10.6 Snow Leopard and update it in the standard way (it will download some 1 GB), which creates an AppStore shortcut in the Dock. There you start downloading Mac OS 10.7 Lion again (you don’t have to pay again if you’ve bought it already), with the tricks described above you make it download in a reasonable time, and install it without an issue. After reboot you see the new desktop with a new space theme:
There’s already a lot of reviews on its new features and improvements. Among other things, the Dock has now got Mission Control, which gives you an overview of the whole desktop:
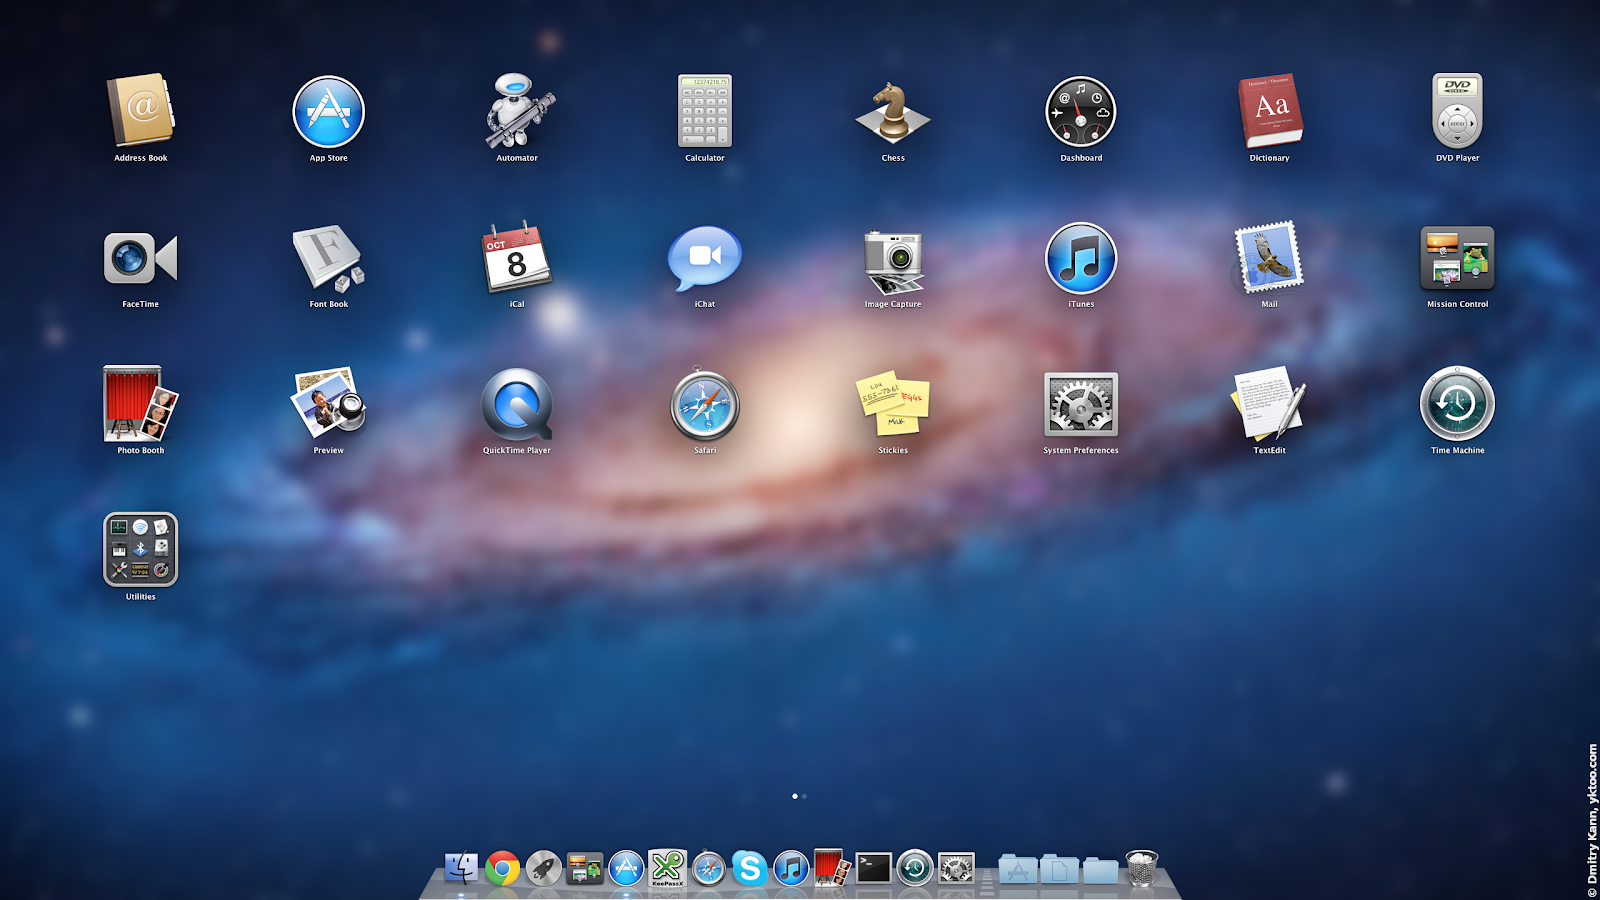
Launcher panel resembles iOS:
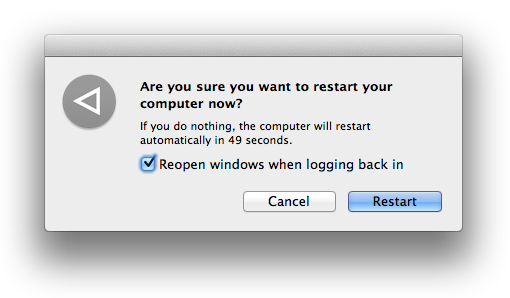
Before shutdown you can now opt to restore all open applications on next boot:
Installing Ubuntu on iMac
The next step was to install my primary system, Ubuntu.
I allocated required amount of free space on the HDD before installing Mac OS X.
Unfortunately the standard BootCamp Assistant tool in Mac OS only recognizes Mac OS and Windows, and knows nothing about Linux. To get a boot menu you’re going to need the old good rEFIt: it’s very easy to install, but note that you have to reboot the system twice before the boot menu shows up.
After that you insert Ubuntu Live CD (I used Ubuntu 11.10 Oneiric Ocelot Beta 2), choose this disk in the rEFIt menu and install Ubuntu into the free space on the hard drive. The installation went smoothly even though it was a beta.
The only issue is that the system hangs if you reboot it. To remedy that you have to edit /etc/default/grub (as root): the line
GRUB_CMDLINE_LINUX_DEFAULT="quiet splash"
needs to be changed into
GRUB_CMDLINE_LINUX_DEFAULT="quiet splash reboot=pci"
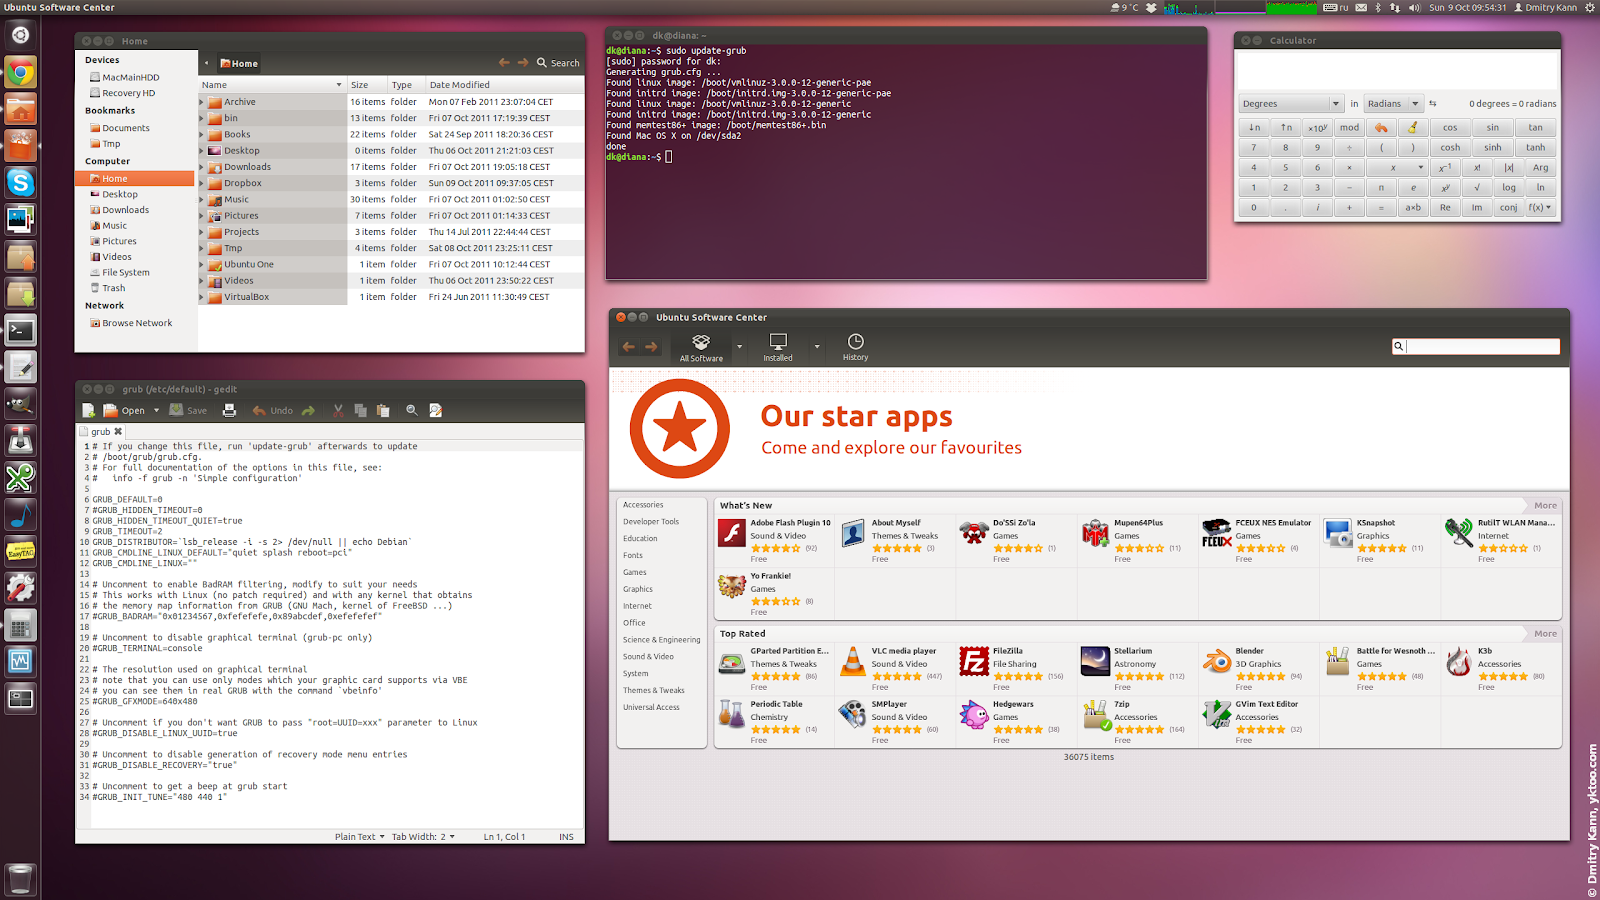
You’ll have to update GRUB menu after that:
sudo update-grub
After the subsequent reboot the problem should be gone.
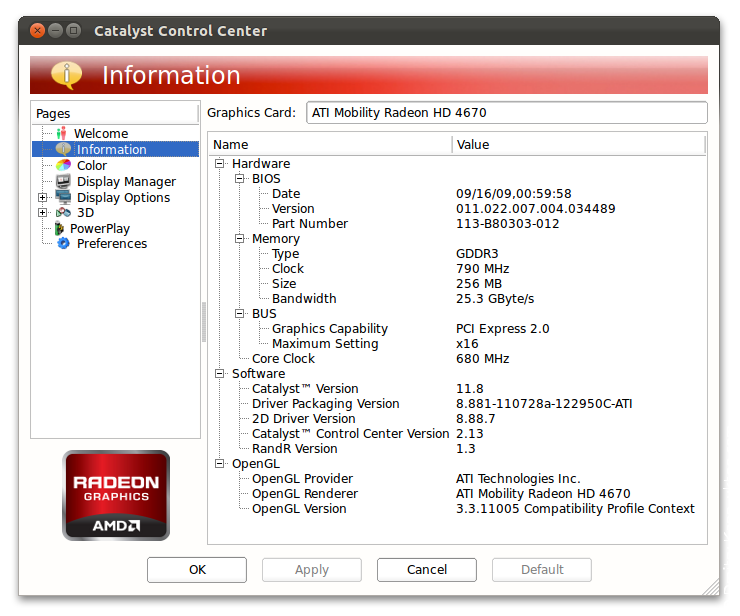
It’s amazing that the free ATI Radeon driver supports 3D now, and makes Unity work. However I installed the proprietary ATI Catalyst anyway:
sudo apt-get install fglrx-updates
On the other hand, Ubuntu becomes more and more sleek and provides even better user experience. What is also noteworthy is their increasing similarity with Mac OS, which is arguably a mutual process. ■
Comments