This is a how-to for making a jamón holder (a.k.a. ham stand or jamonera) from IKEA household products.
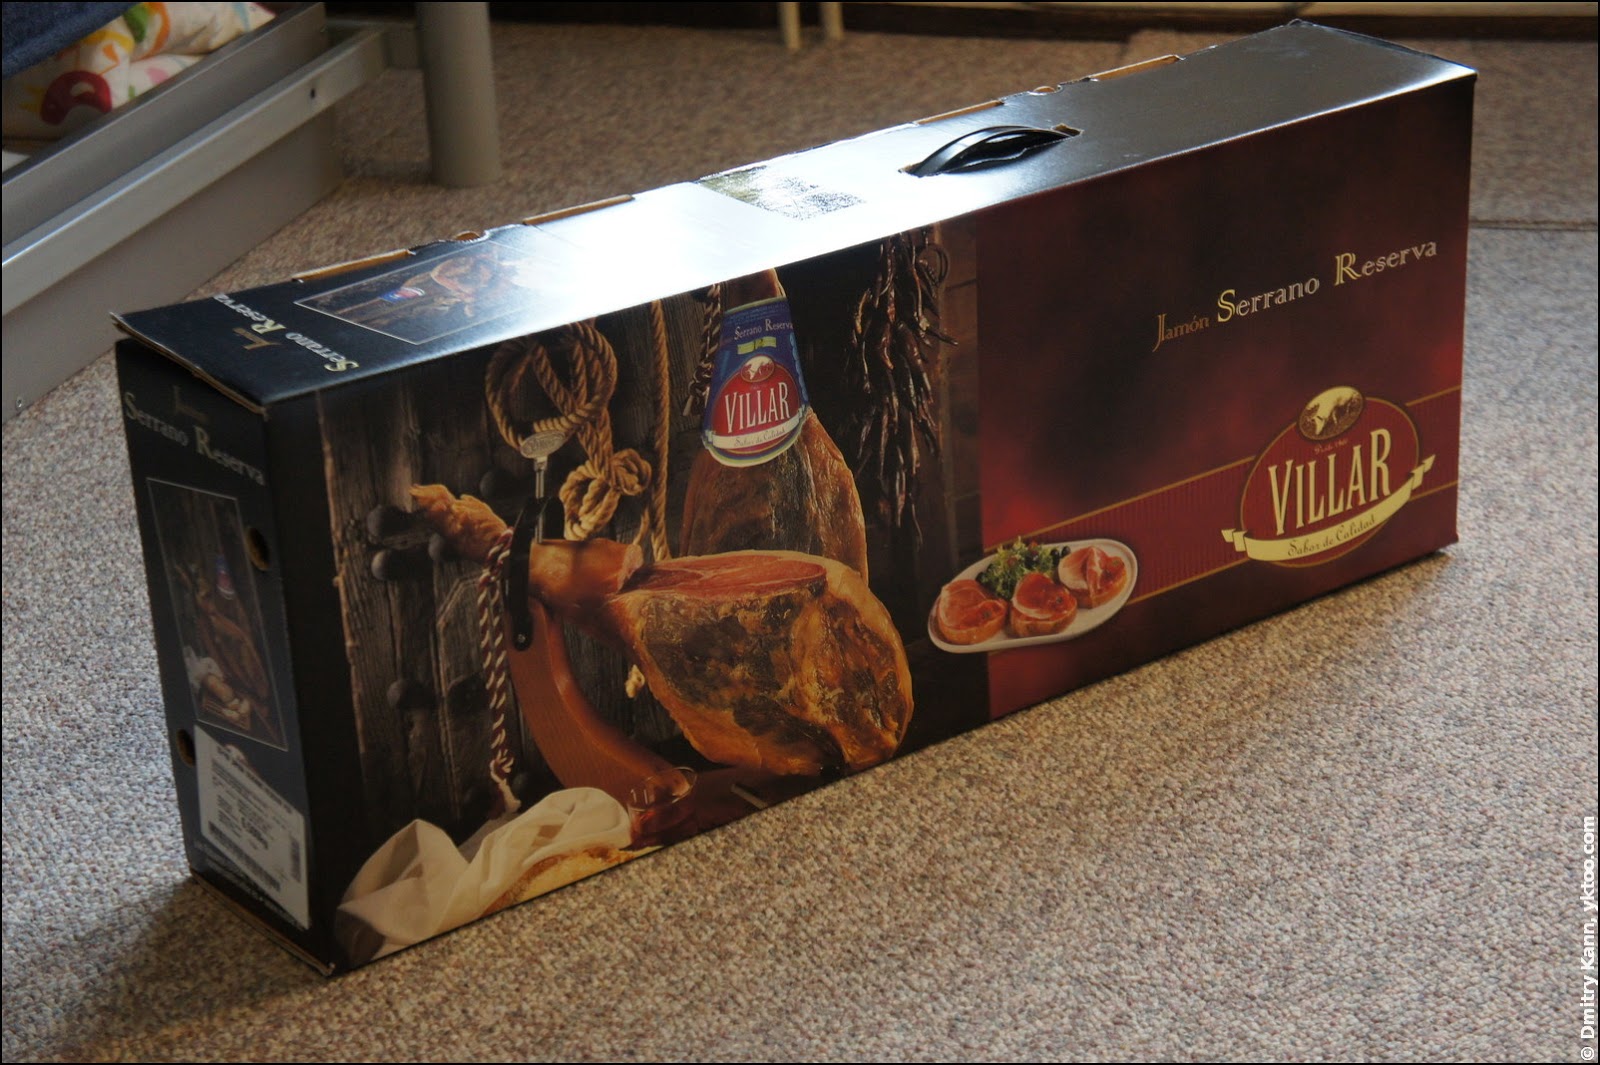
After all those jamón (Spanish dry-cured ham) stories by Alex Exler I’ve read, I felt an urge to give it a try. And one day I saw one in the local grocery store: Villar Jamon Serrano Reserva, weight ca. 7 kg for € 49.95. It is just advisable to get acquainted with jamón by tasting its cheapest varieties.
However there was no holder included, and it’s quite a hassle to handle jamón without it. Local stores couldn’t really help me with an affordable jamonera. The prices started at three hundred euros which is in my opinion an overkill, especially for a fifty-euro worth jamón.
Another option would be to buy a holder online. The prices start at 25-30 euros, but then you have to wait for delivery. To cut the long story short, I decided to make one myself. Hence this how-to.
Now what we’ll need is:
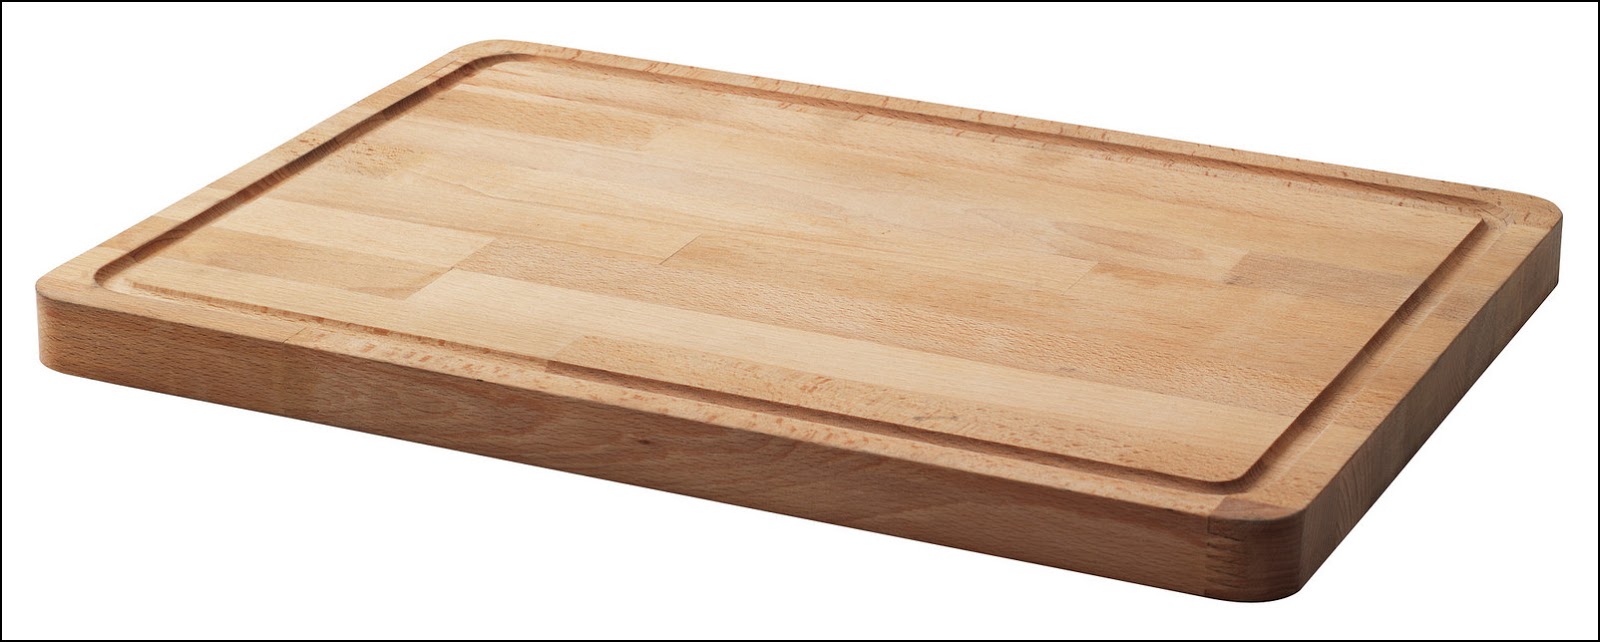
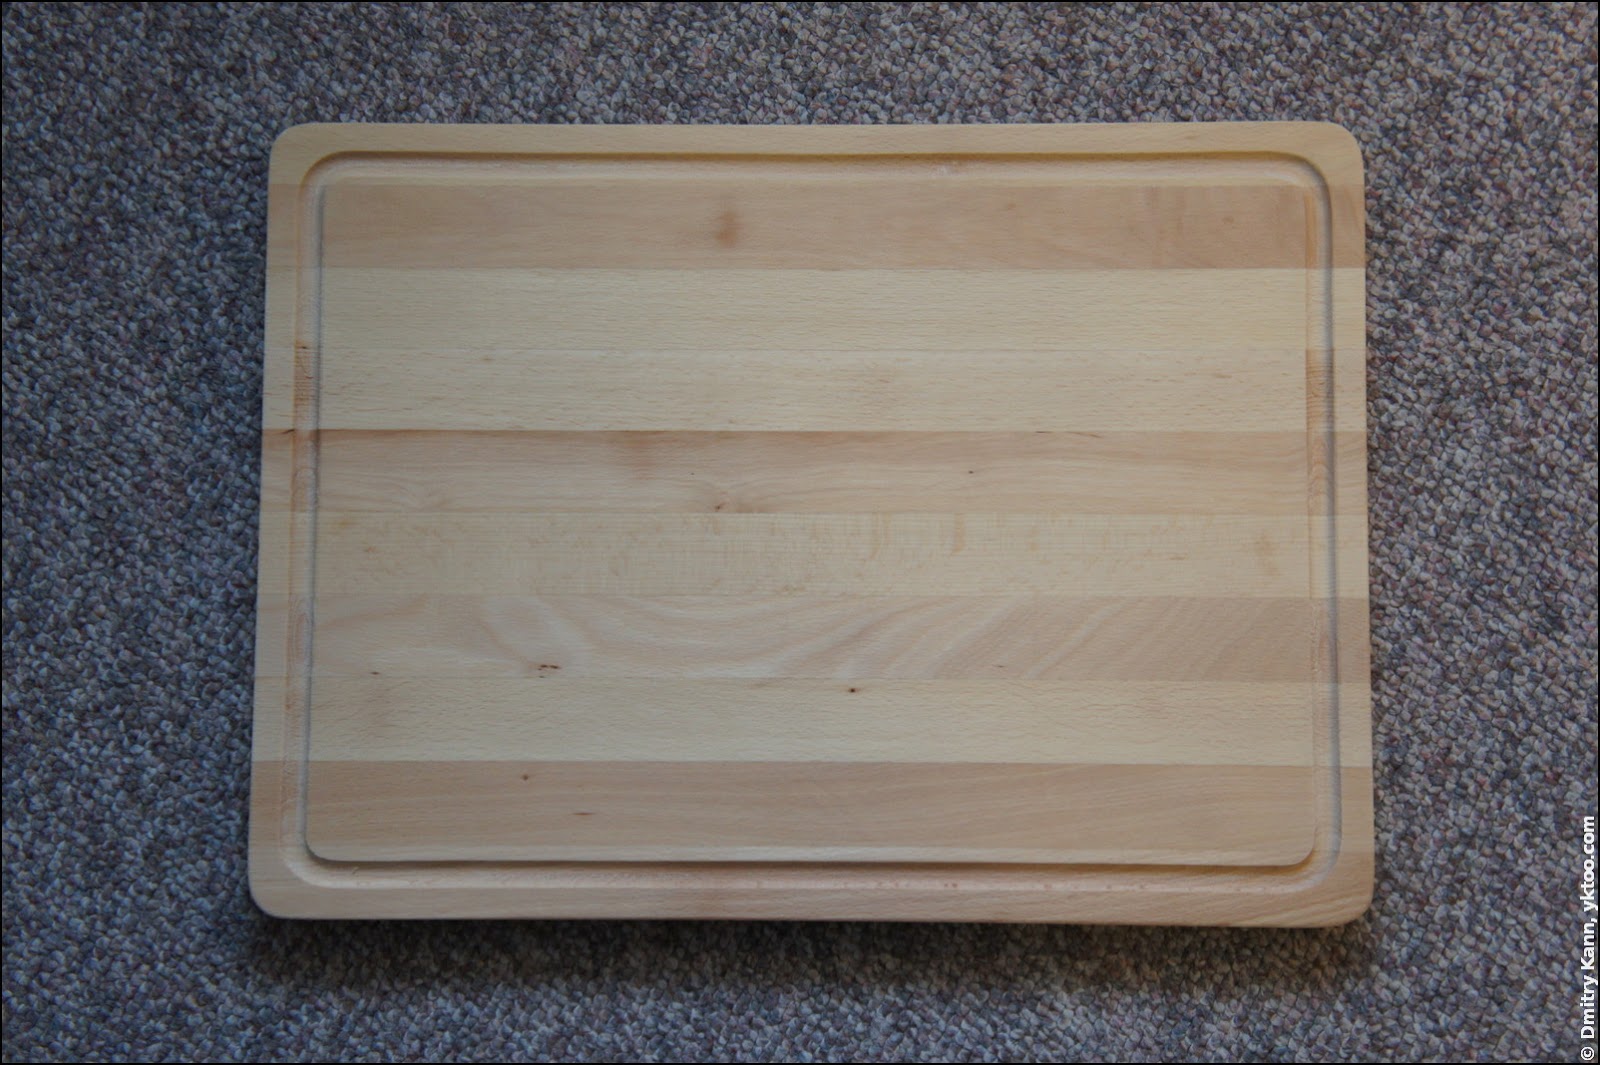
- Chopping board Boholmen (€ 8.99 in IKEA):
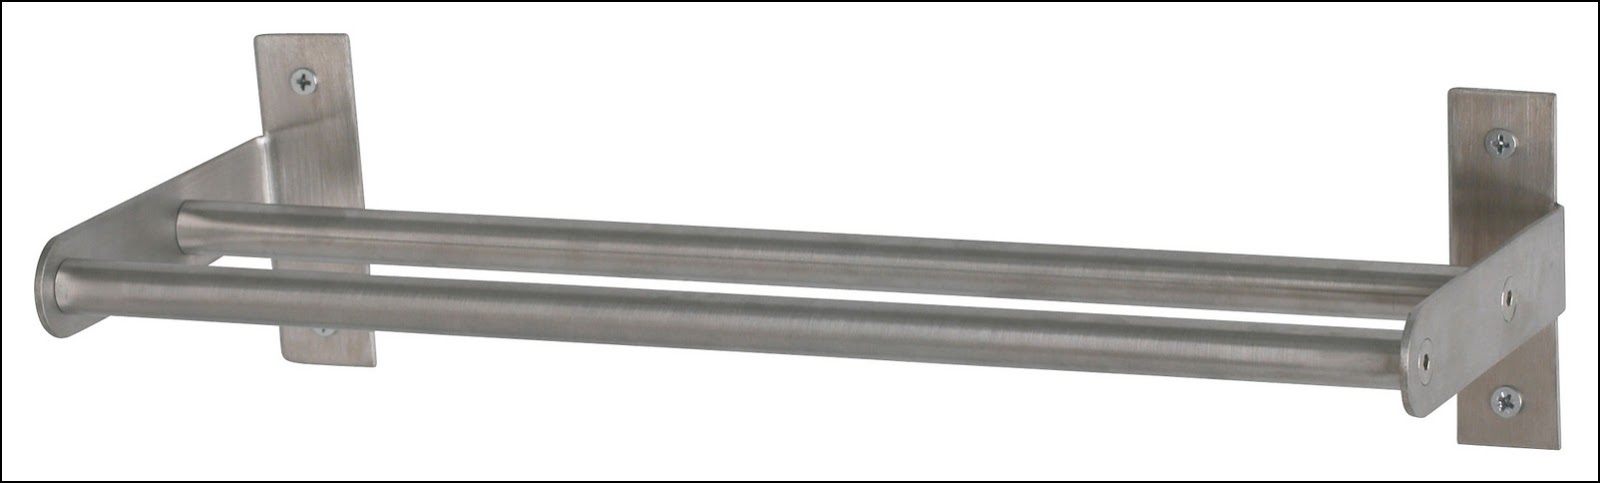
- Stainless steel towel rail Grundtal (€ 9.99 in IKEA):
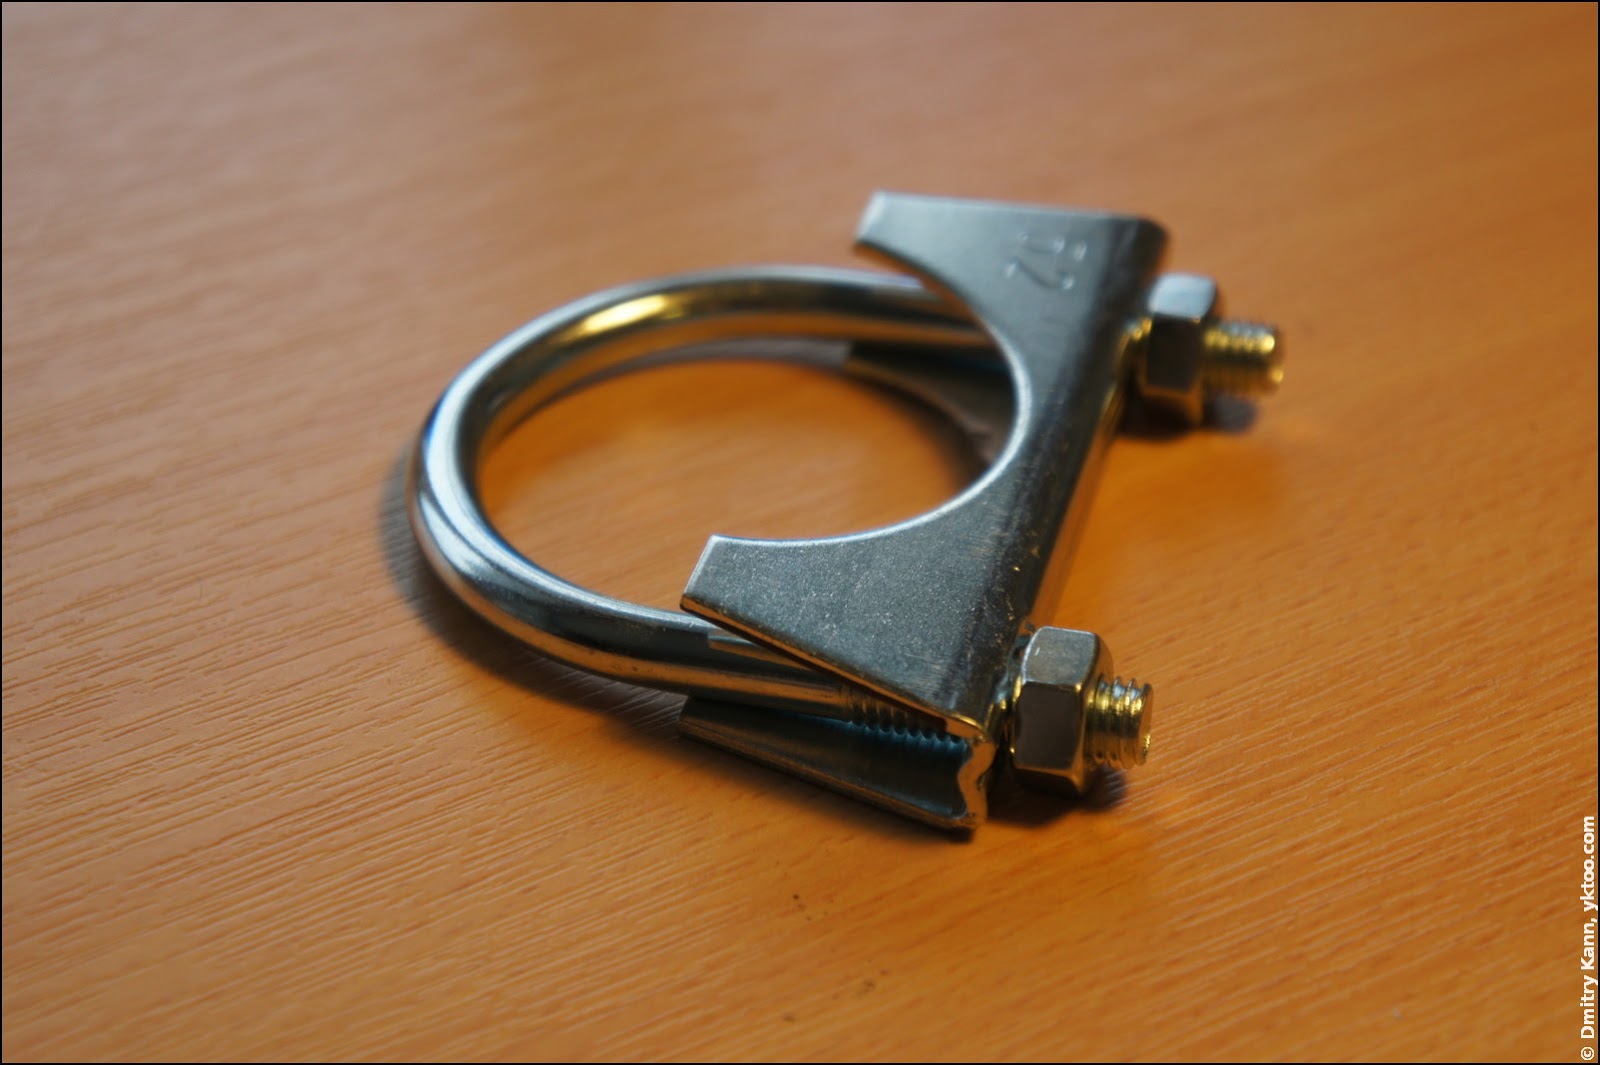
- A nameless exhaust clamp ∅ 52 mm I found in a local household store (€ 2.49):
Let’s start with the chopping board:
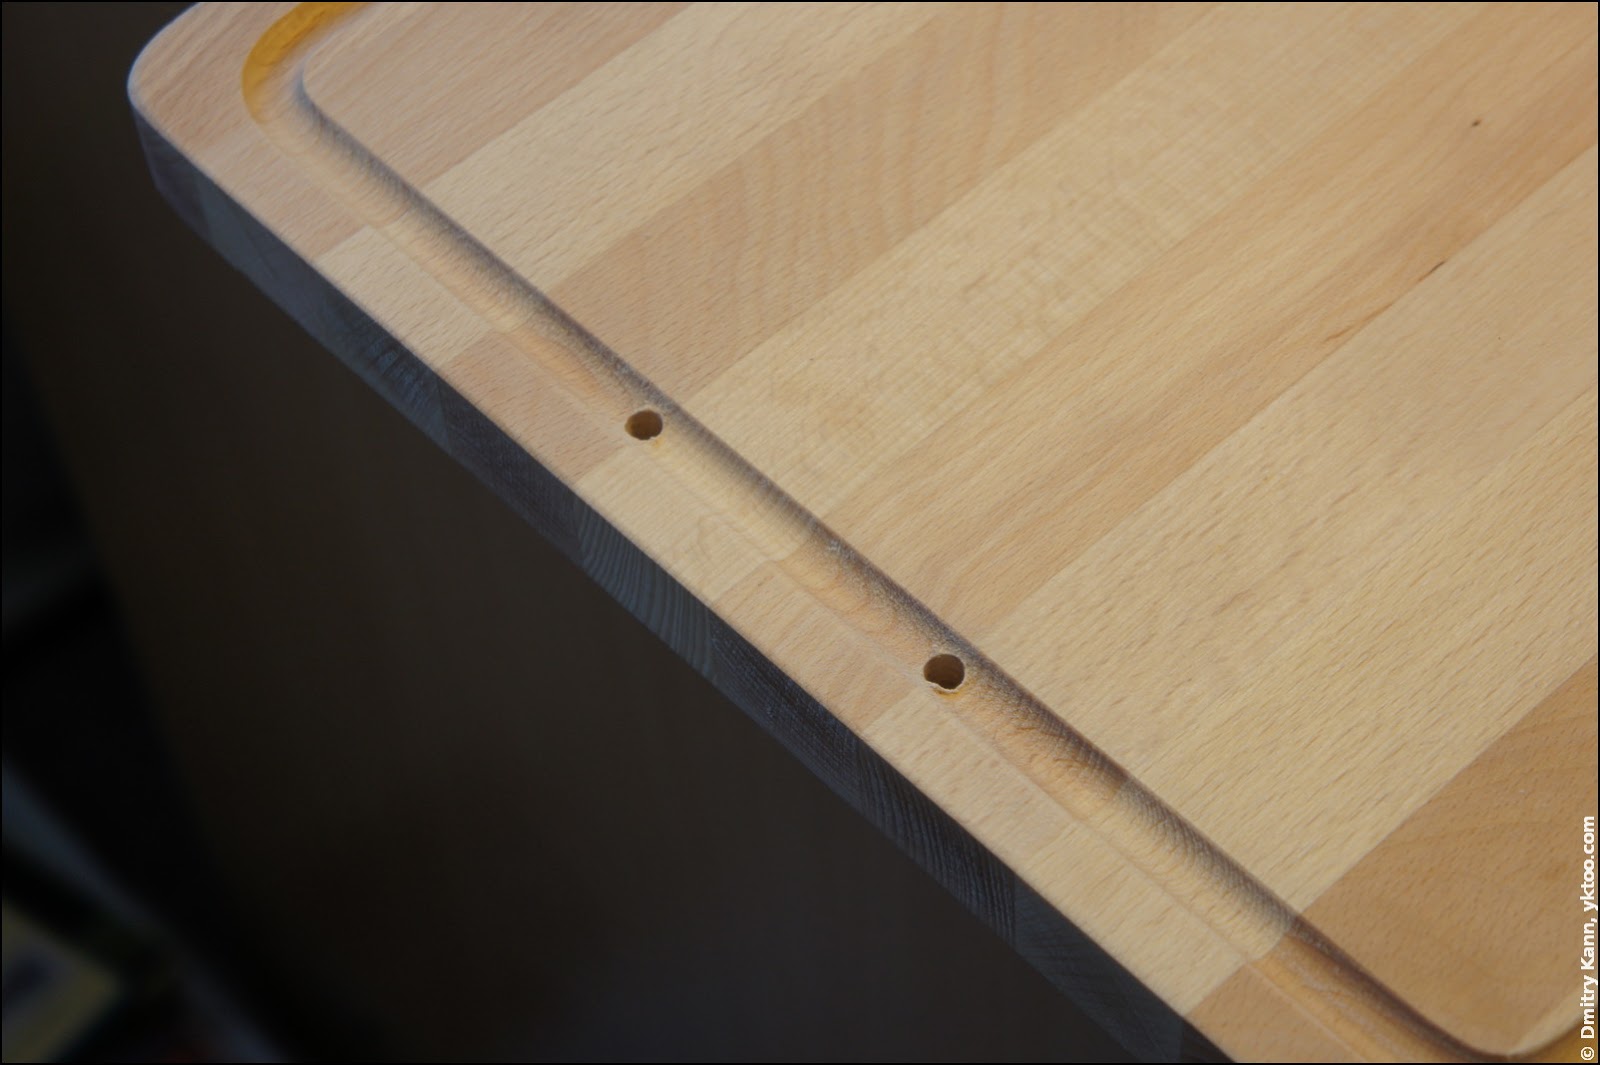
You drill two holes ∅ 6 mm, 70 mm away from one another along the short side of the board, symmetrically with regard to its central axis:
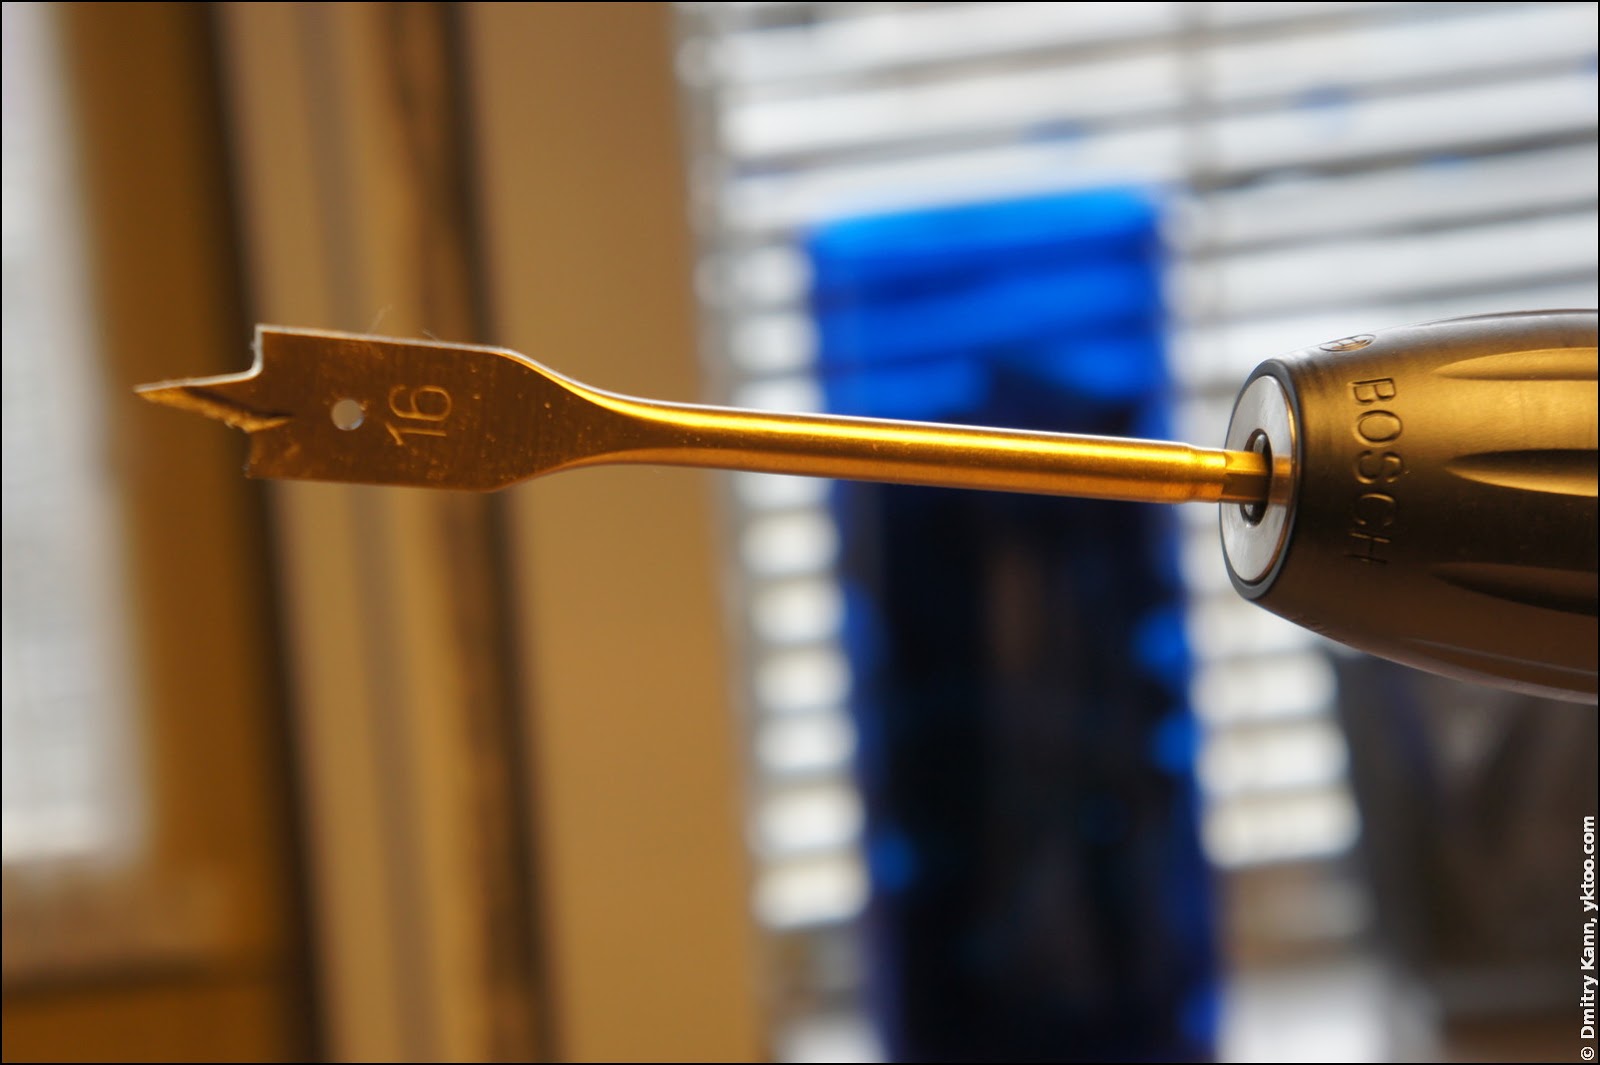
Then fix a 16 mm flat wood bit in the chuck:
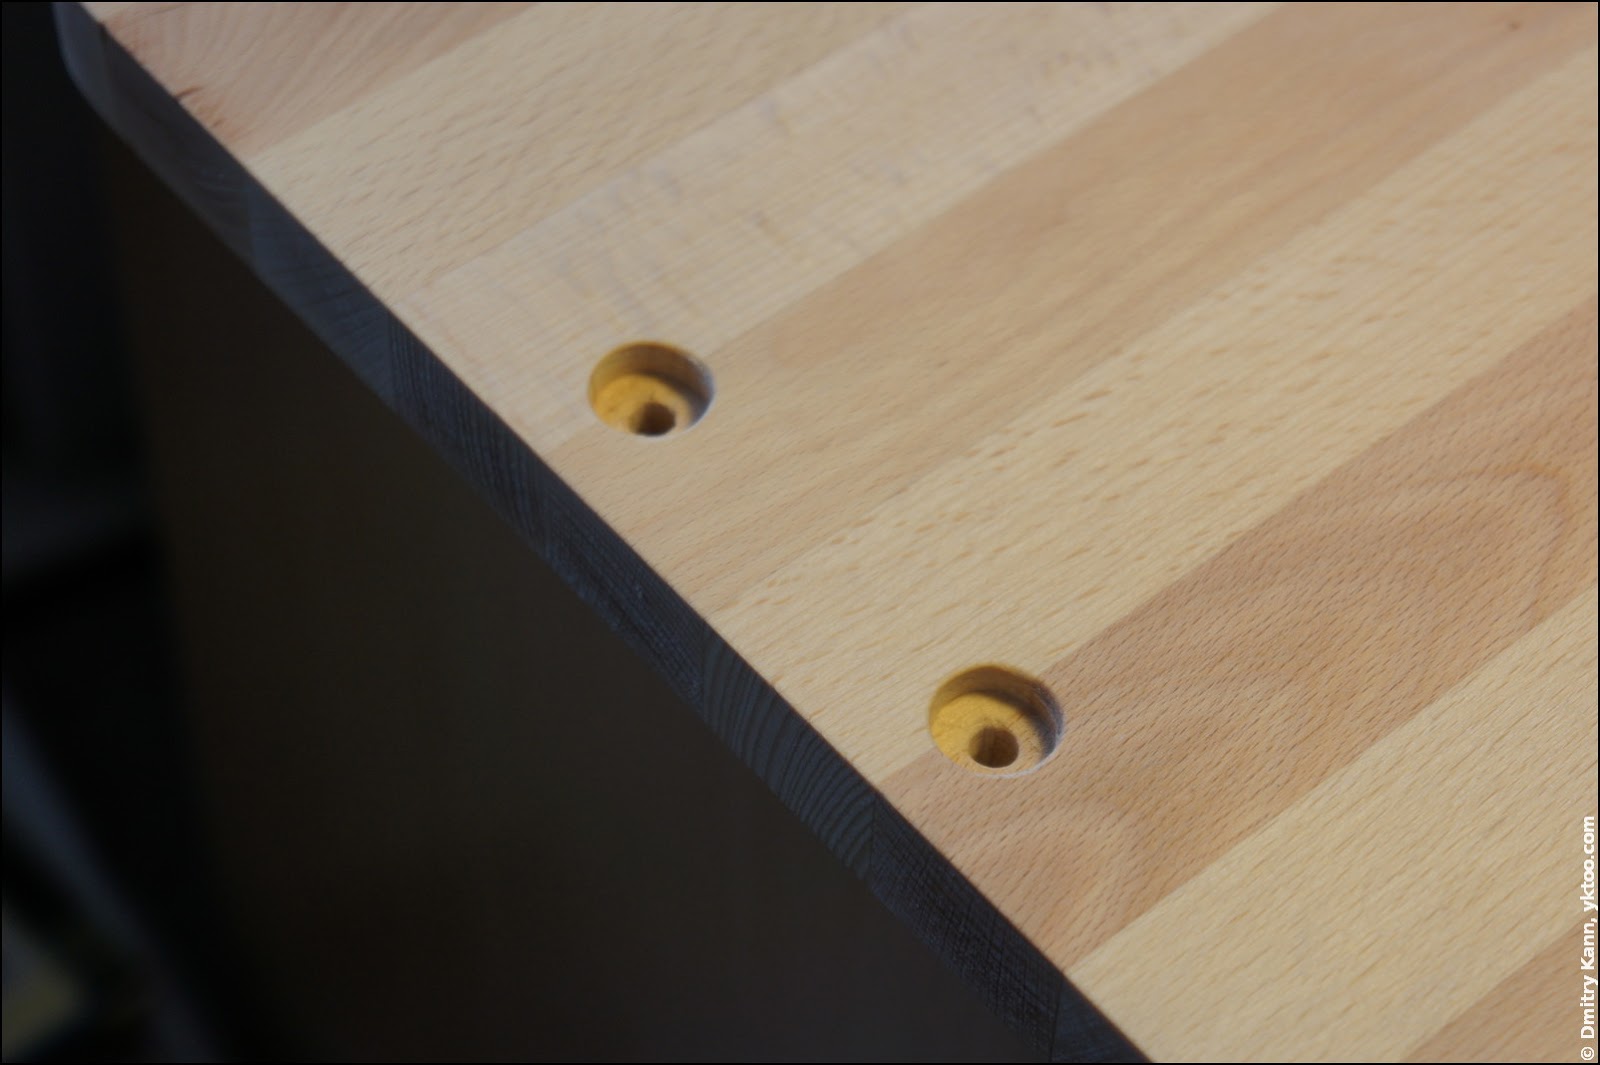
And make shallow sockets at the back (lower) side of the board (you can use sandpaper to finish the edges):
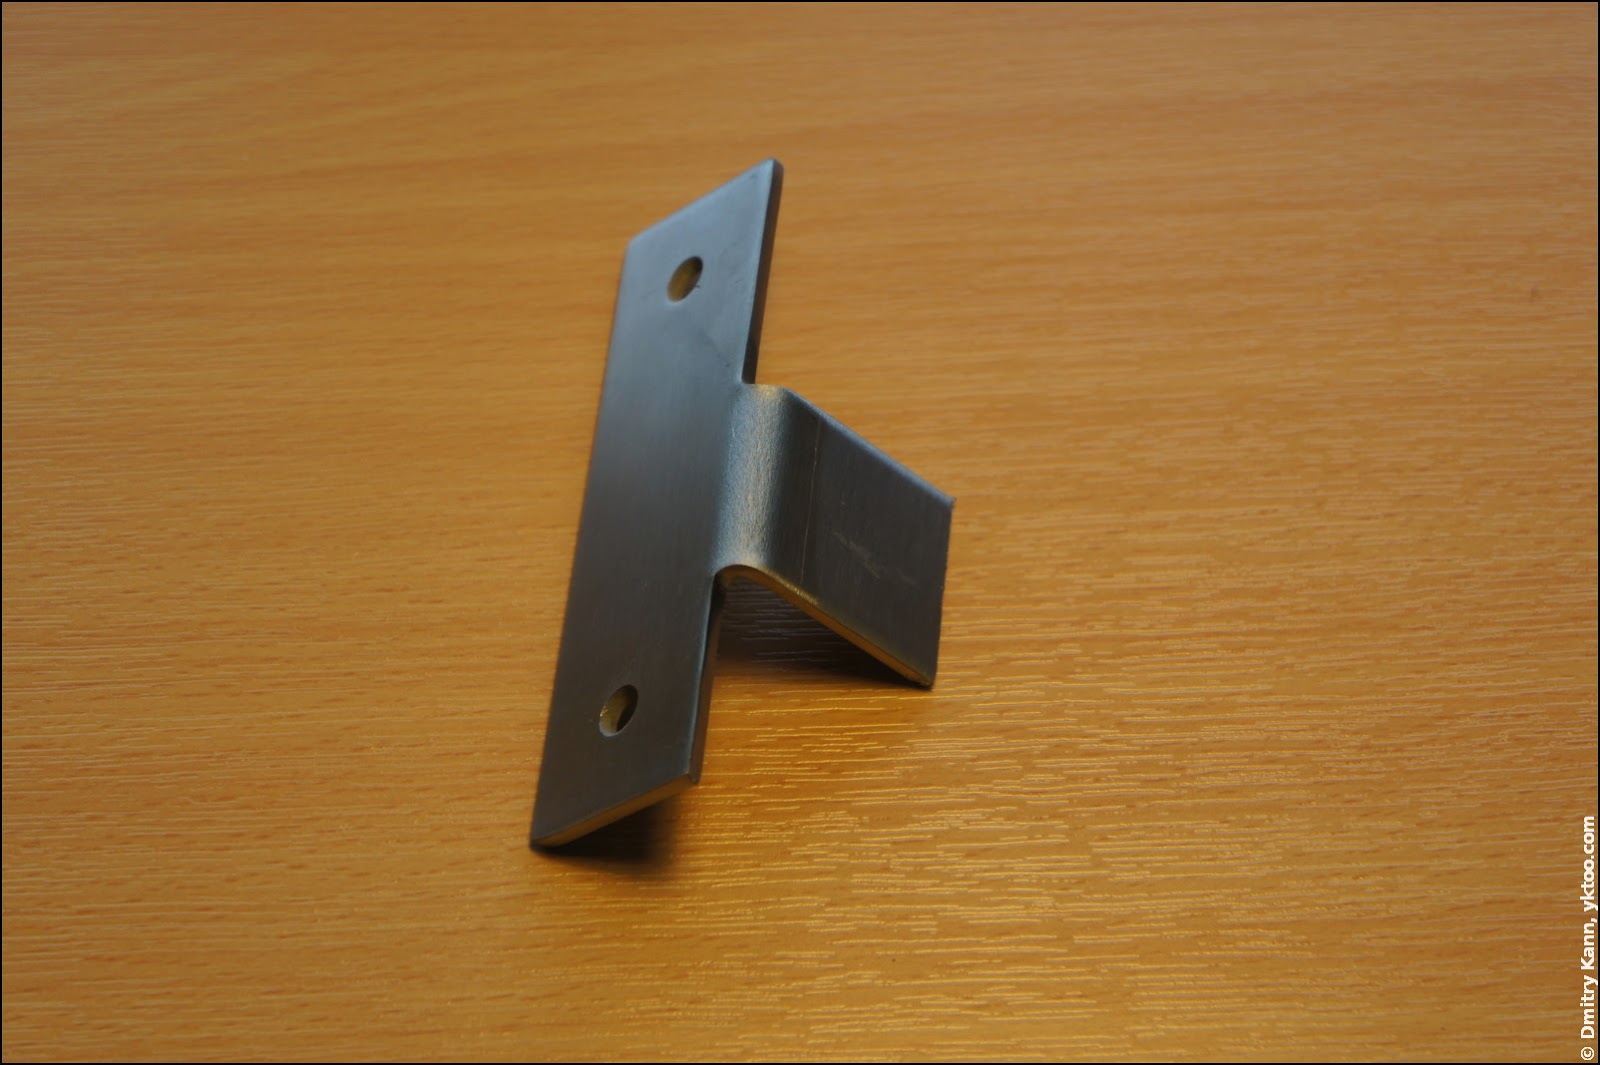
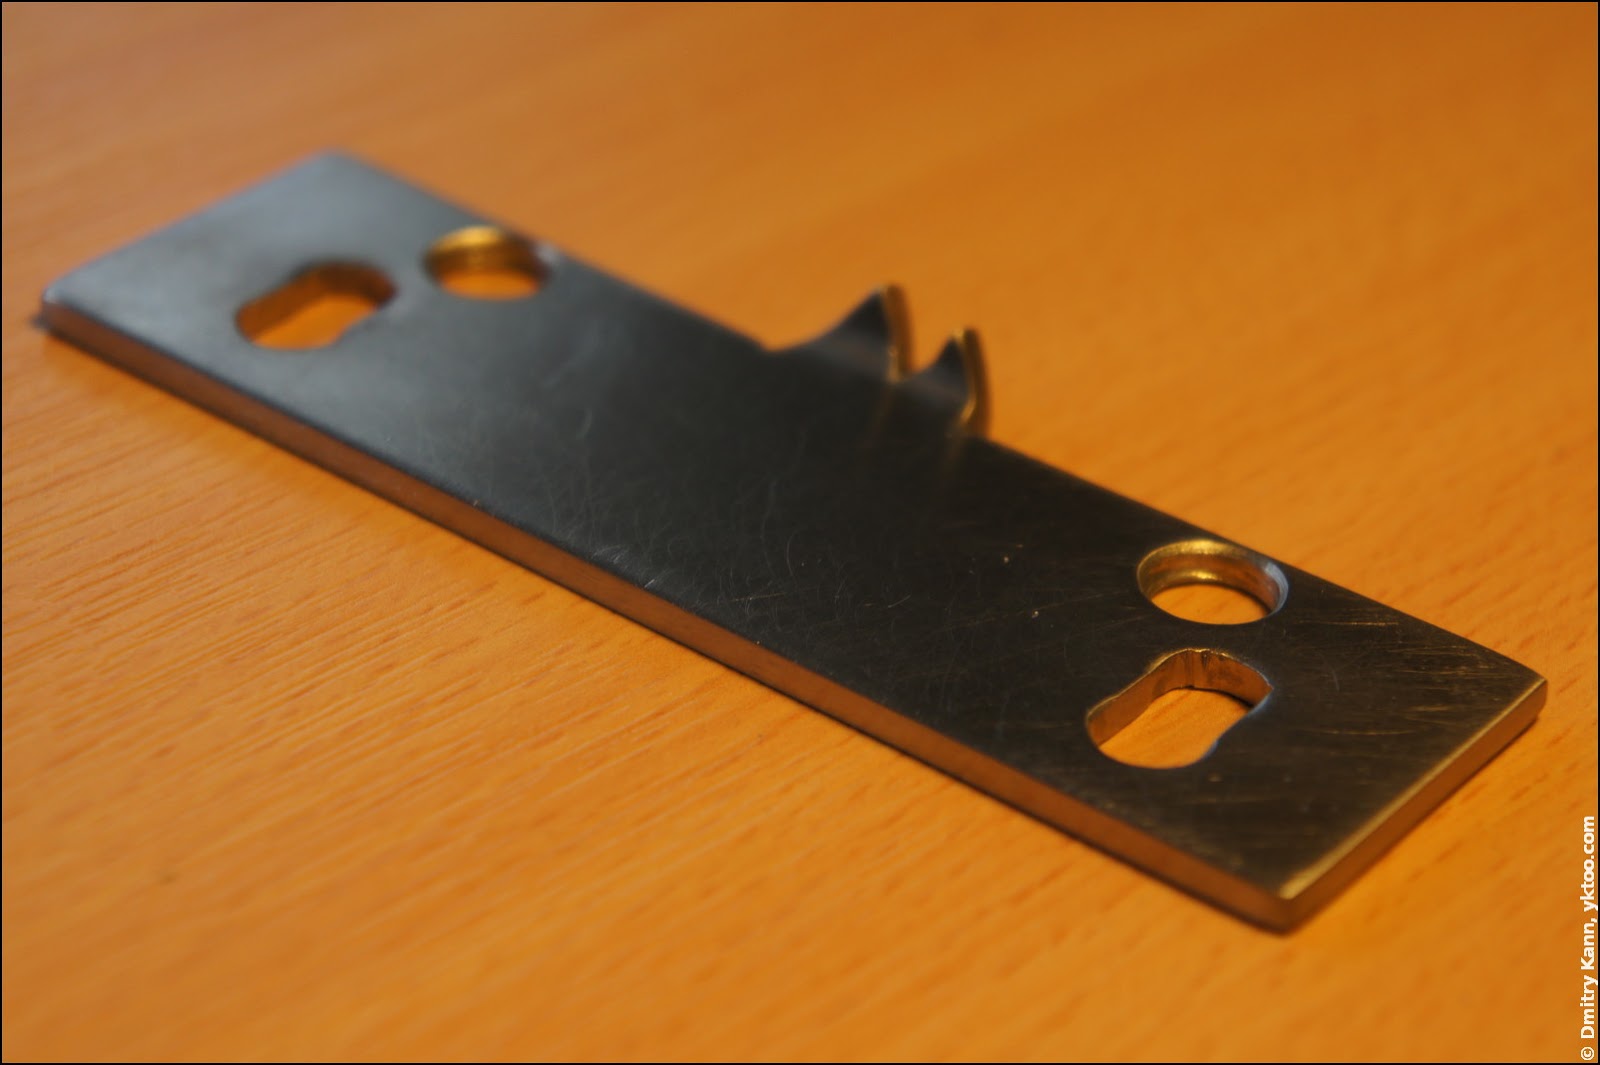
Now take a side bracket of the towel rail (I used the right one, but that’s doesn’t matter really):
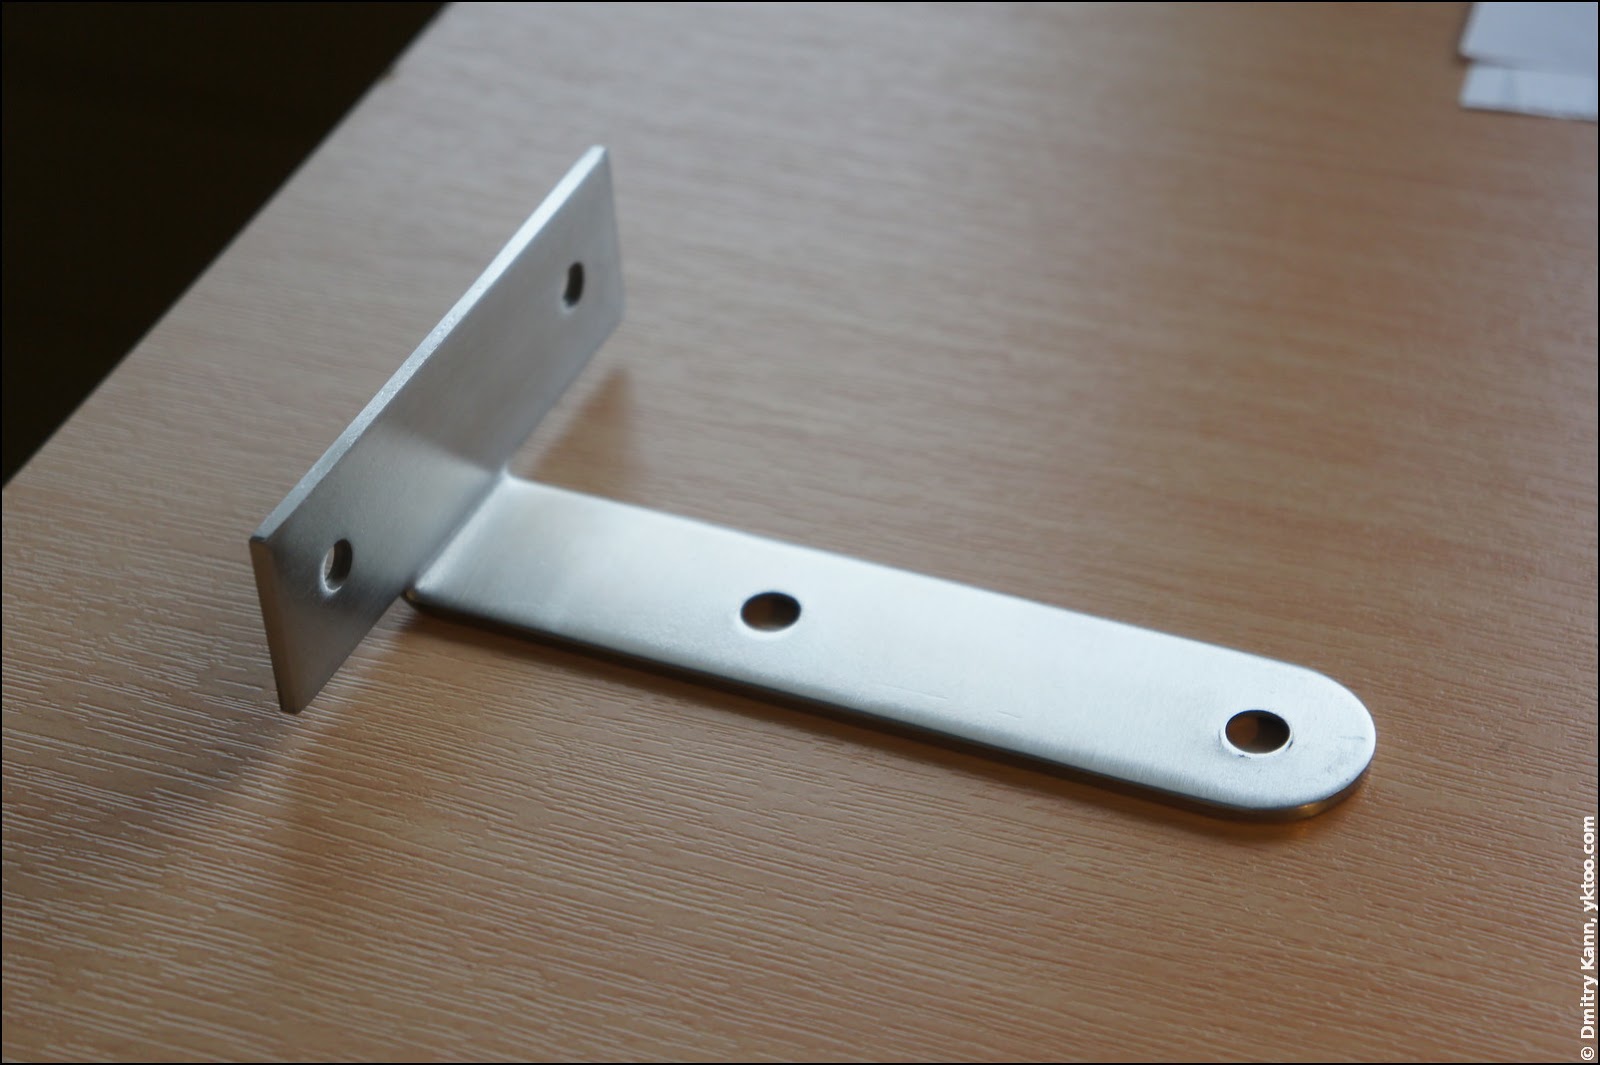
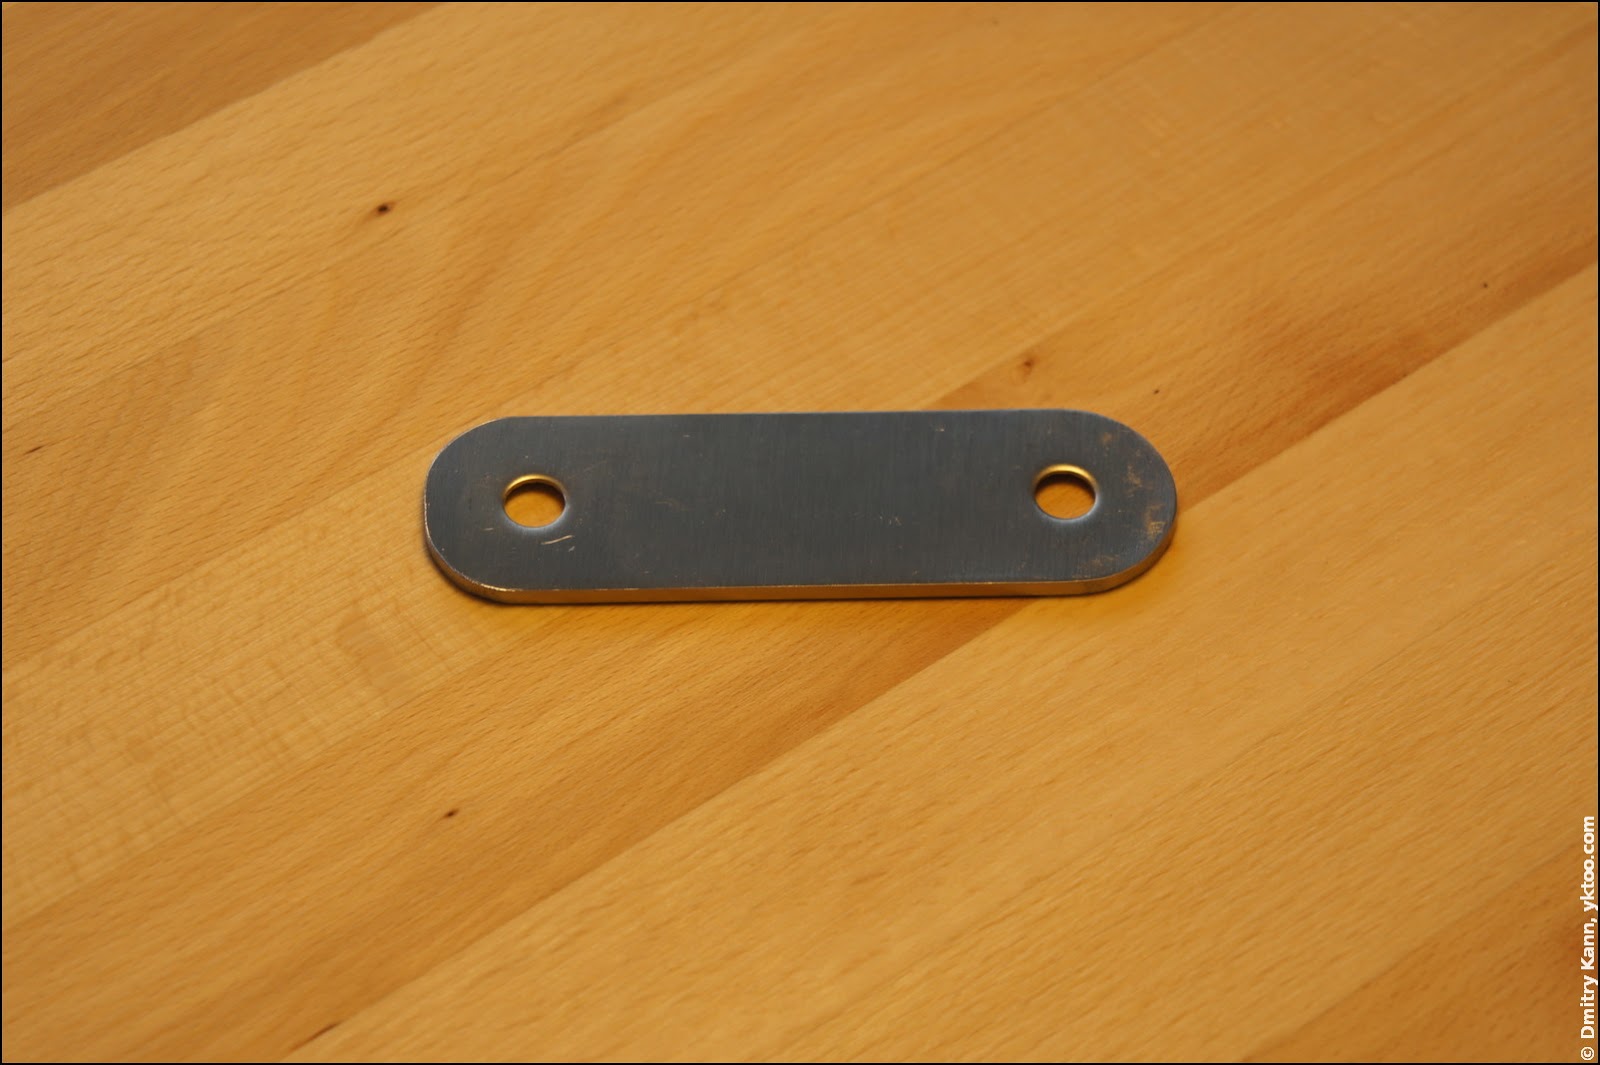
Use a hacksaw to cut the part with two holes off from its longer tongue. Cut the corners at 45° and round them off with a file:
Finish with sandpaper and, optionally, polish the cleat:
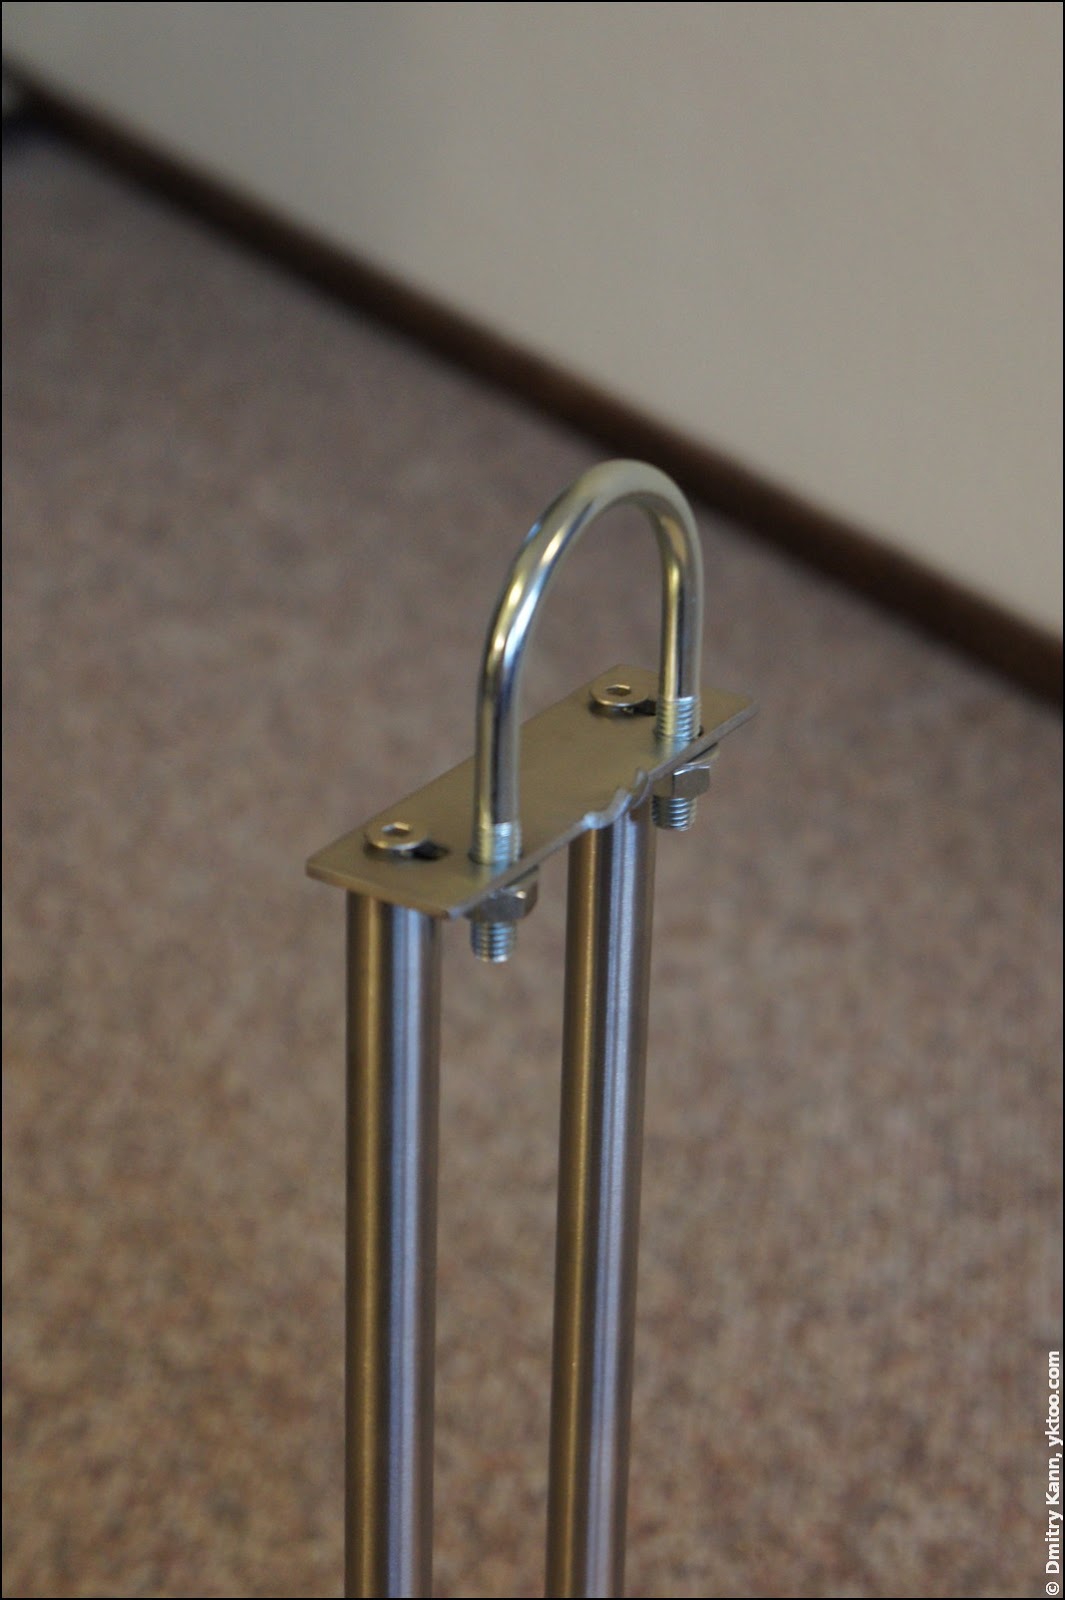
Fix the rail’s rods with M6 bolts. Use of washers is recommended:
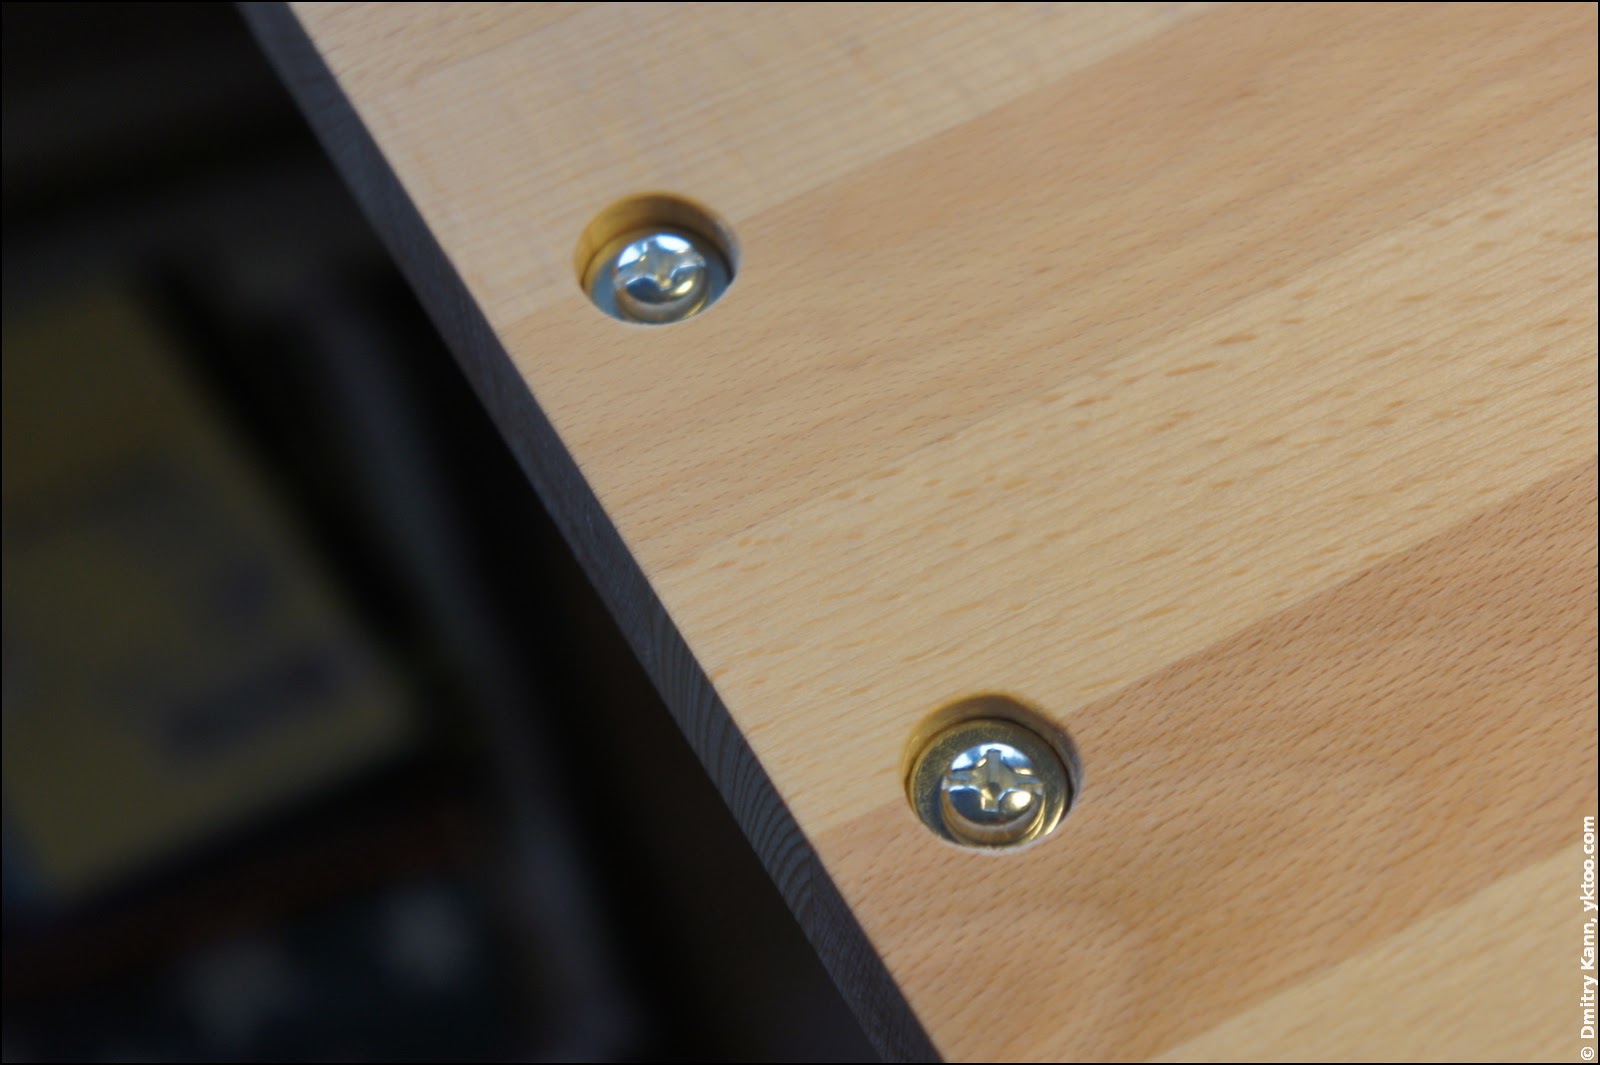
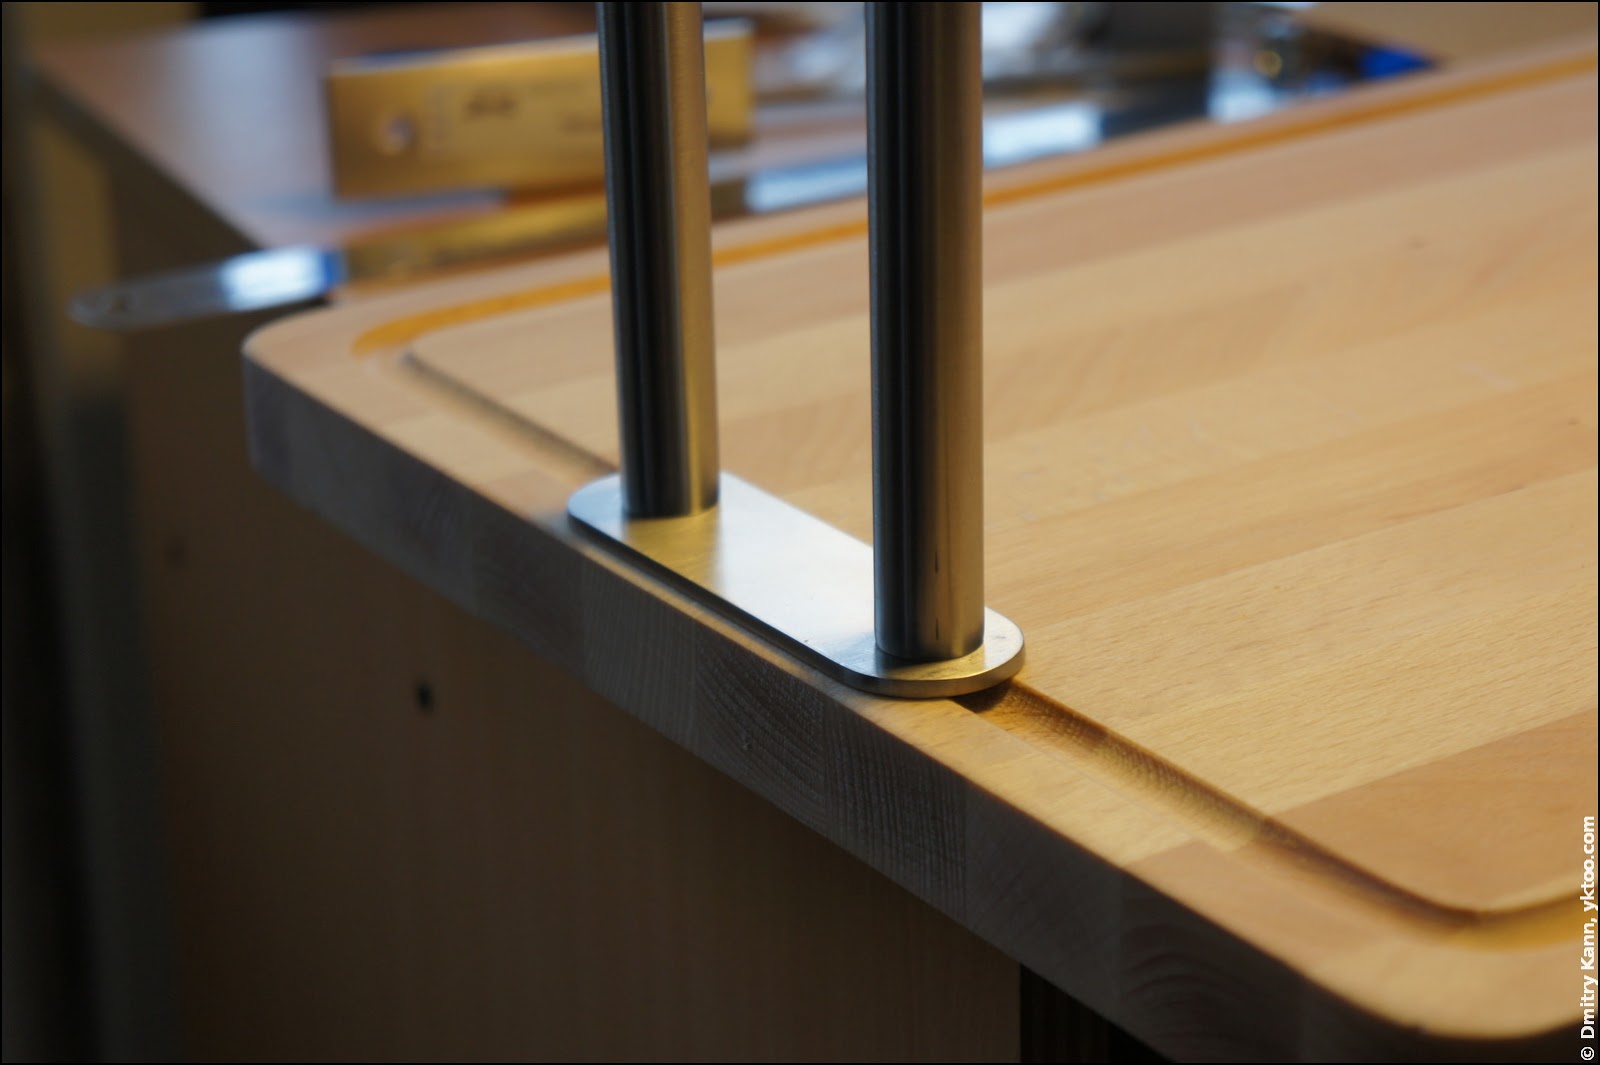
The cleat we’ve just made is to be fixed on the face of the board, under the rods:
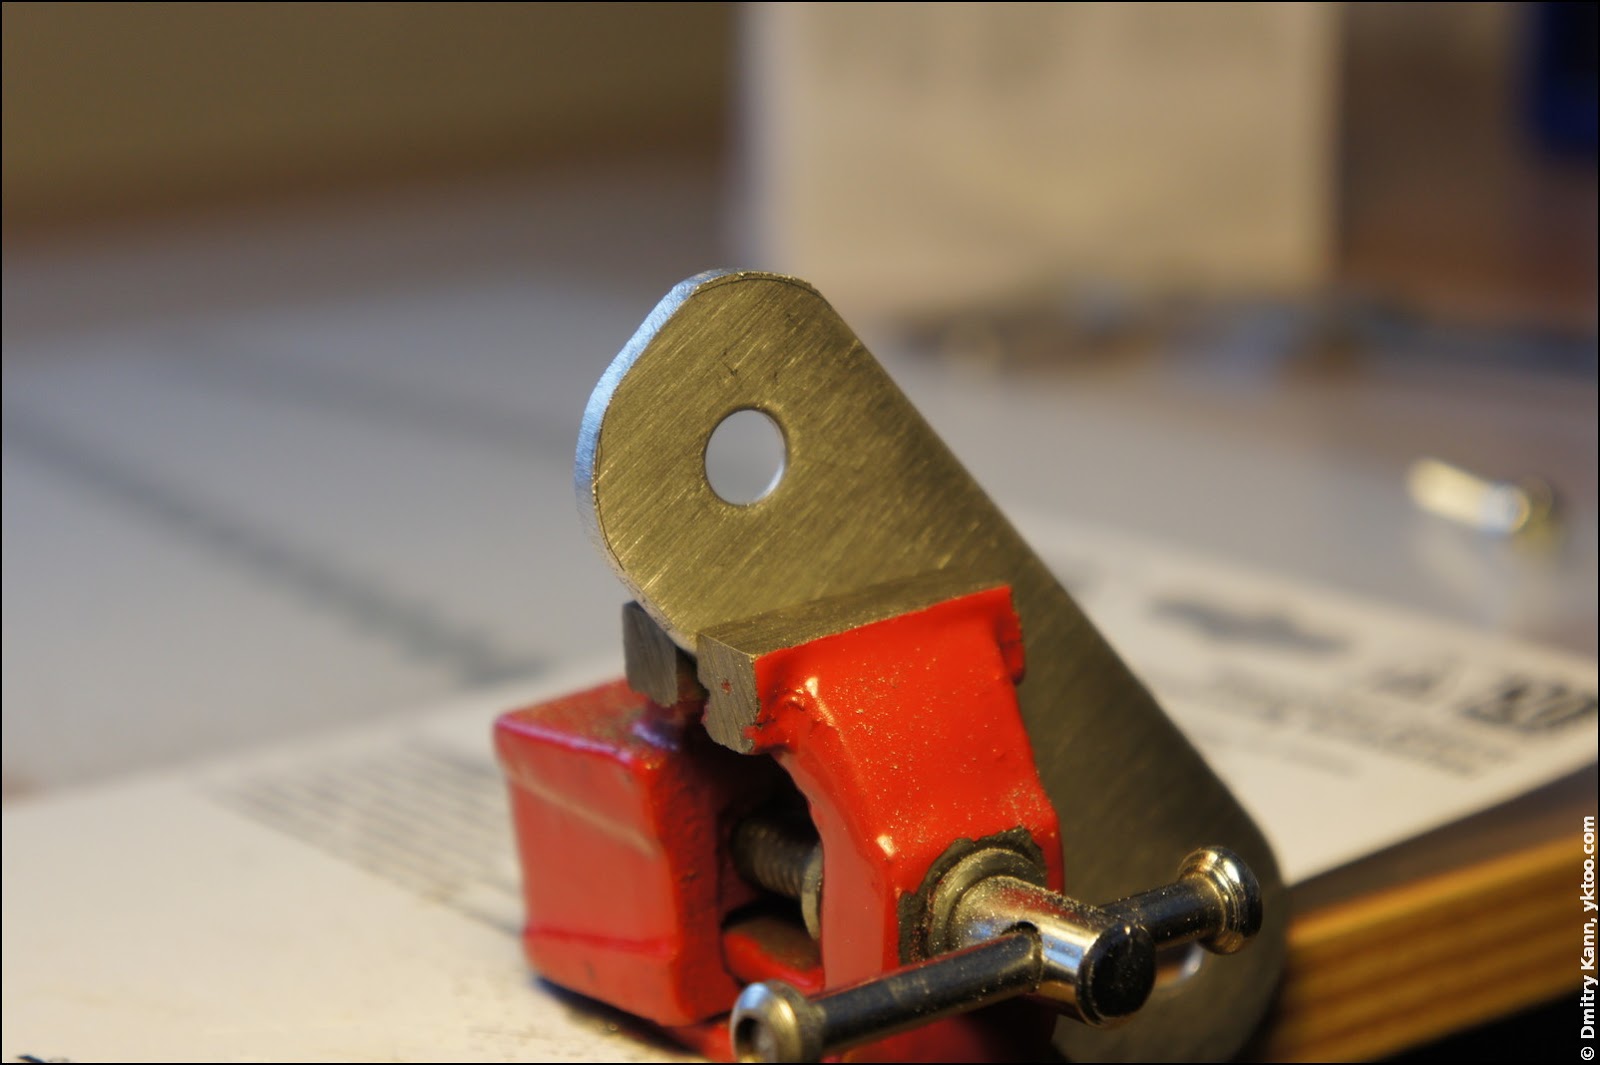
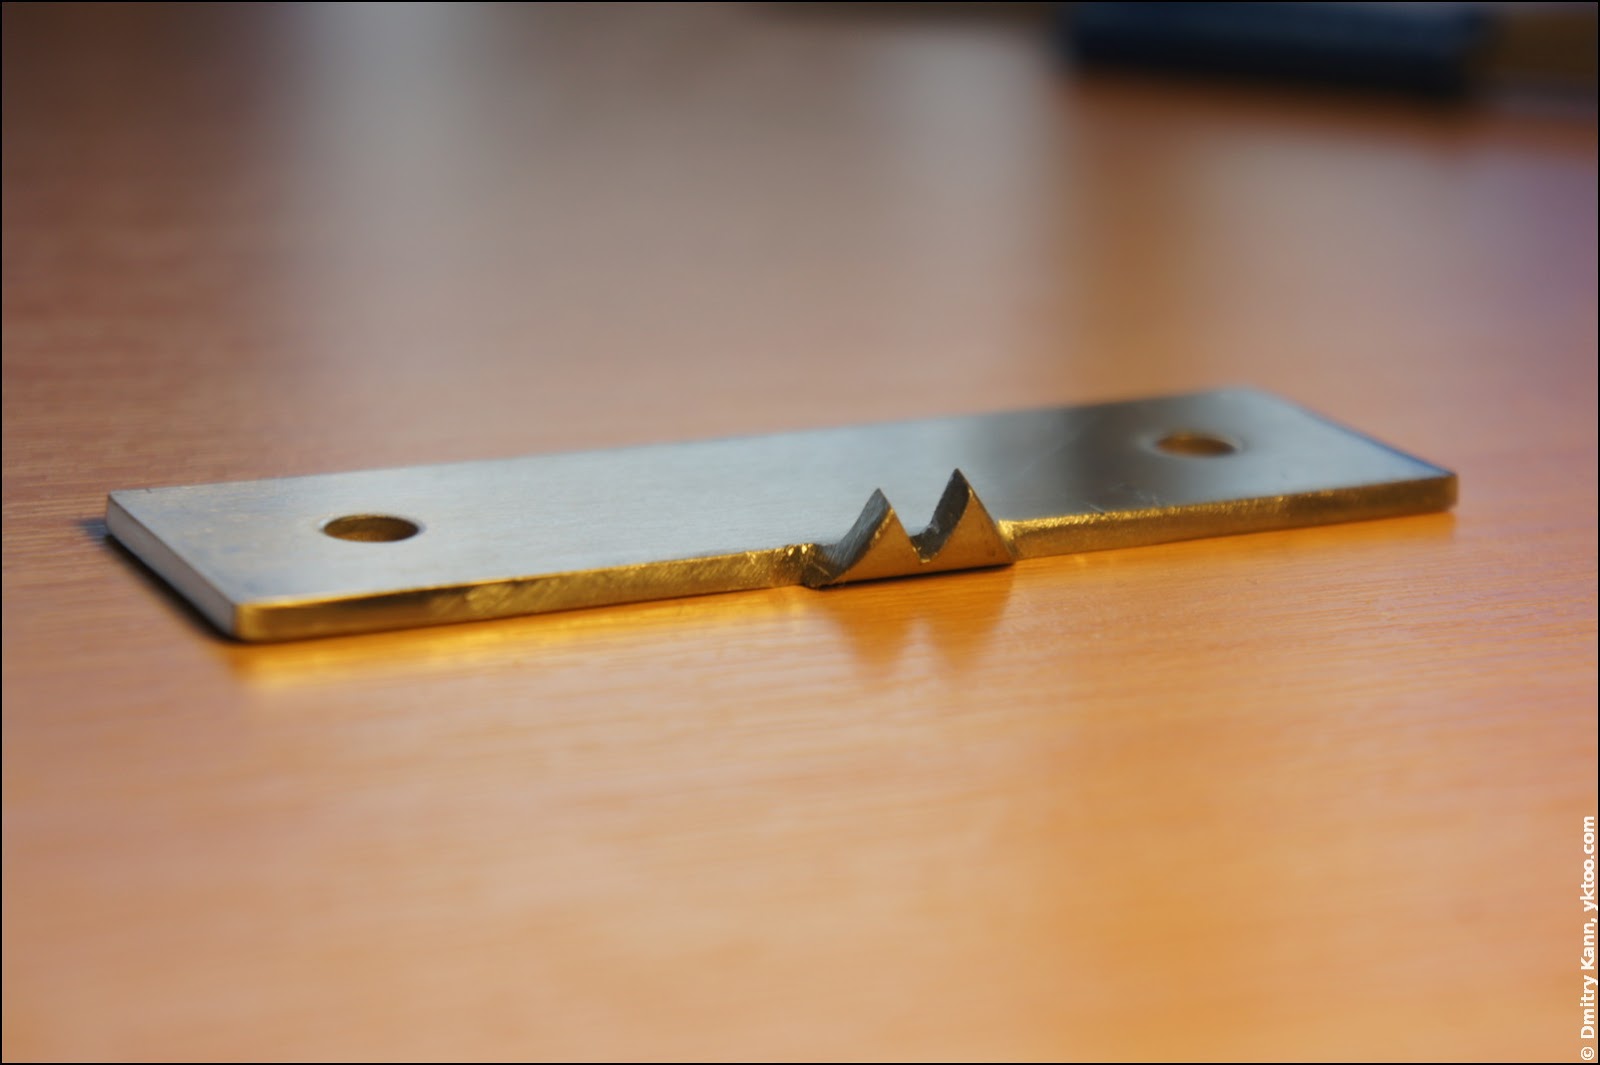
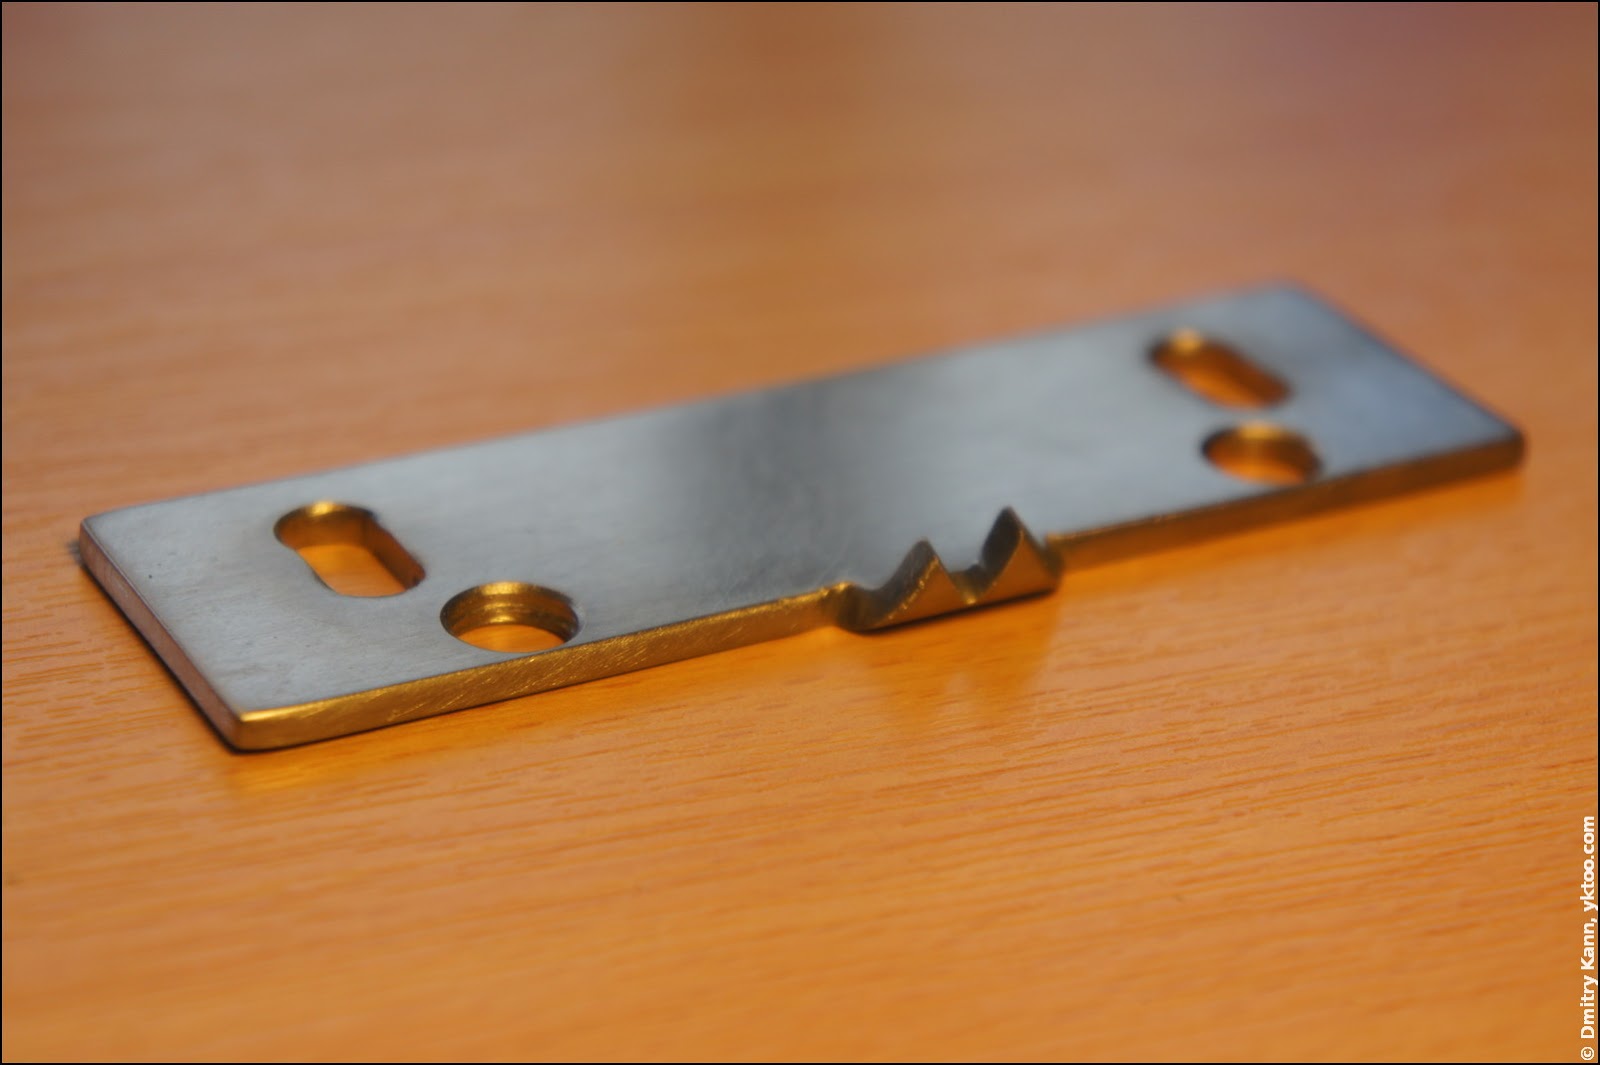
Now pick up the remaining part of the side bracket. By a lucky coincidence its wall mount holes are also exactly 70 mm away from each other. Cut the most of the remaining tongue off with the hacksaw, so that the remaining part is about 6-7 mm long.
Mark two teeth precisely in the middle of the bracket using a CD pen:

In a few strokes of the hacksaw and/or a file you get there:
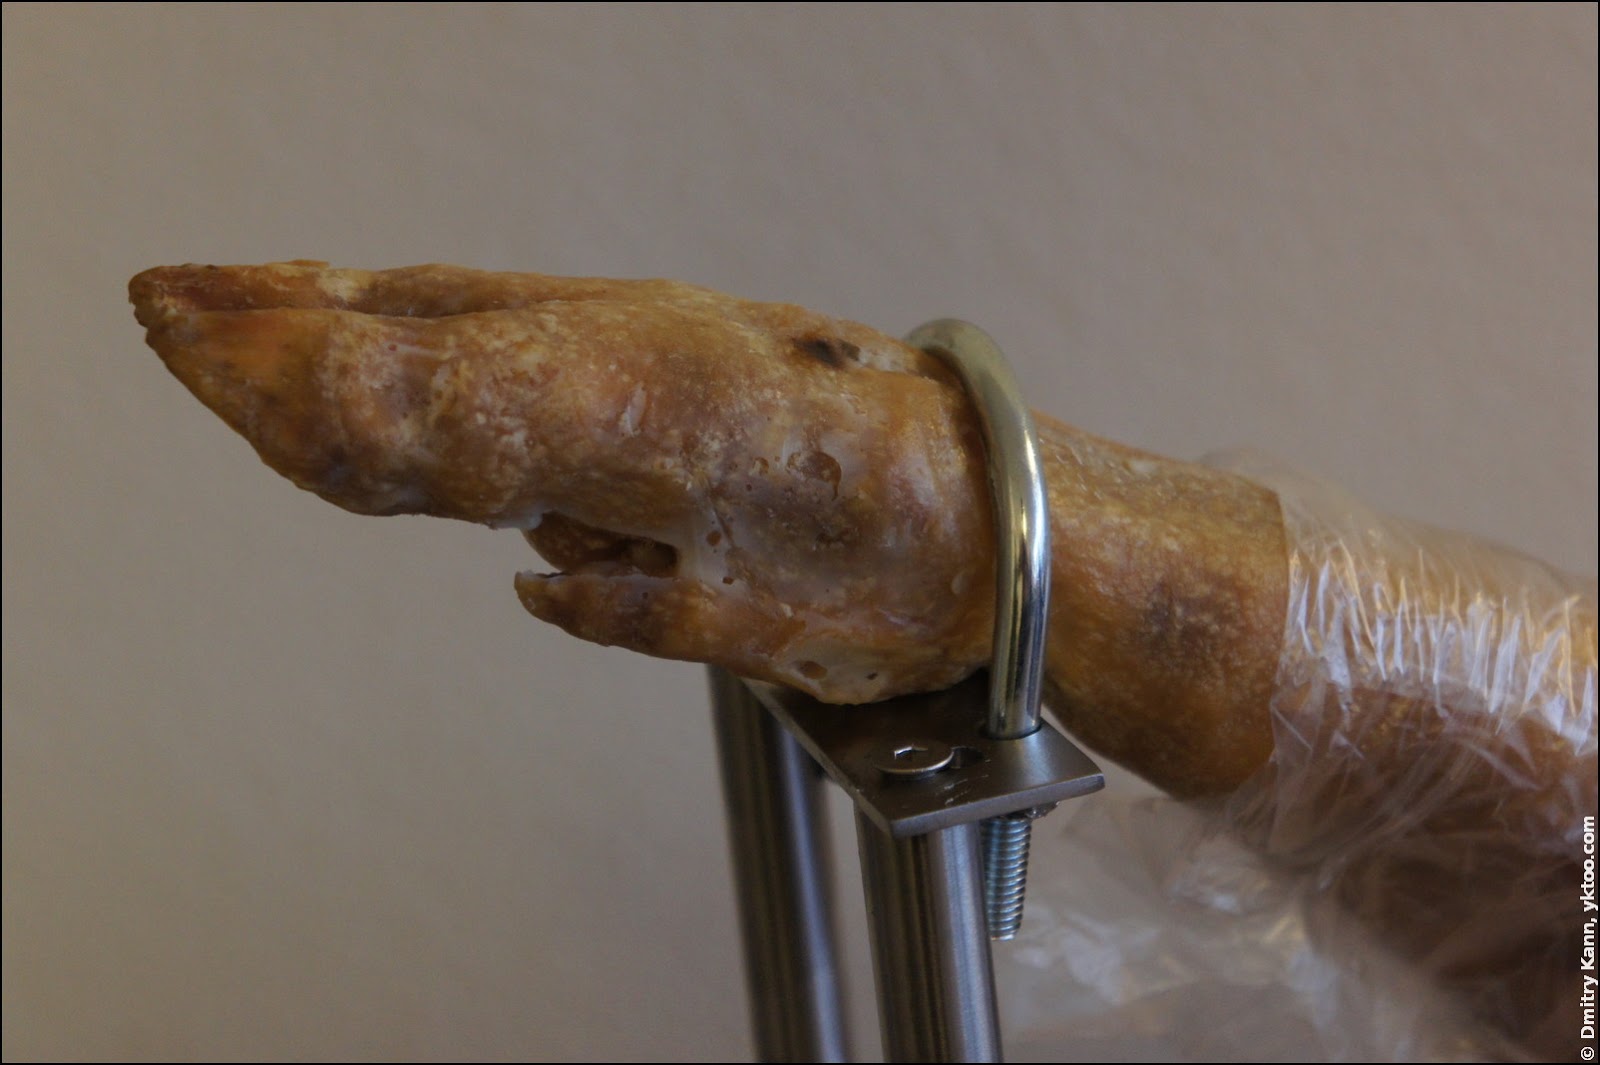
Now you need to drill holes for the exhaust clamp. Mine was 60 mm wide which required remodelling the main rod holes. I expanded them by drilling an extra hole and connecting it to the main one. Smoothen the clamp holes’ edges with a countersink:
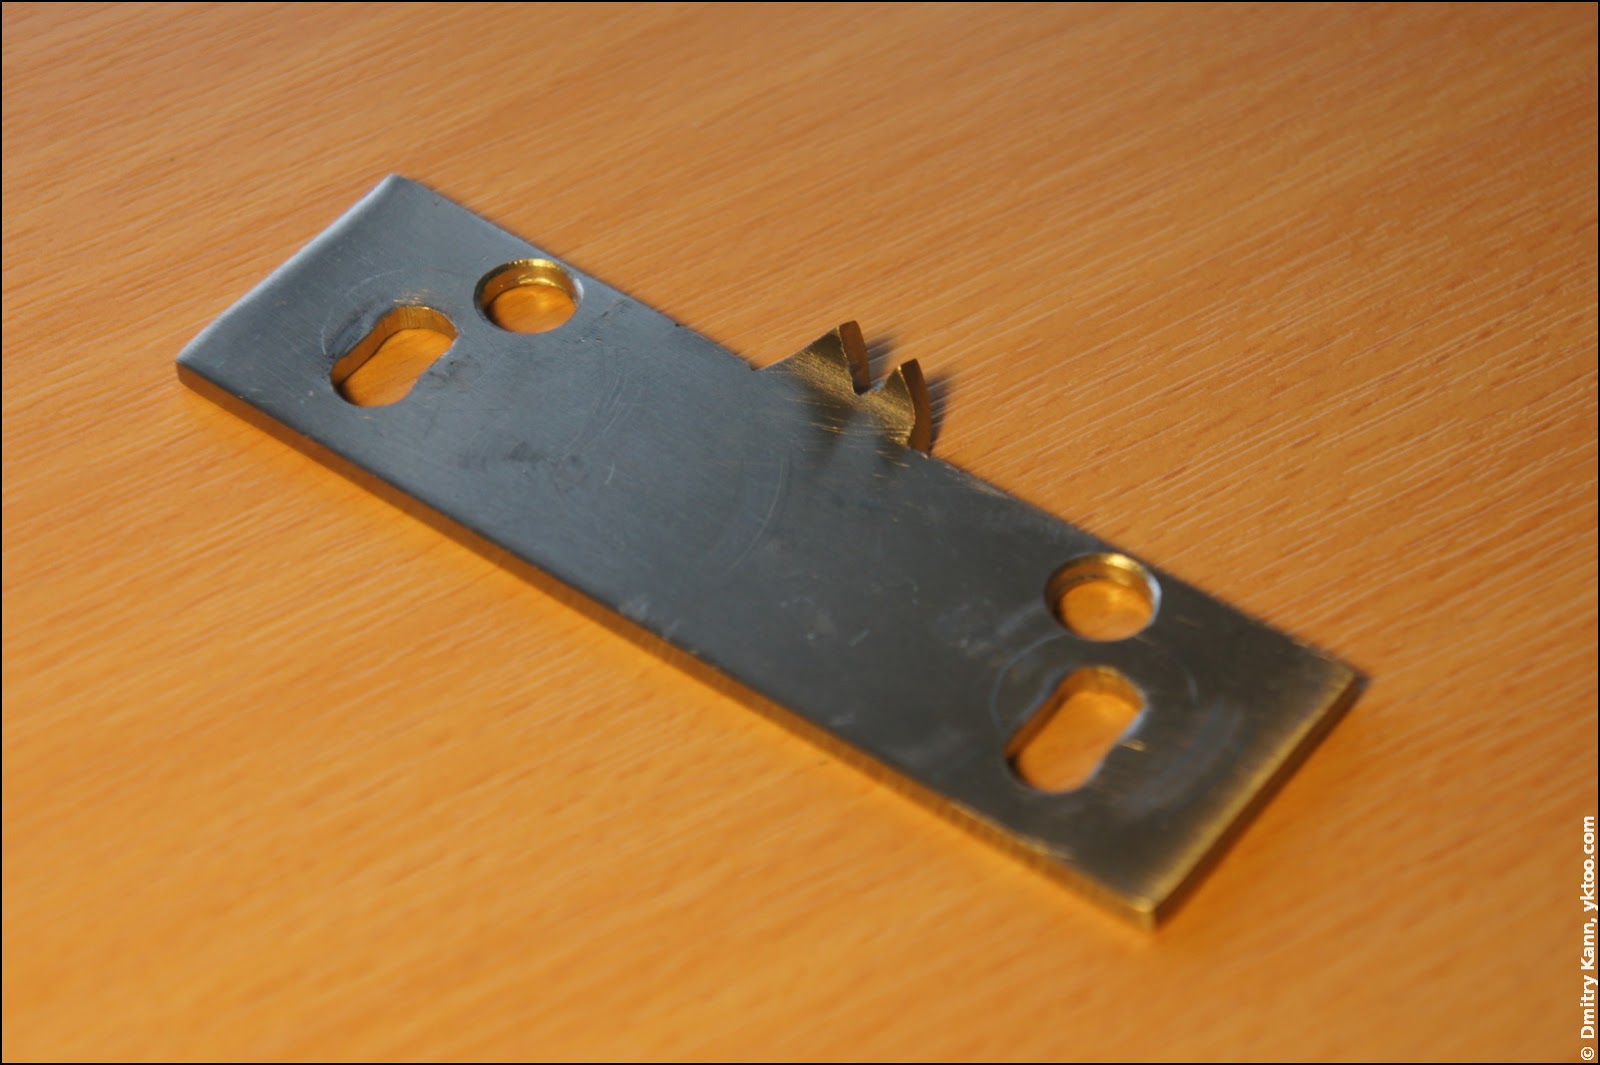
The part is to be finished by sandpaper (first rough, then fine).
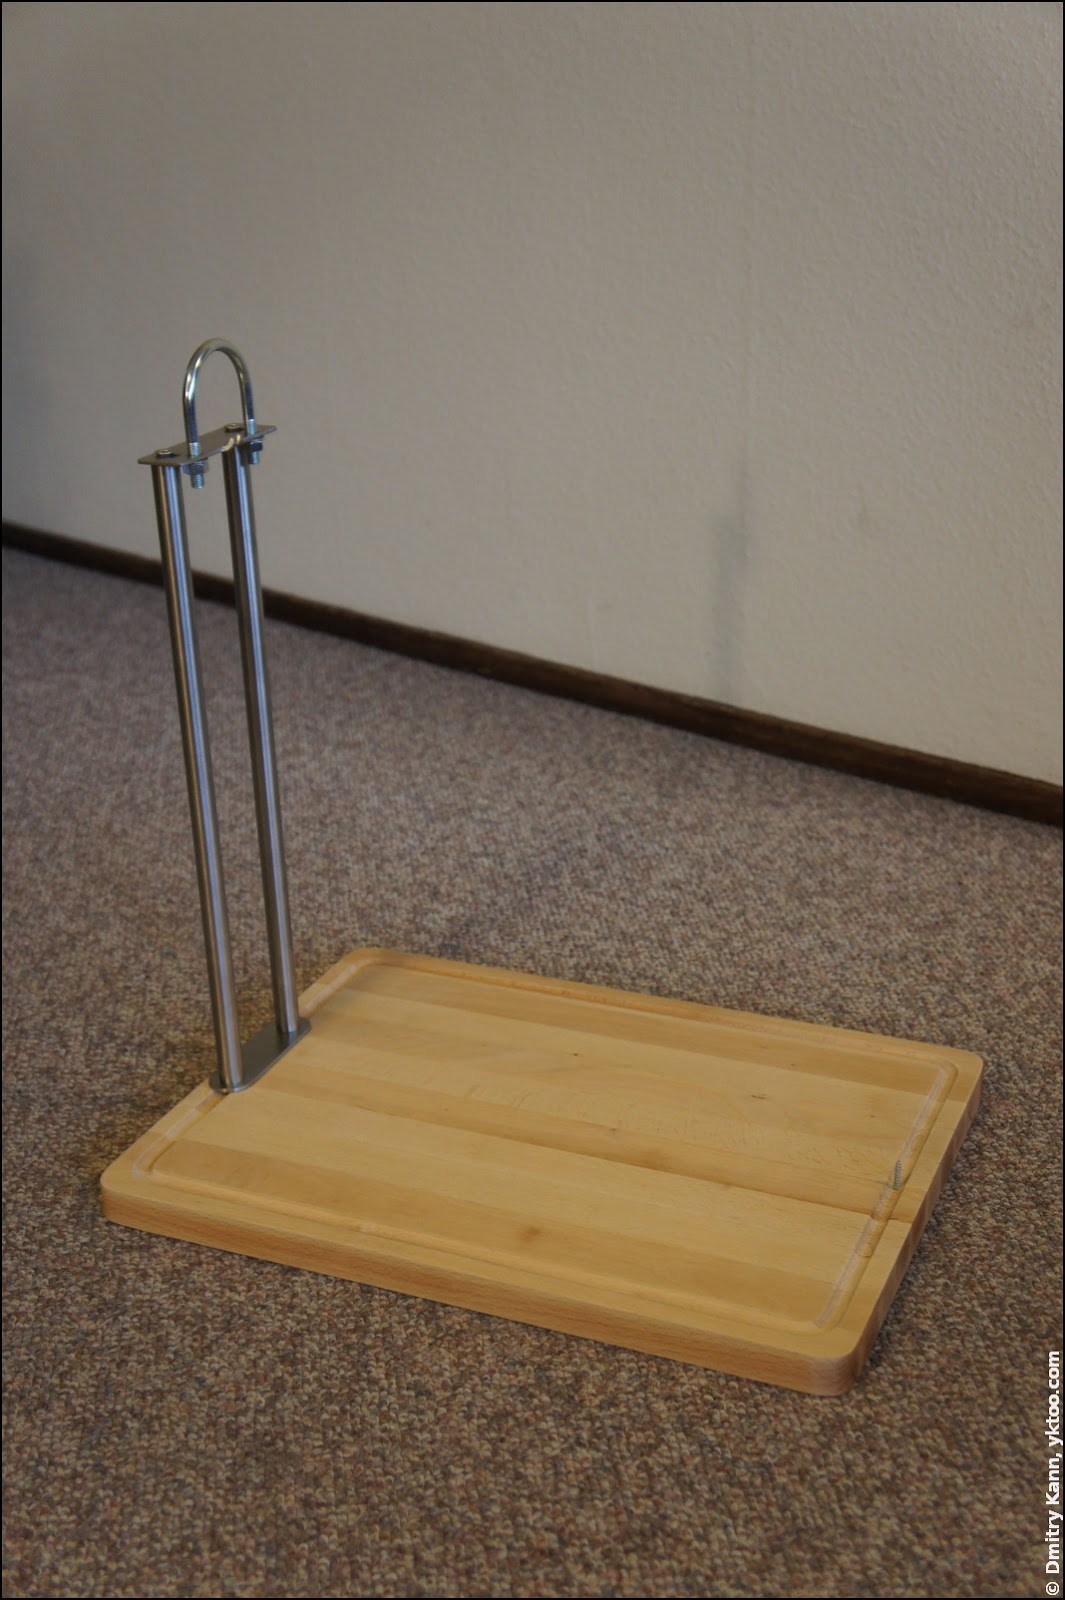
Then assemble the upper unit of the holder:
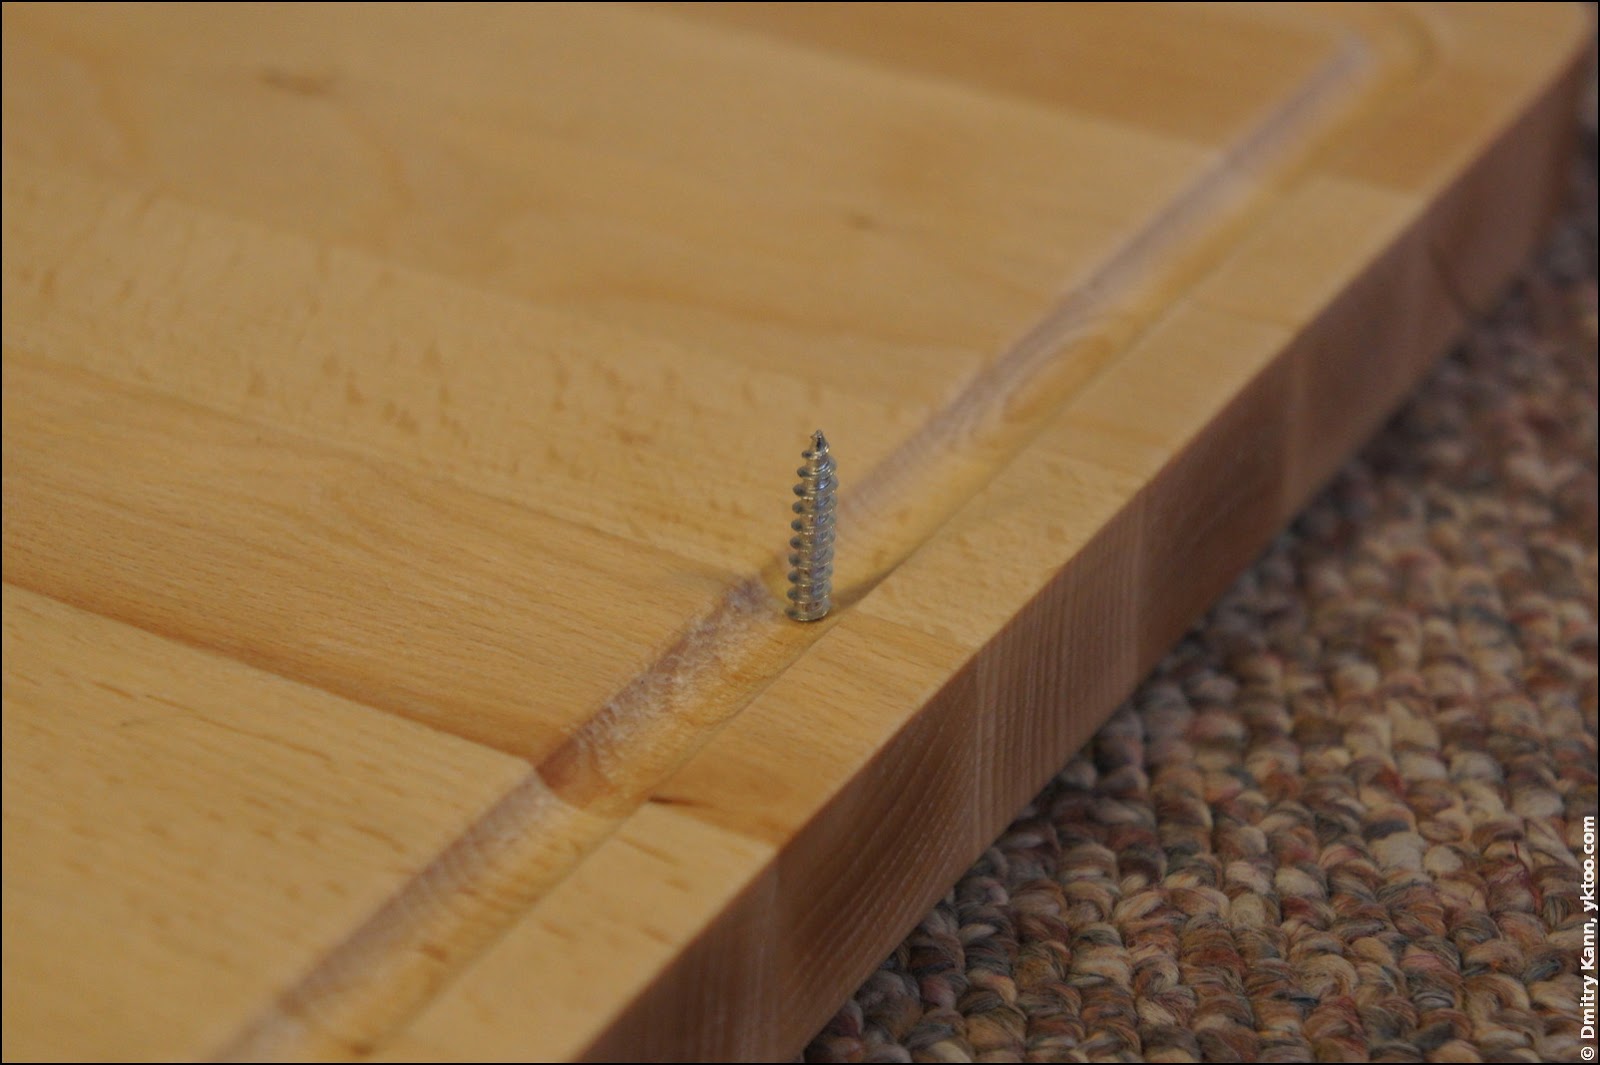
Drill a hole ∅ 2 mm at the opposite side of the board and drive a 4×35 mm screw in it. This screw will pierce the base of the ham, fixing it in place.
That’s it. The assembled jamonera:
Now it’s time for field testing. Fix the jamón and fasten clamp’s nuts. It’s not the best fastening solution ever as you need a spanner, but nonetheless robust enough. Moreover, you usually fix ham not for just a day, so a couple of extra minutes required is not a big deal.
Here’s the final product:
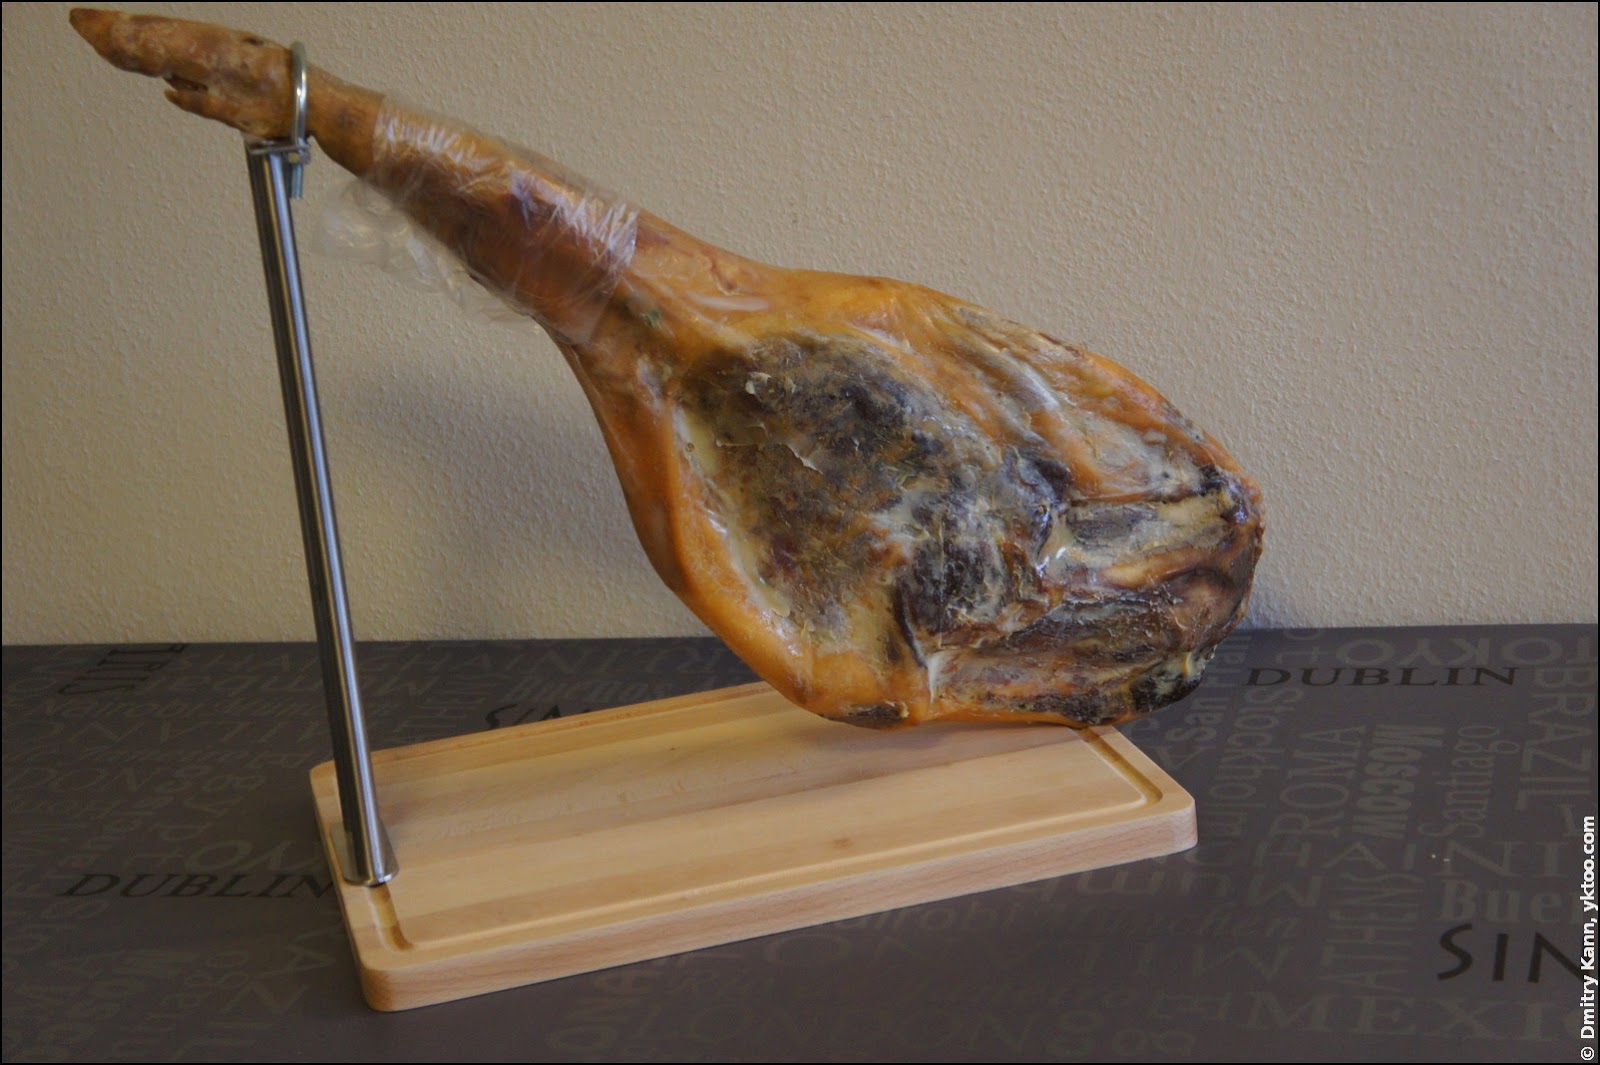
Ham’s base is kept in place by the screw. All in all, the holder is rigid and stable enough, largely thanks to the three-kilo chopping board in the foundation. It might appear a bit too high because of long rods, but that’s fine. The upside is that it reduces the table area taken up by the holder. ■
Comments