Preface
I’ve been using my Linksys E4200 router for about eight years and was quite happy with its very robust operation. However, any hardware is destined to get outdated over time.
Firstly, as soon as we’d moved from our former apartment into a three-storey house it became evident the Wi-Fi coverage was suboptimal. In some remote corner you’d sometimes hardly get any connection at all. Secondly, it didn’t support modern IEEE standards such as 802.11ac, which was also hurting the bandwidth.
Thus eventually I’ve decided to go for a mesh Wi-Fi system.
Mesh—what does it mean?
A conventional wireless setup with multiple access points would normally cause a client device to establish a connection with the one providing the strongest signal in this specific location. This requires going through a number of steps like authentication, protocol and key negotiation etc., which is time consuming and results in an Internet outage for each switch from one access point to another.
A mesh system is also comprised of several wireless access points, but they make up a single logical Wi-Fi network. In a mesh system the client device can seamlessly (and almost instantaneously) switch between its access points.
Choosing a mesh router
The ability to configure the system via a web interface was at the top of my requirement list. Last years almost all hardware vendors have moved most settings “into the cloud” depriving the user from any possibility to change its parameters except for a couple most common ones. Moreover, they mandate you to make an account on the vendor website and, most of the time, to install their mobile app to be able to administer the device.
I hate when such choices (or, rather, lack thereof) are forced upon me. I revel in controlling devices I’ve bought for my own money.
That ruled out most of the popular mesh systems, such as Google Wi-Fi, Eero, Luma, Plume, and others.
Finally I’ve arrived at Netgear Orbi Pro SRK60 as my choice. It’s one of the most advanced and robust mesh systems that provides a proper web administration GUI.
Netgear Orbi Pro SRK60 and SRK60B03
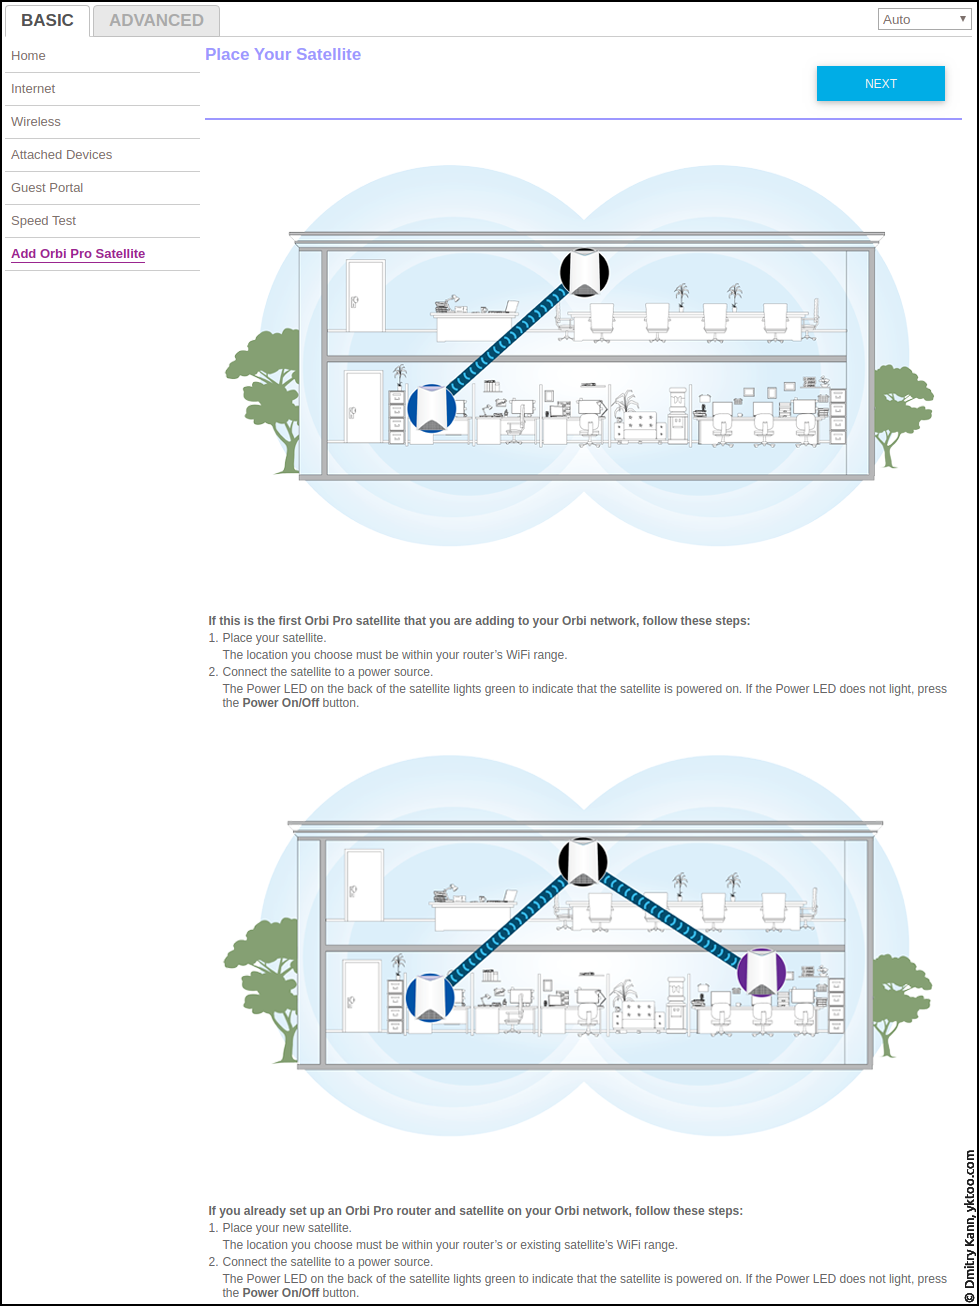
SRK60 is essentially a combination of a router (the central controlling device) Orbi SRR60 and one or two satellites type SRS60.
According to Netgear’s specs':
- The router + satellite (SRK60) kit covers an area up to 5,000 sq ft (464 m²),
- The router + two satellites (SRK60B03) kit can service an area up to 7,500 sq ft (700 m²).
I’ve chosen for the first option as it’d supposedly be well enough for all three floors and the garden.
SRK60 specifications
Below are the technical specifications of SRK60 copied from Netgear’s document:
| Feature | Value |
|---|---|
| Total bandwidth | 3000 Mbps (1733 + 866 + 400 Mbps) |
| Wi-Fi coverage | 5,000 sq ft (464 m²) |
| Dedicated backhaul | 4x4 (1.7 Gbps) |
| Wi-Fi technology | Tri-band: 802.11b/g/n 2.4 GHz + two 802.11a/n/ac 5 GHz |
| Dimensions | 6.8×3.3×9.7 in (17.2×8.3×24.6 cm) each |
| Weight | 2.06 lb (930 g) each |
| Ethernet ports | Router: 1×WAN, 3×LAN. Satellite: 4×LAN; 10/100/1000 Mbps |
| Beamforming | Yes |
| Insight app | Yes |
| WPA/PSK2 support | Yes |
| Traffic separation | 3 SSIDs |
At this moment, it’s on sale on bol.com at € 369.
What’s in the box
The packaging is a bulky cubic cardboard box.
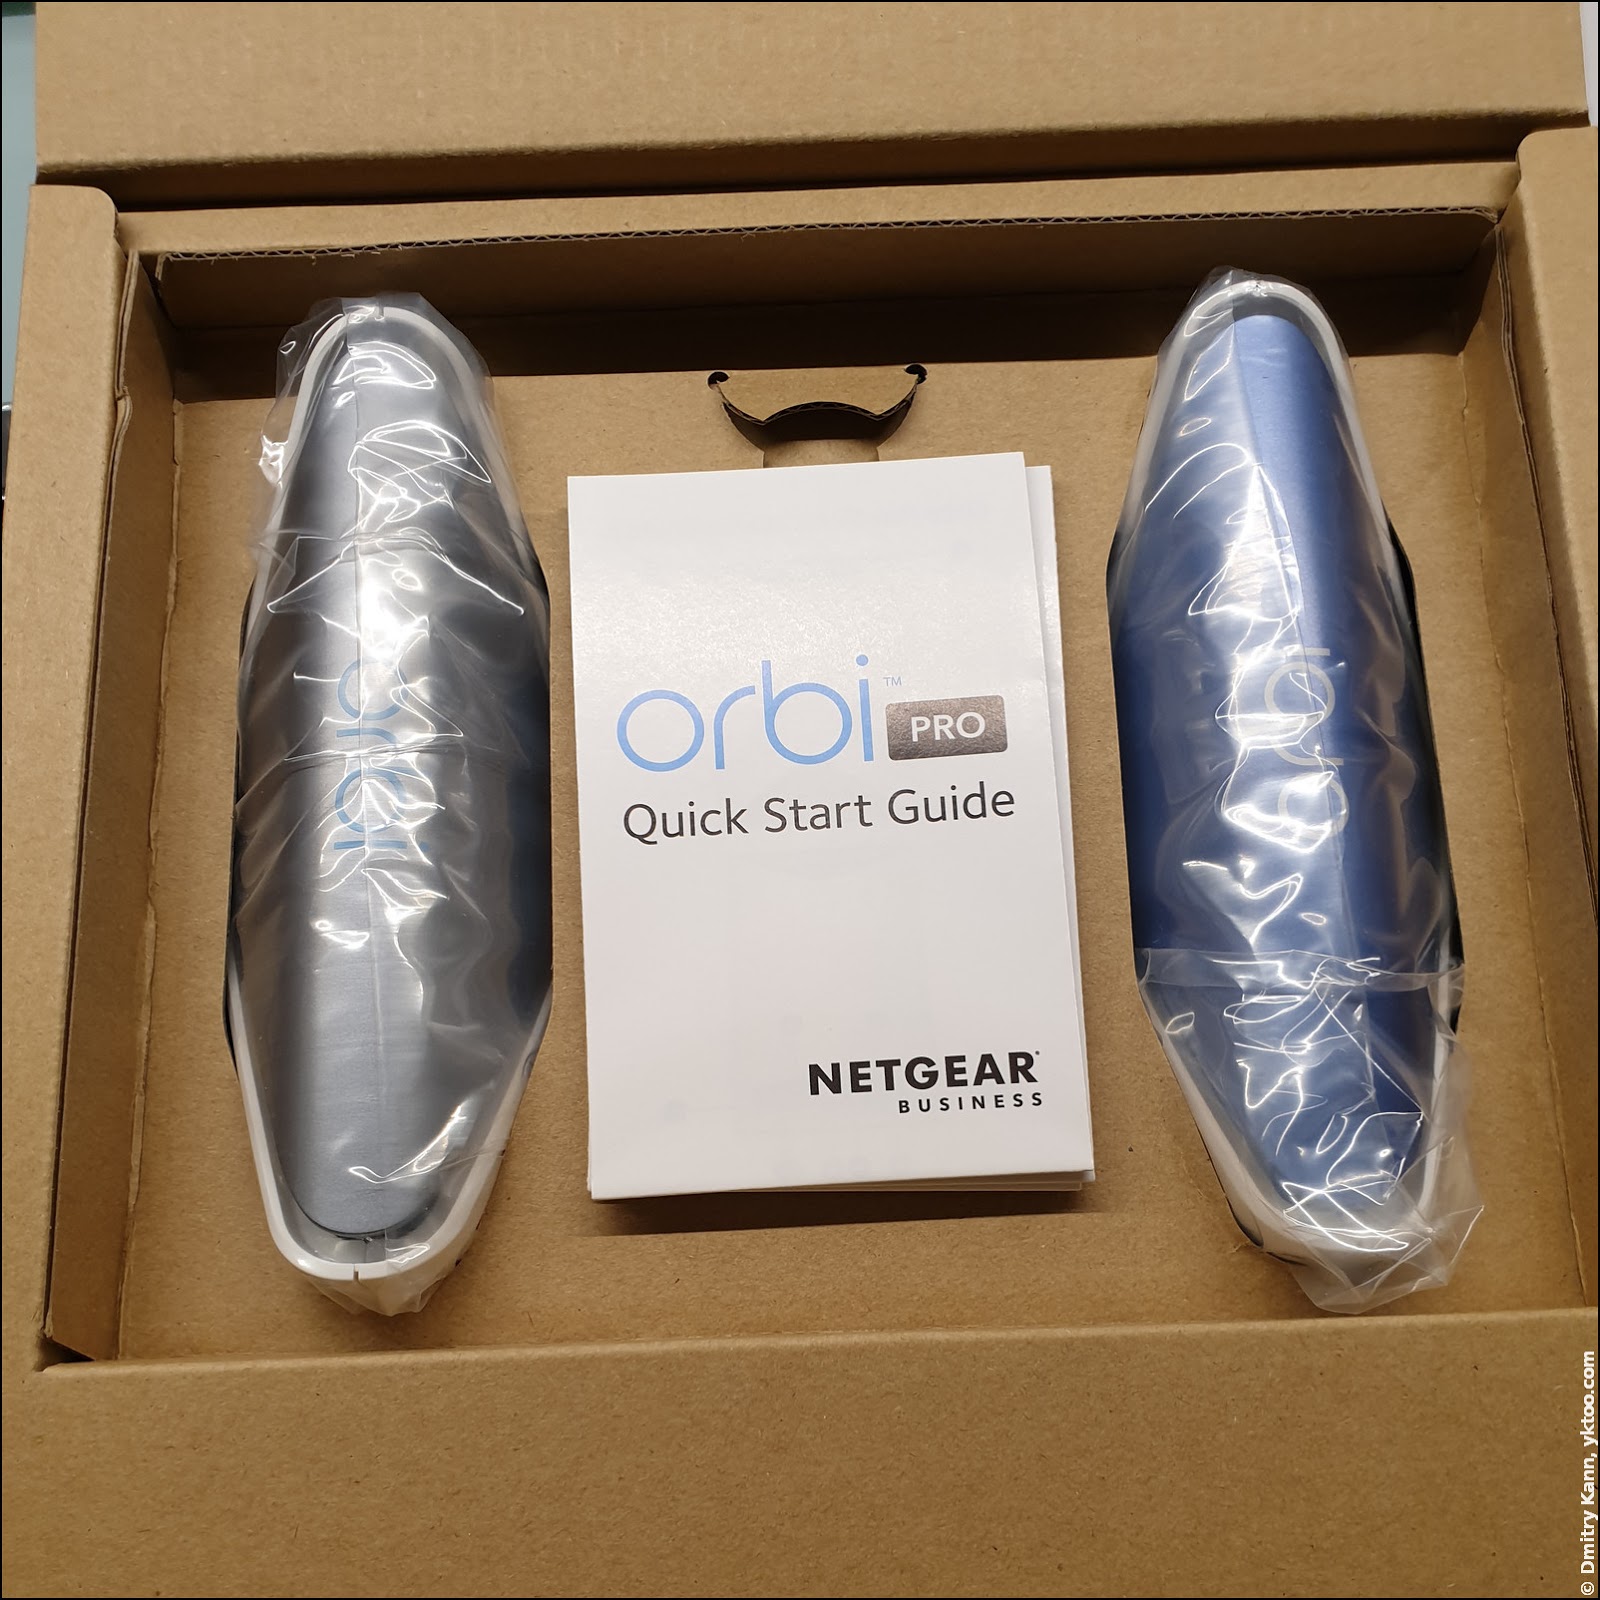
What’s inside: one router, one satellite device, two AC adapters and two mount kits for attaching the devices to a wall or ceiling. And, inexplicably, only a single flat Ethernet cable:

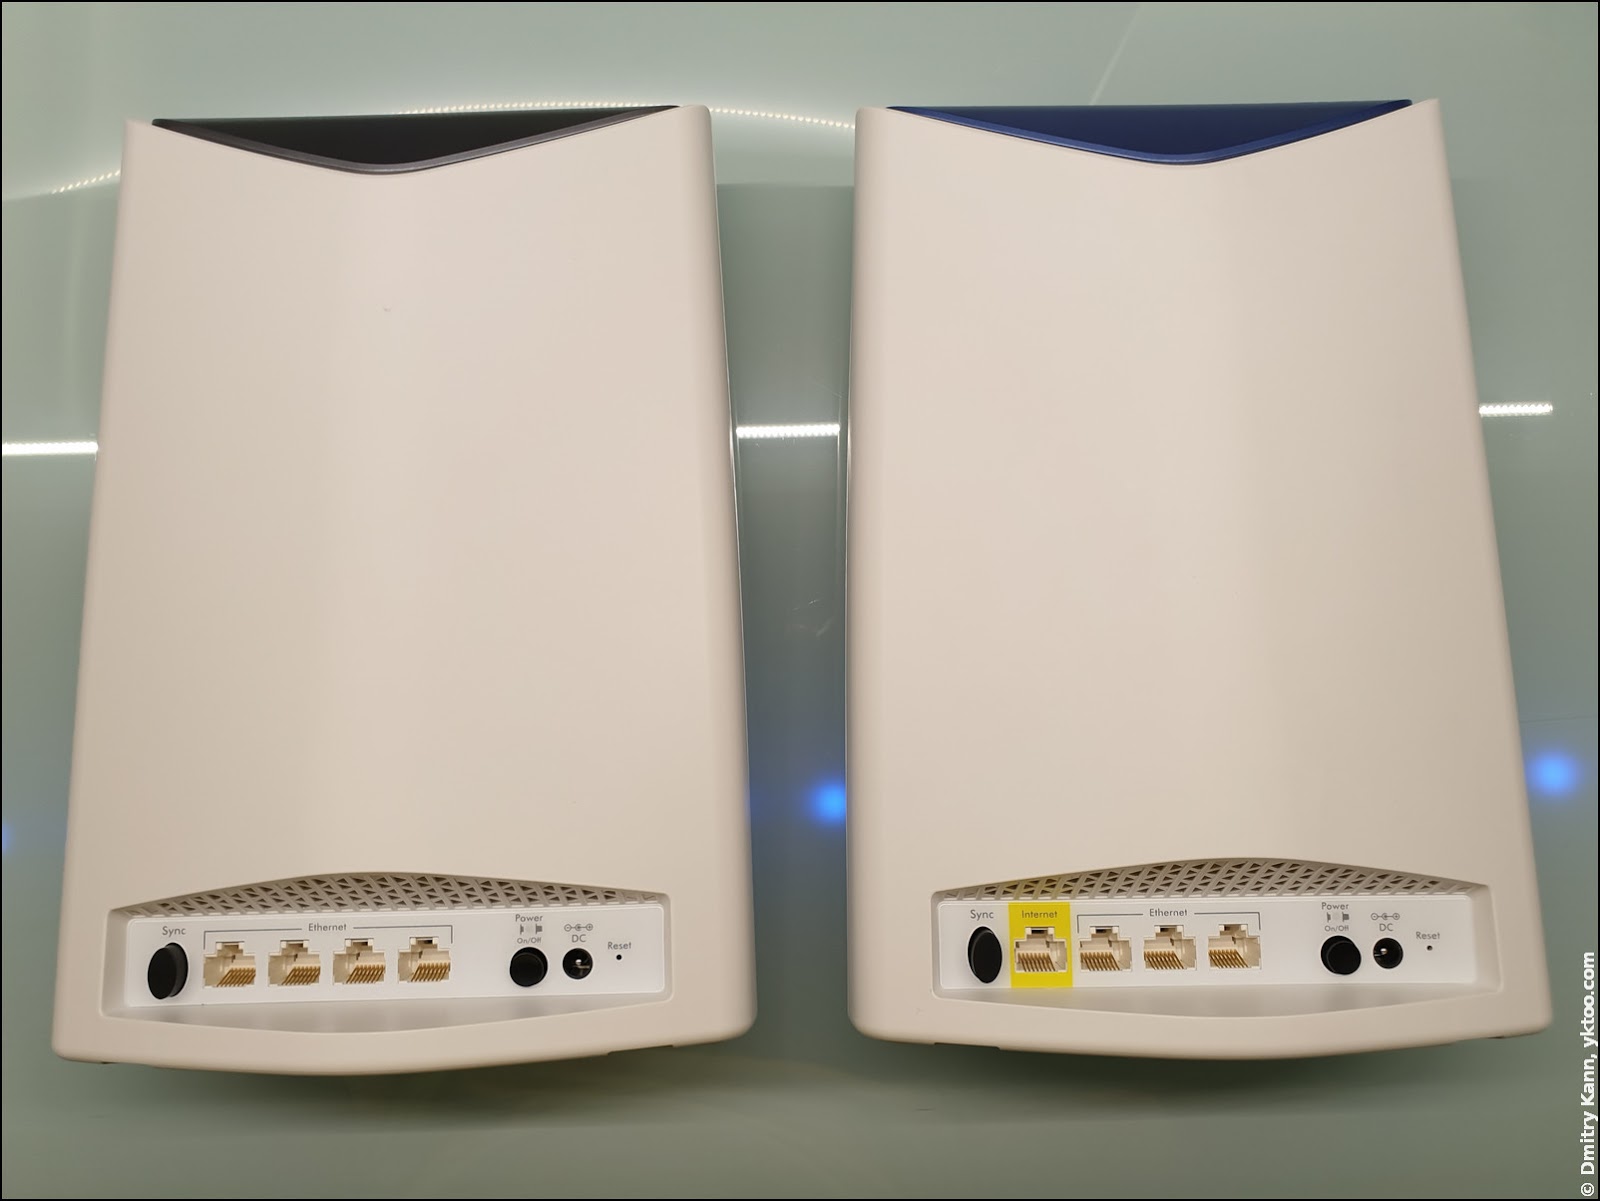
The twin brothers: the satellite is grey (on the left) and the router is blue (on the right):

The two look exactly the same, except for the colour of the top inserts and Ethernet ports on their rear side.
- The satellite (left) features a sync button, four gigabit Ethernet ports, a power button, a power socket and a tiny reset button.
- The router (right) has all the same except for the ports. There’s a single WAN (Internet) port and three regular LAN ones.
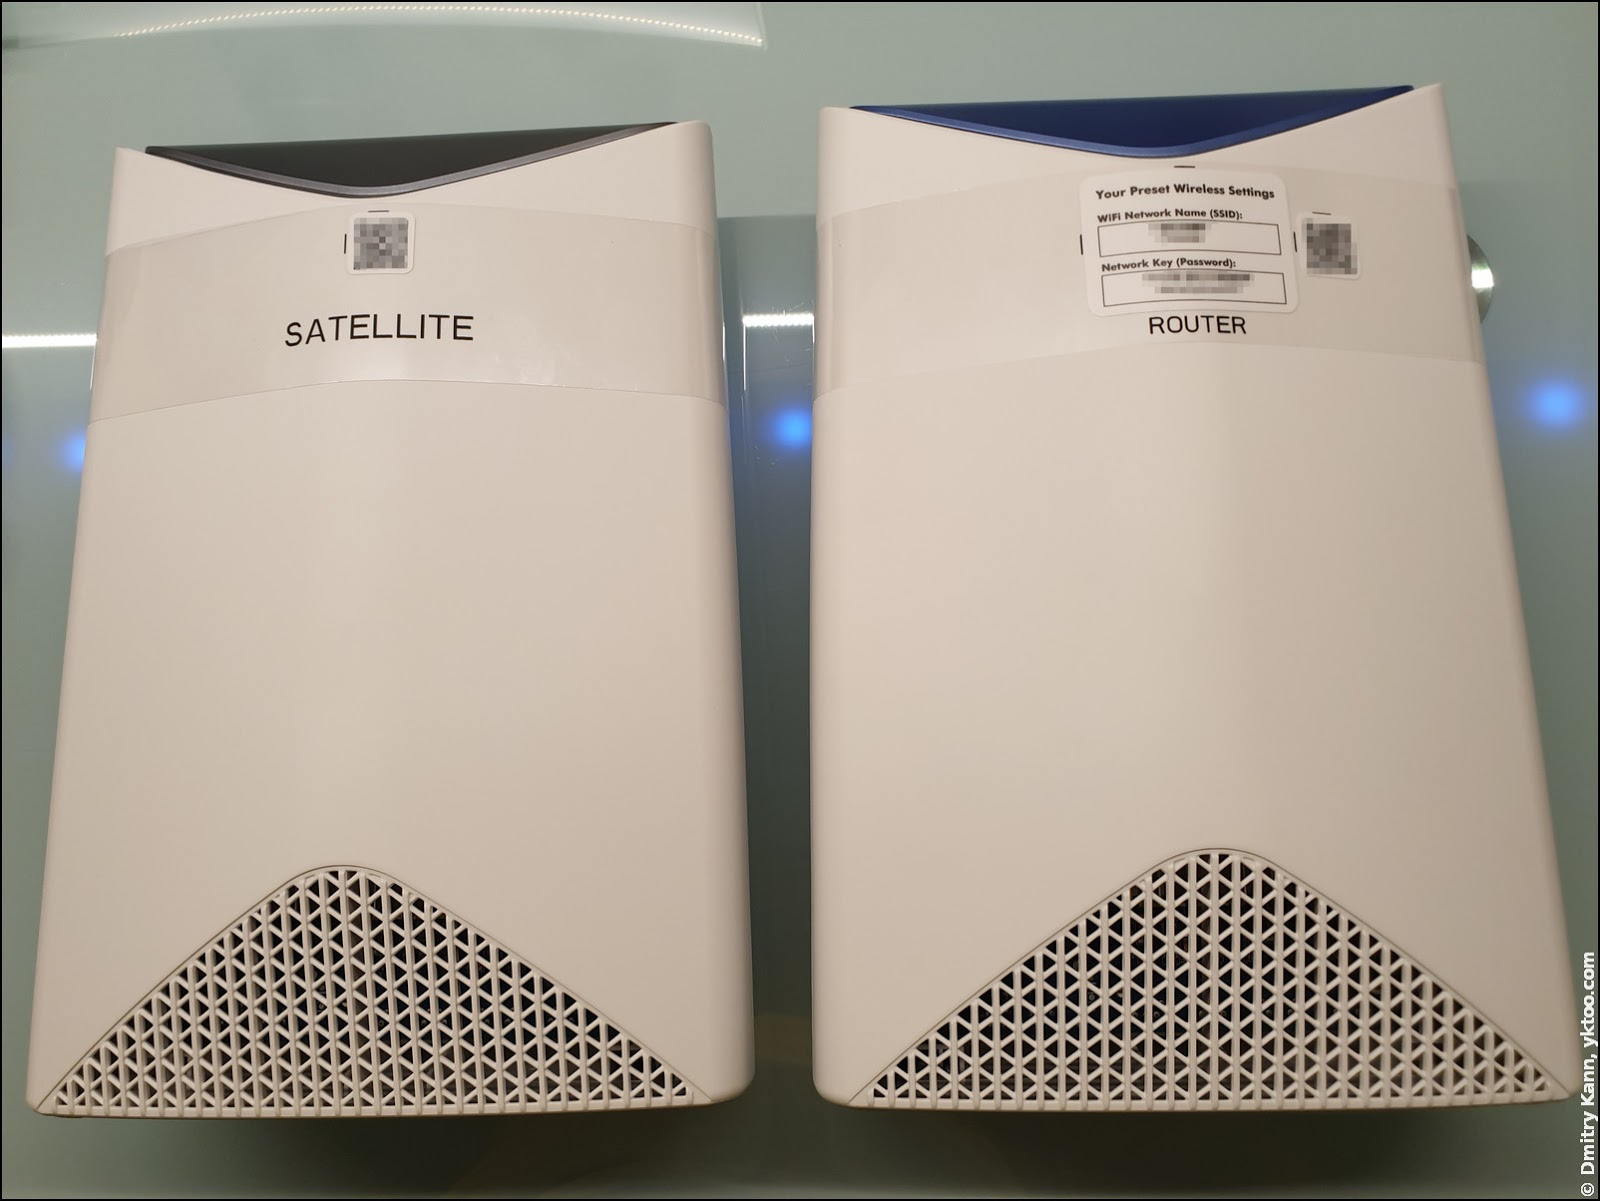
Initially both devices are labeled with a plastic strap providing a QR activation code and default Wi-Fi credentials.
Three Wi-Fi networks + LAN
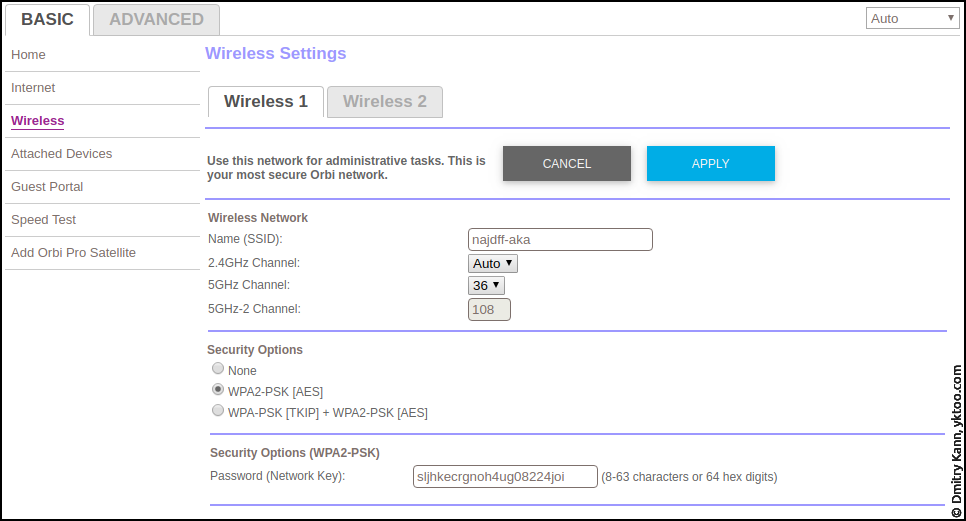
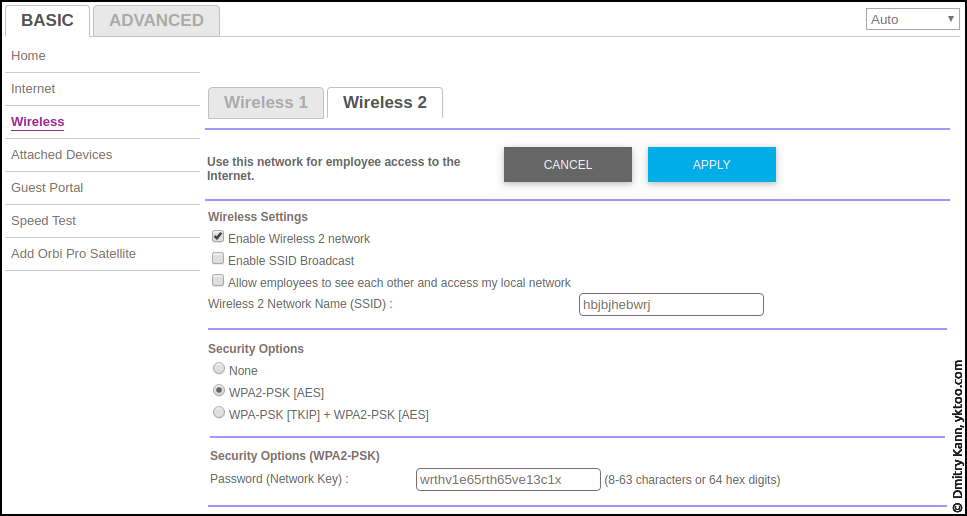
One of the advantages of SRK60 is its ability to create up to three wireless networks:
- Main (“admin”) network, optionally with the WPA/PSK2 authentication
- Secondary (“employee”) network, also with an optional authentication
- Guest network. It’s always open, but you can protect it with a password on the captive portal.
The web interface is only reachable via the main Wi-Fi or Ethernet network. Likewise, devices connected to Ethernet can only see each other or those connected to the main Wi-Fi network, and vice versa.
Devices attached to the secondary and the guest networks can access Internet, but never see each other or LAN devices.
Web GUI
The web interface has two major sections, Basic and Advanced.
Basic
This section is for non-tech-savvy folks. Here one can change basic system settings, such as IP addresses, Wi-Fi passwords etc.


Advanced
Quite predictable, the Advanced section has many more settings, so I’m going to explain it in more detail.
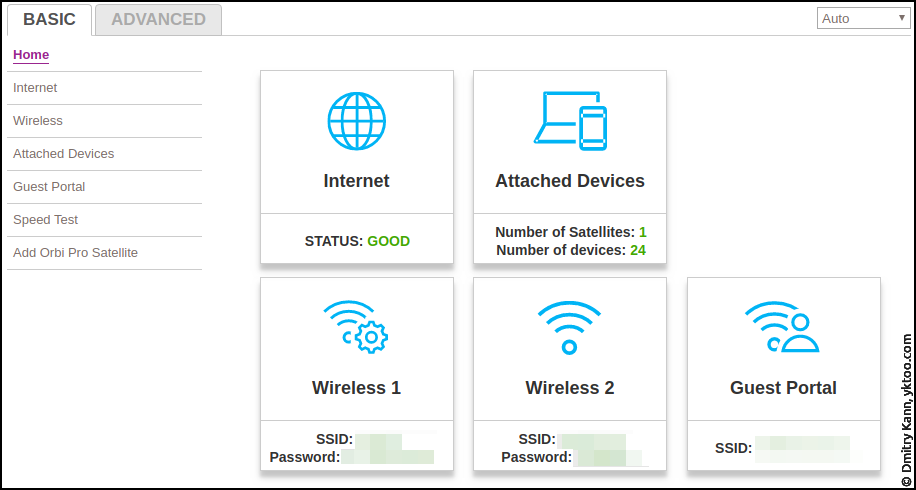
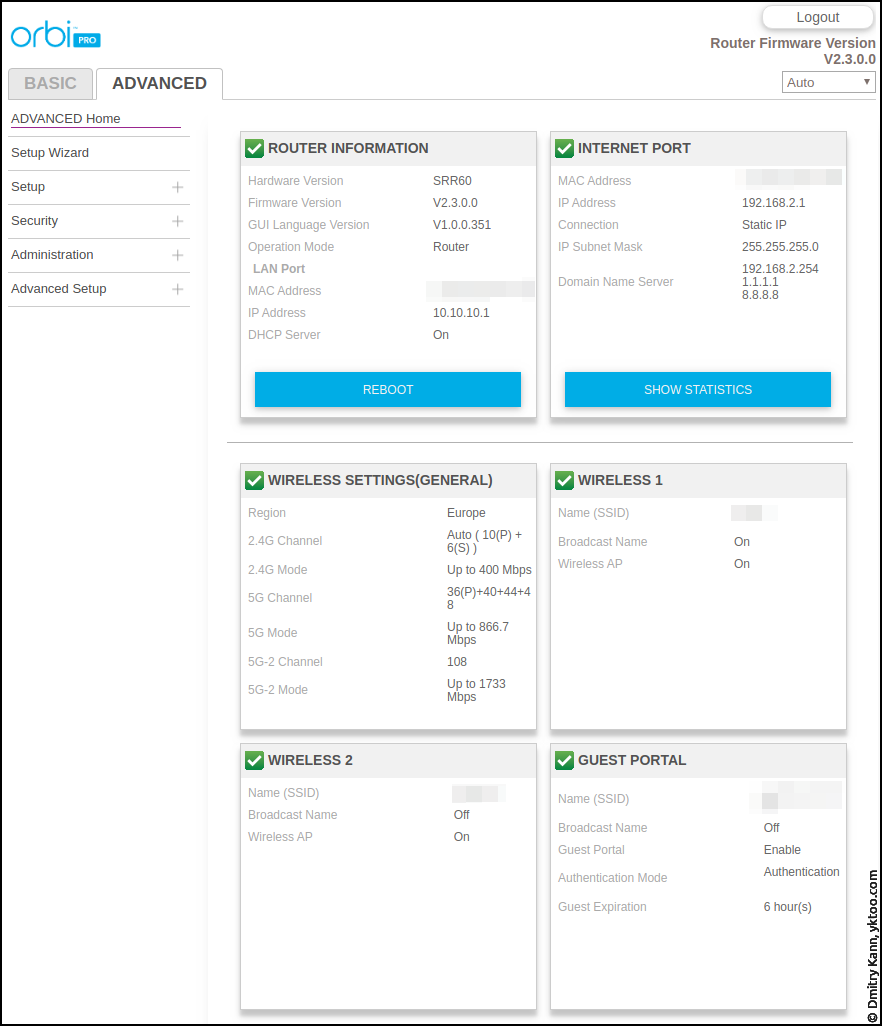
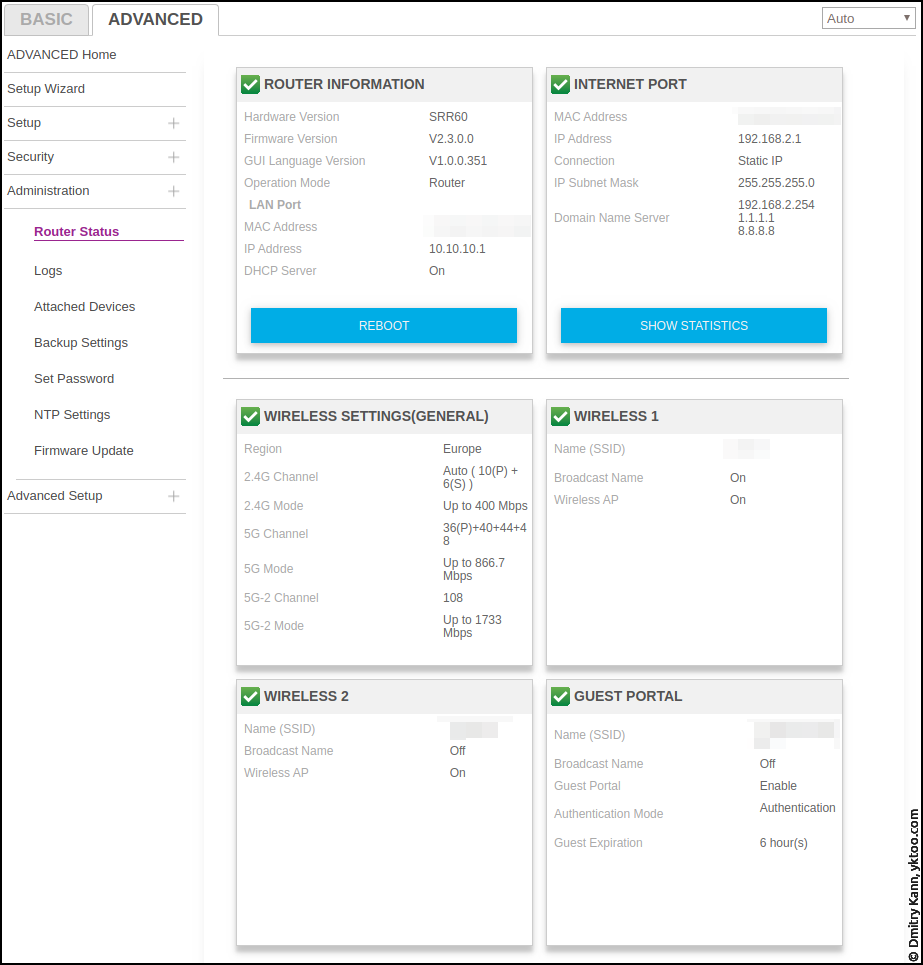
The Home page provides a brief overview of the router’s parameters:
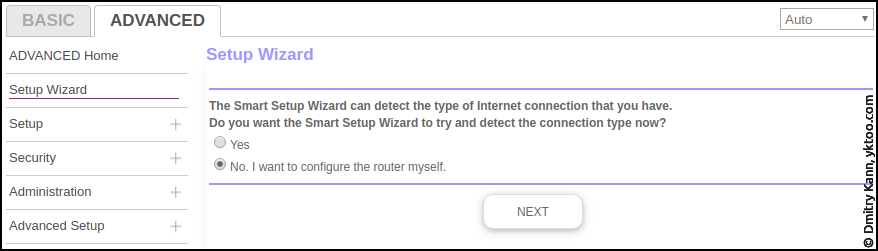
There’s also an interactive Setup wizard, which can help you to get the basics right.
Setup section
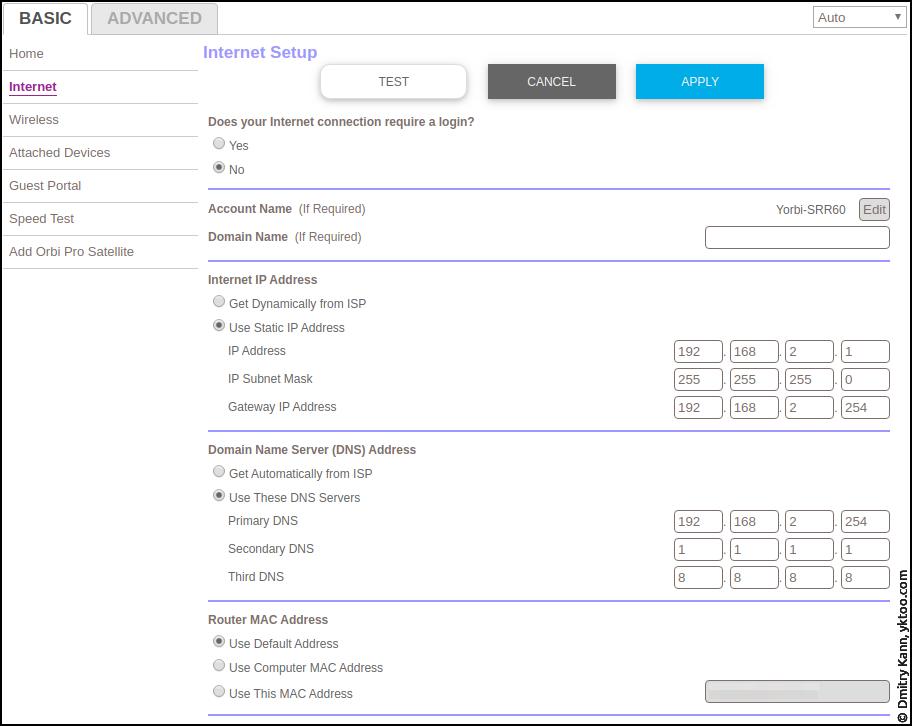
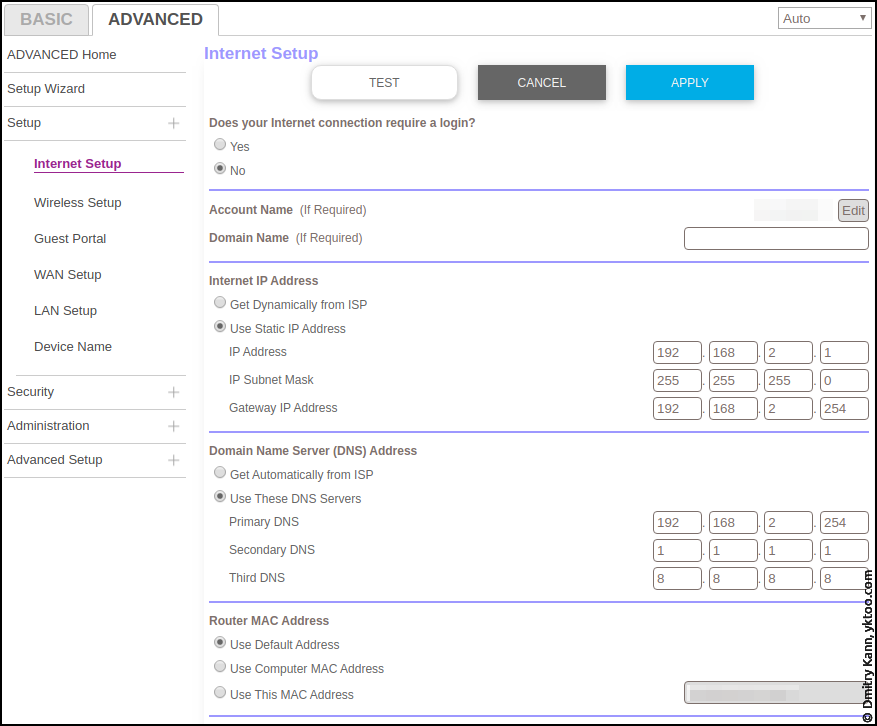
Setting for the Internet, WAN, Wi-Fi and the local network.
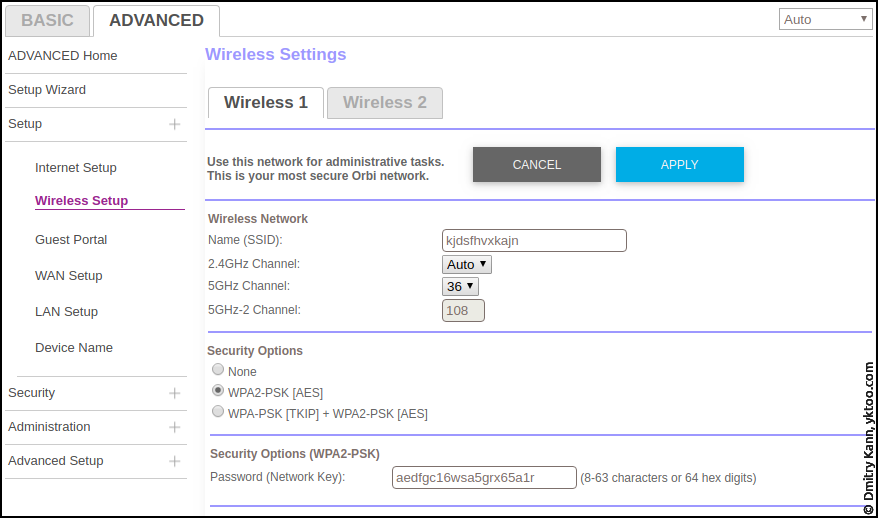
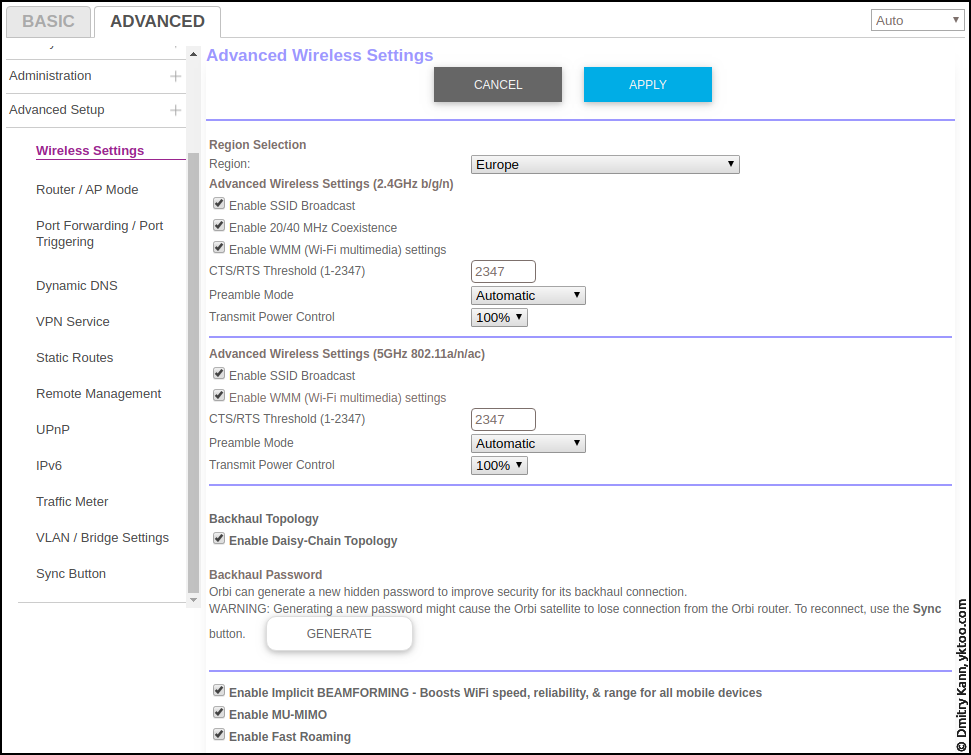
The Wi-Fi settings screen looks very much like its counterpart from the Basic mode. It allows you to switch either Wi-Fi on or off, set up the authentication and used radio channels.
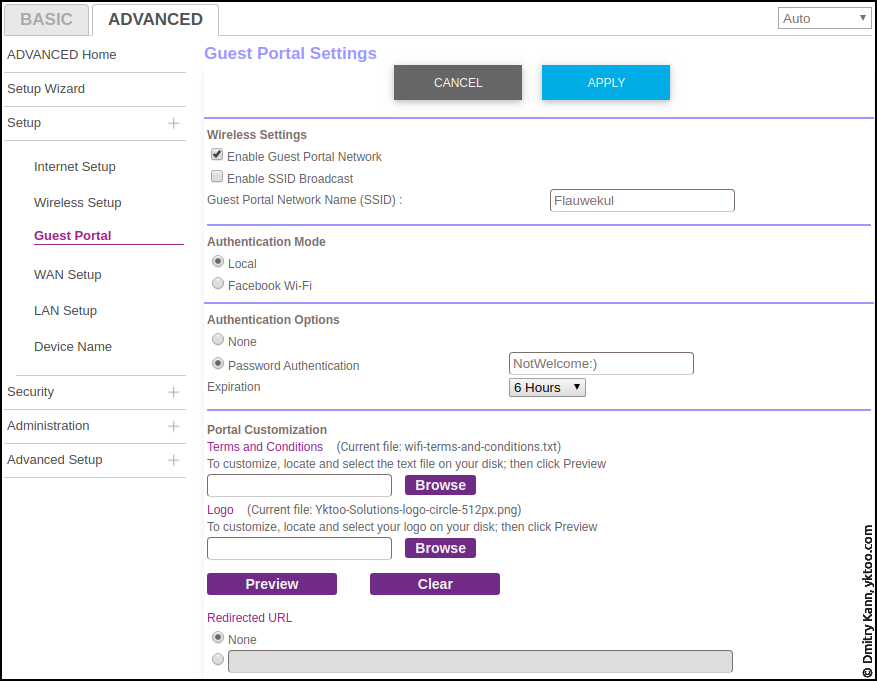
Guest portal settings. This one can also be switched on/off, you can specify a password to be entered in the captive portal, guest session duration, and terms and conditions document also shown when authenticating the user on the captive portal:
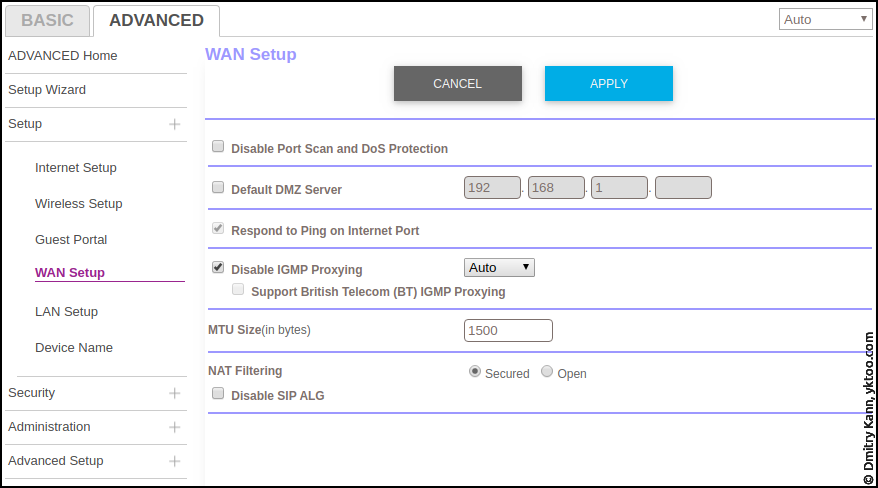
WAN settings allows you, among other things, to activate NAT (network address translation).
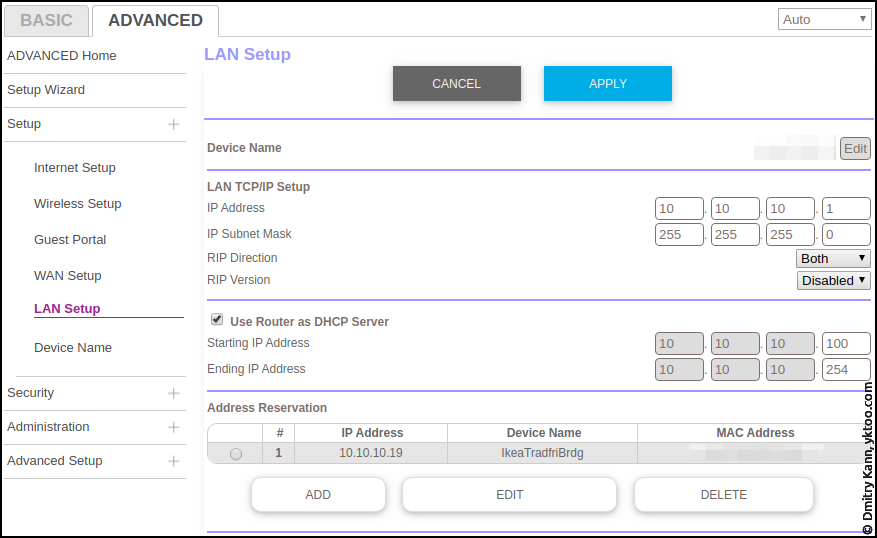
Local area network settings. You can set up the DHCP server and configure IP address reservation for a specific MAC address.
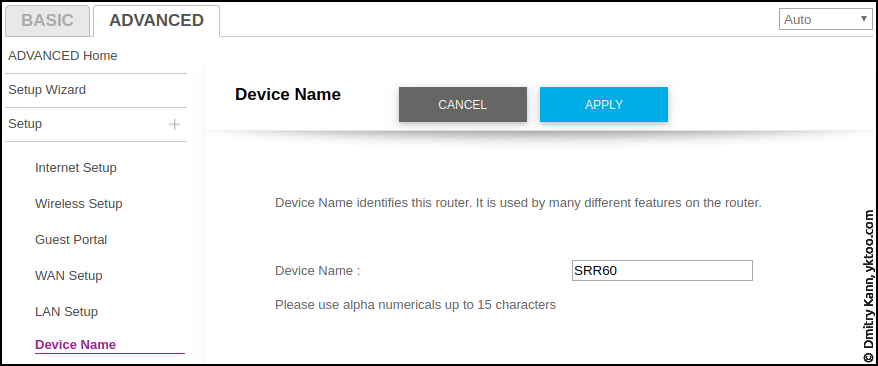
Device name setting:
Security section
The Security section is quite an interesting one. It allows you to block individual devices, sites, ports.
Access control page. It shows every device ever connected to any of the networks, and you can allow or deny its Internet access. Also you can choose the global default for newly connected devices.
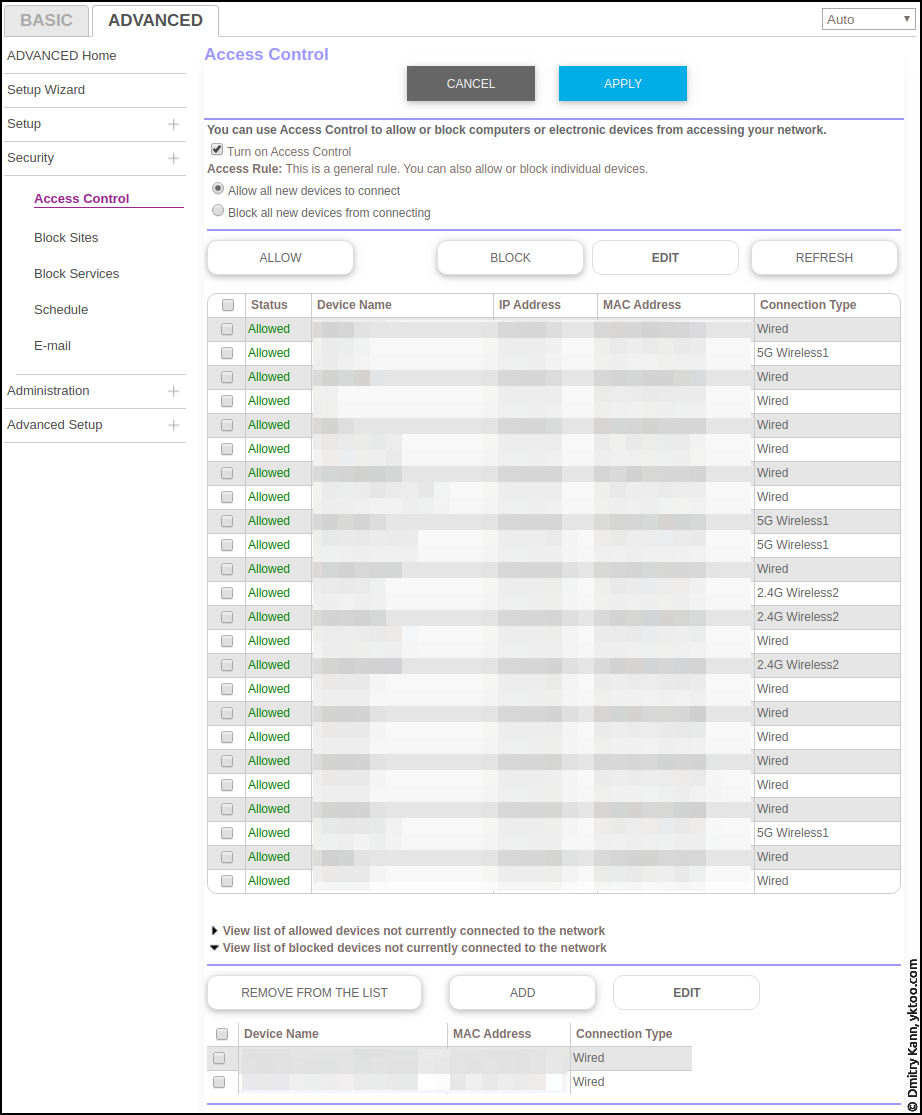
On this matter I do have some remarks.
Initially I wanted to block all new devices by default so that I could approve each of them on an individual basis. However I’ve quickly run into a bug when allowed devices would occasionally jump into the Blocked list, seemingly randomly. I’m 99% certain it a list handling bug in the router firmware.
So I’ve filed a service ticket with Netgear support. For a couple of weeks they tried to reproduce the problem, and failed (reportedly). At the same time I had it reproduced several times a day, which got quite annoying at some point. So the support eventually asked me to provide a complete setting dump (containing, among other things, pretty sensitive date like devices’ MAC addresses and VPN keys).
I was totally unwilling to do that so I declined and switched to “Allow all new” by default. It isn’t a big issue after all since all wireless networks are password-protected and any new connected device gets immediately spotted and reported upon by my Fingbox.
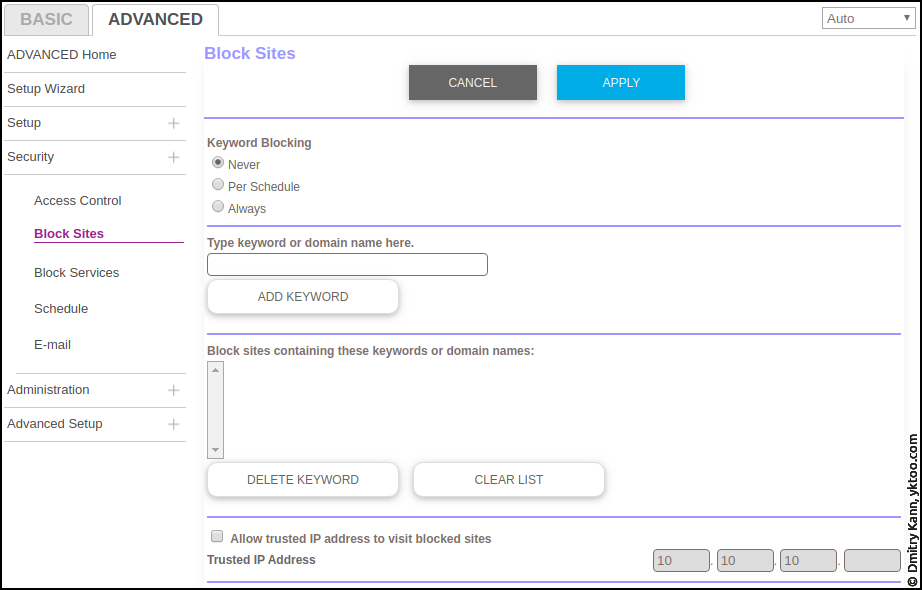
Site blocking settings:
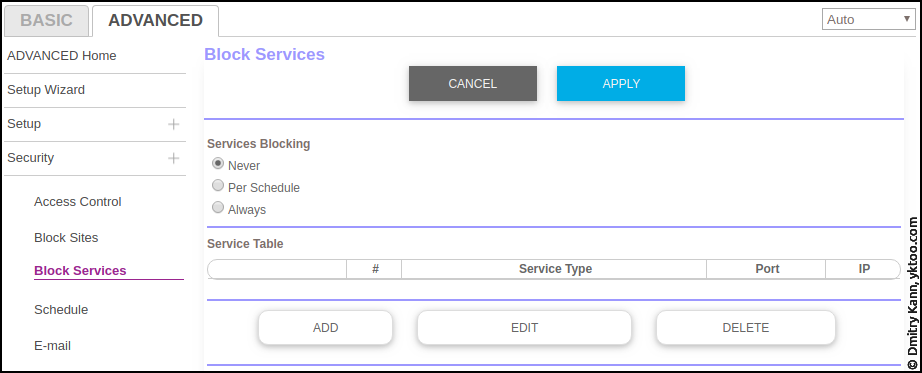
Next to domain blocking, you can also filter TCP/UDP traffic to specific hosts and ports:
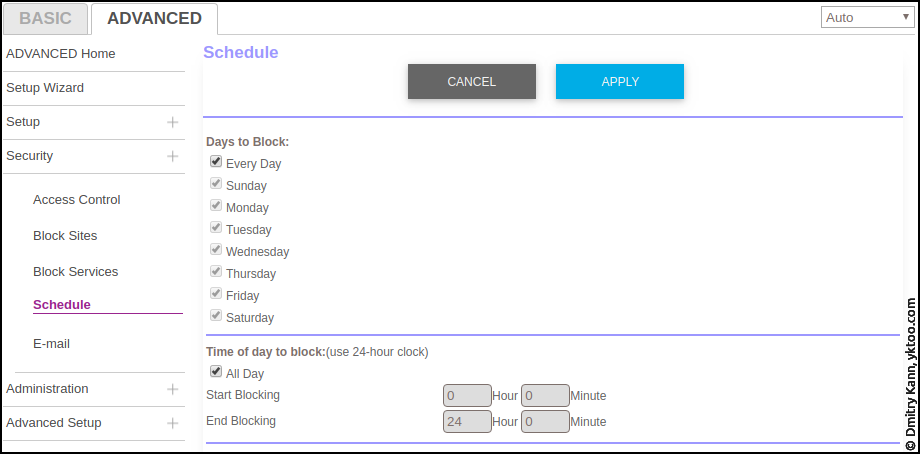
Blocking scheduler:
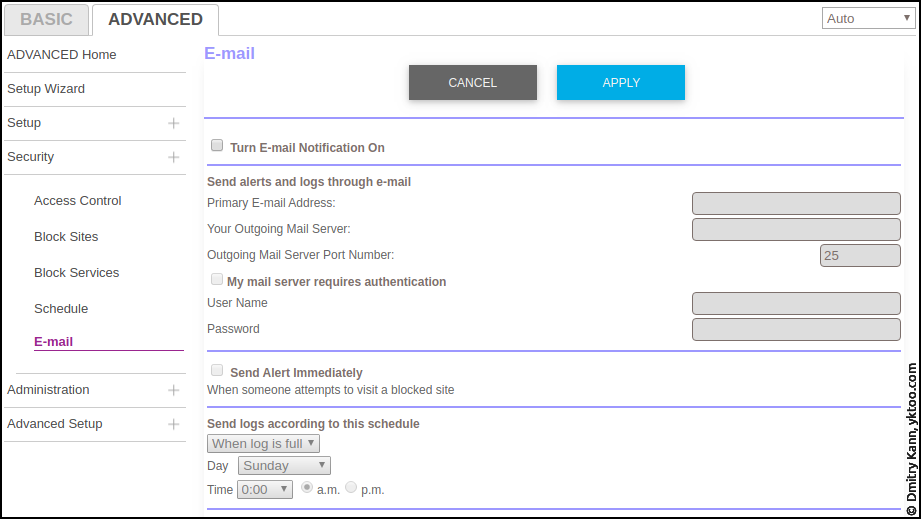
E-mail notification page:
Administration section
The overview page:
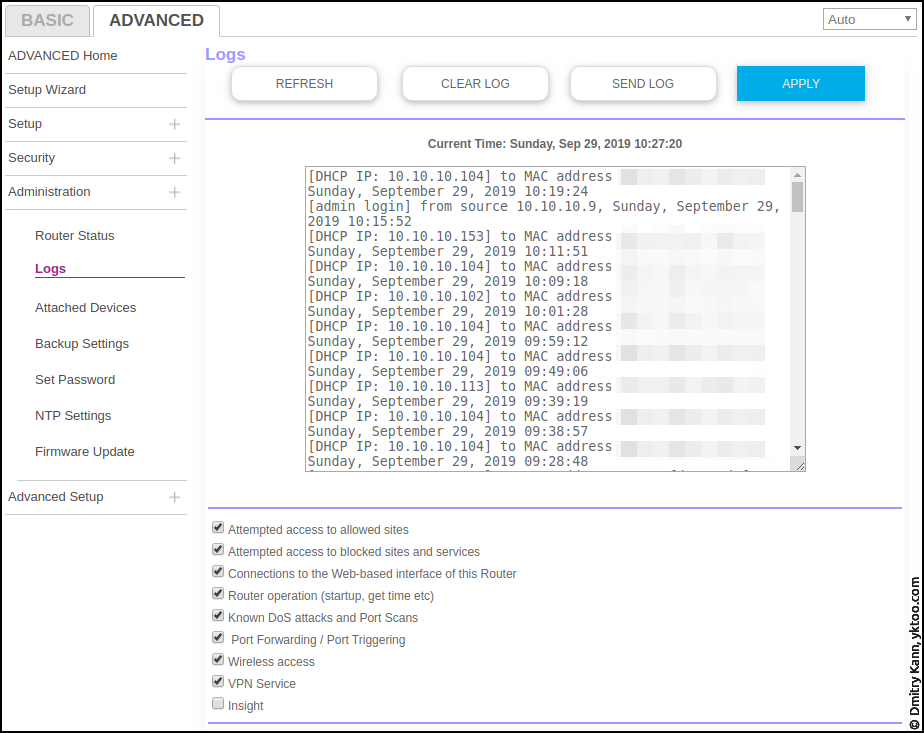
Access and service logs:
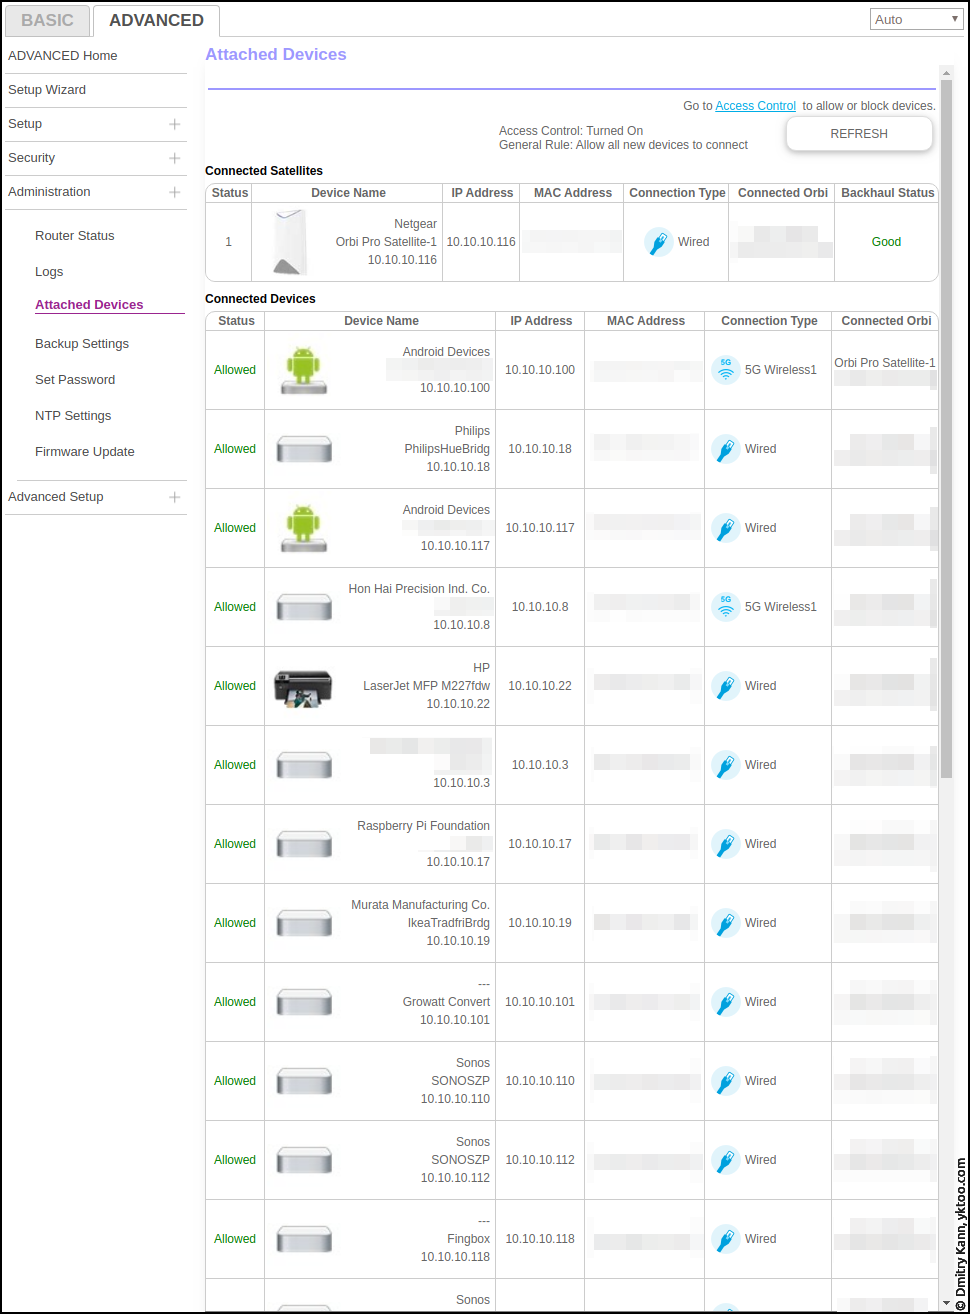
A very useful device overview page shows the satellite’s status and, for each device, which network it’s connected to:
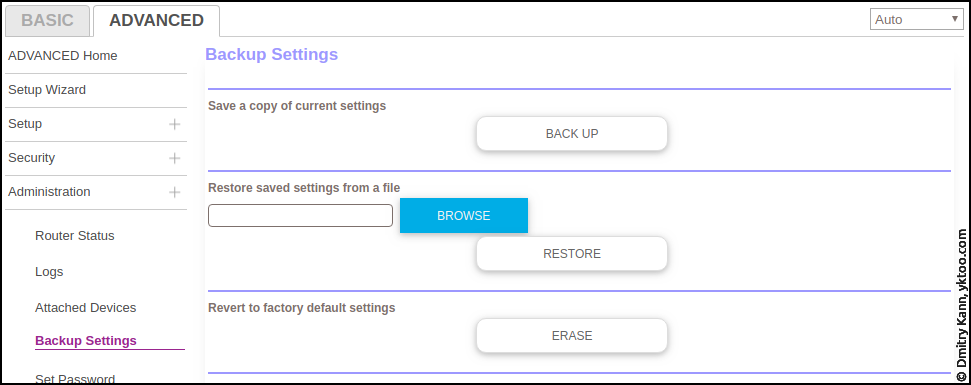
Settings backup/restore:
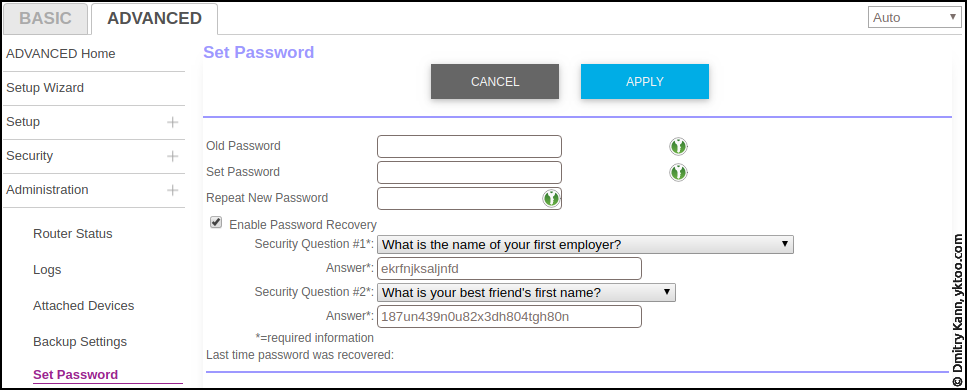
Adminstrator password:
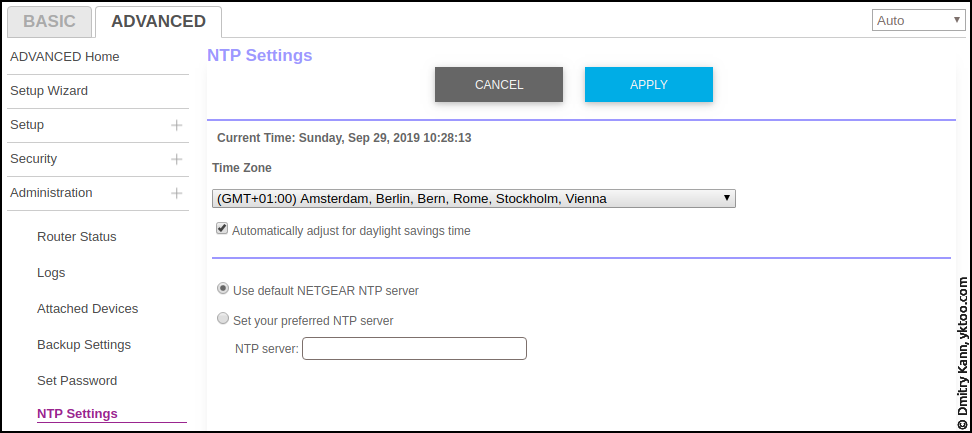
NTP time synchronisation settings:
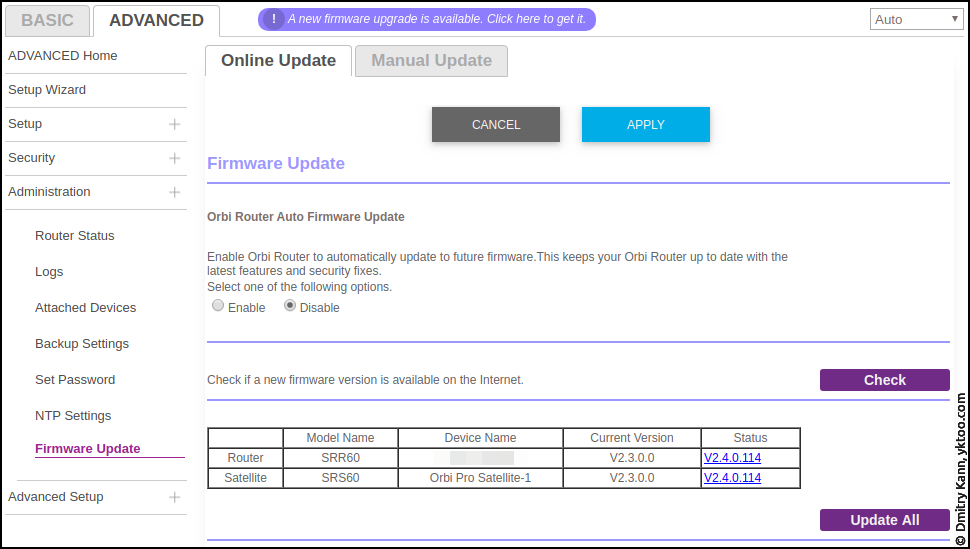
Device firmware update. A new firmware get downloaded automatically as soon as you open this page. Then you can choose whether to also install it automatically or manually:
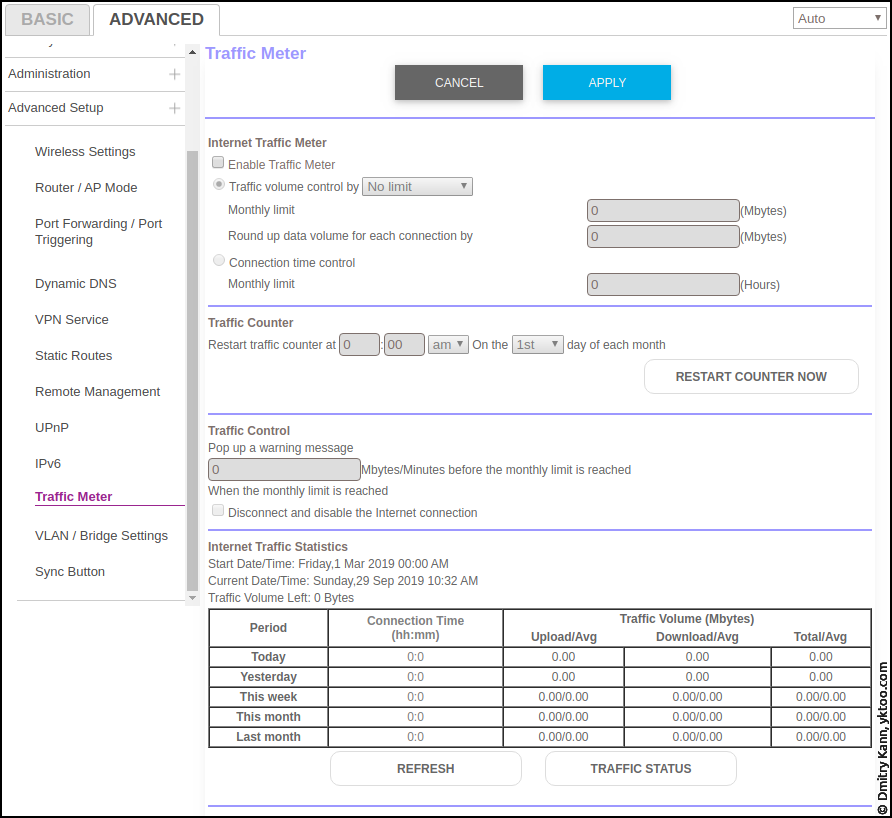
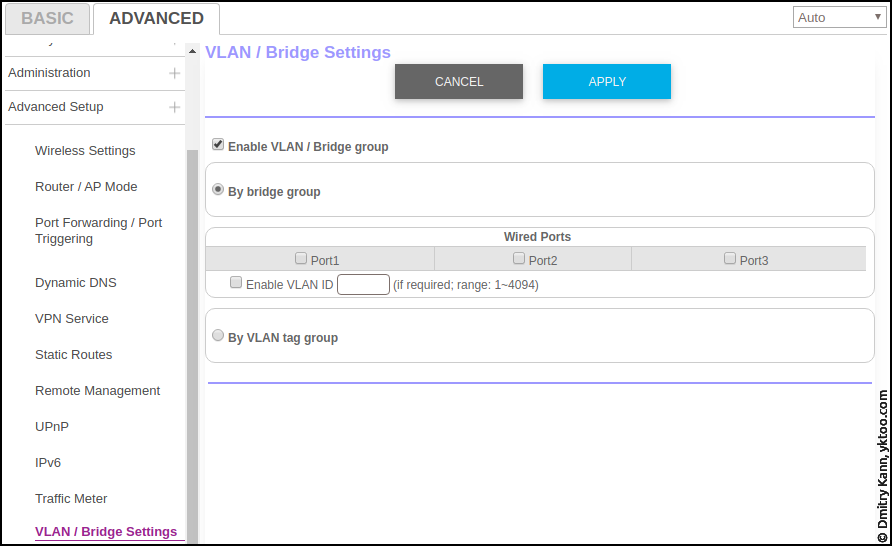
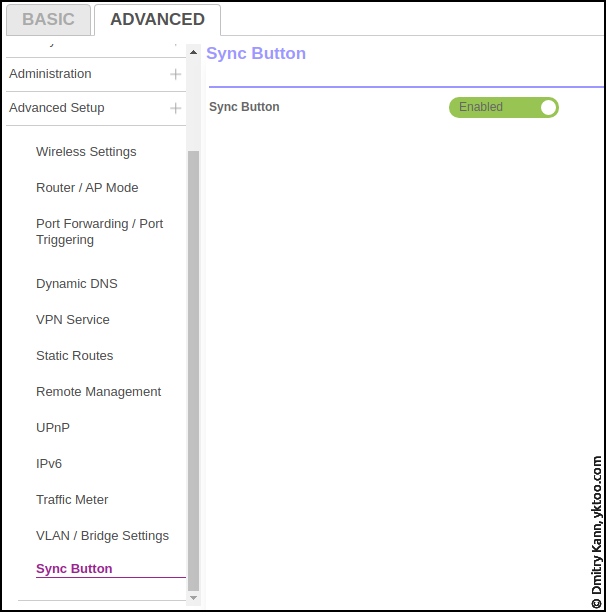
Advanced setup section
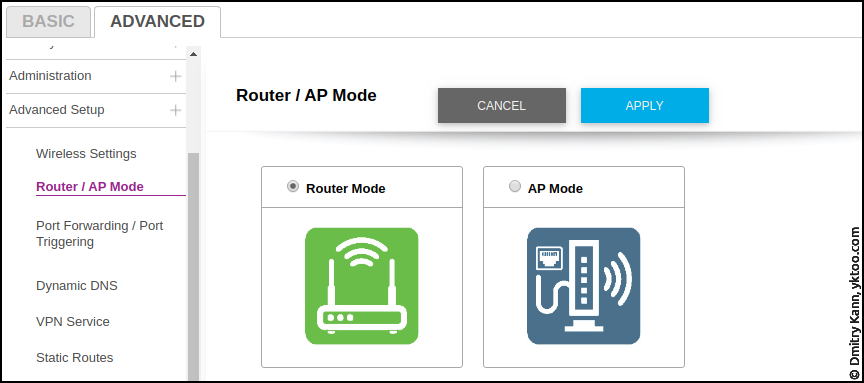
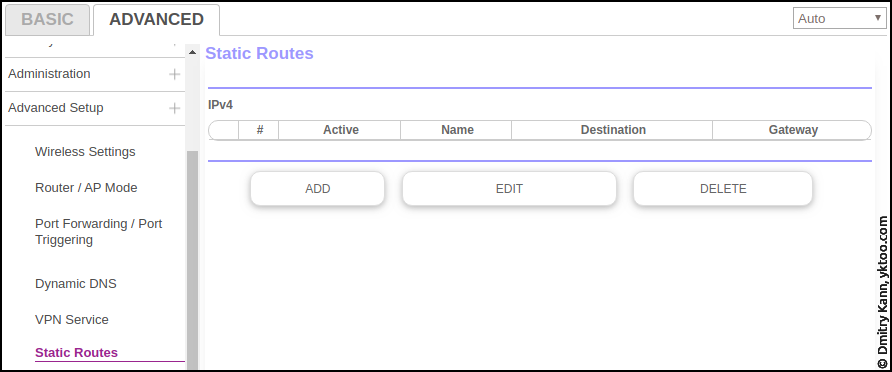
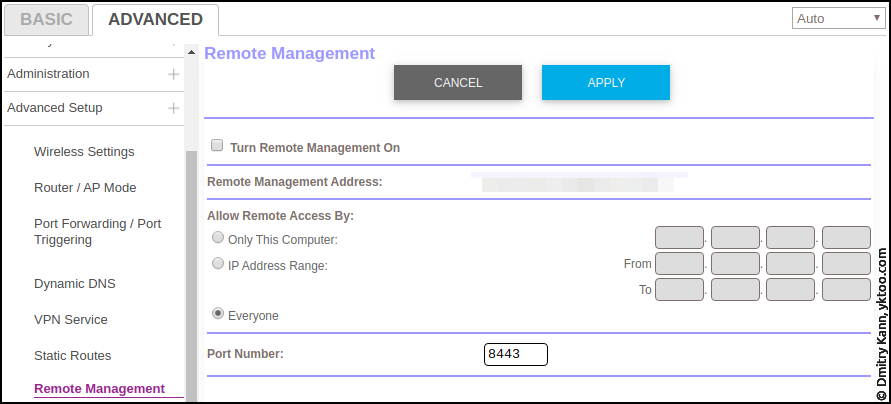
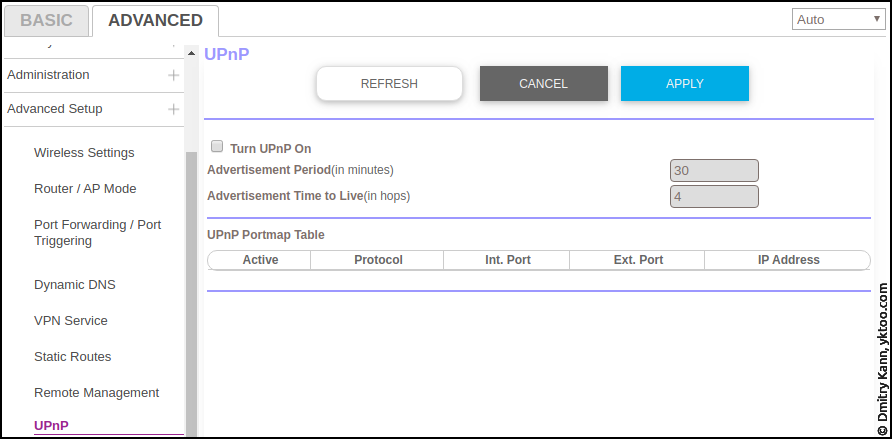
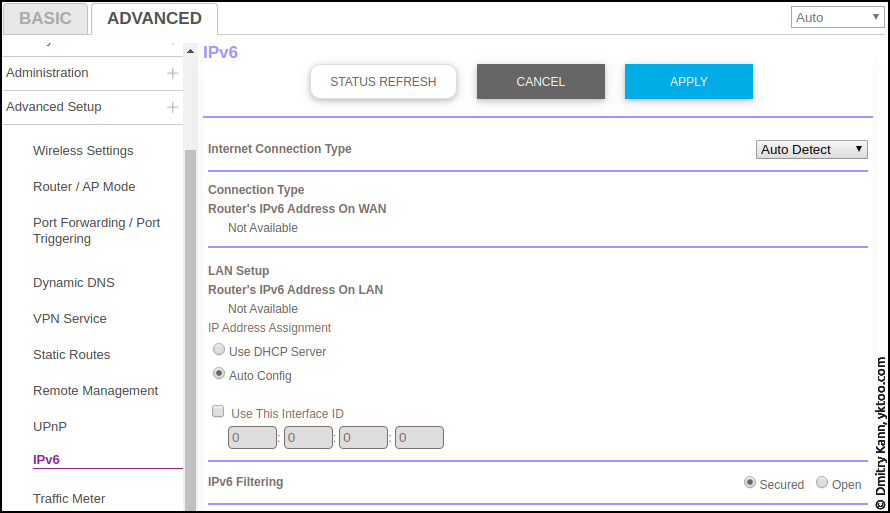
The Advanced setup section contains the more hardcore parameters, like the operation mode (router/access point), VPN, UPnP etc.

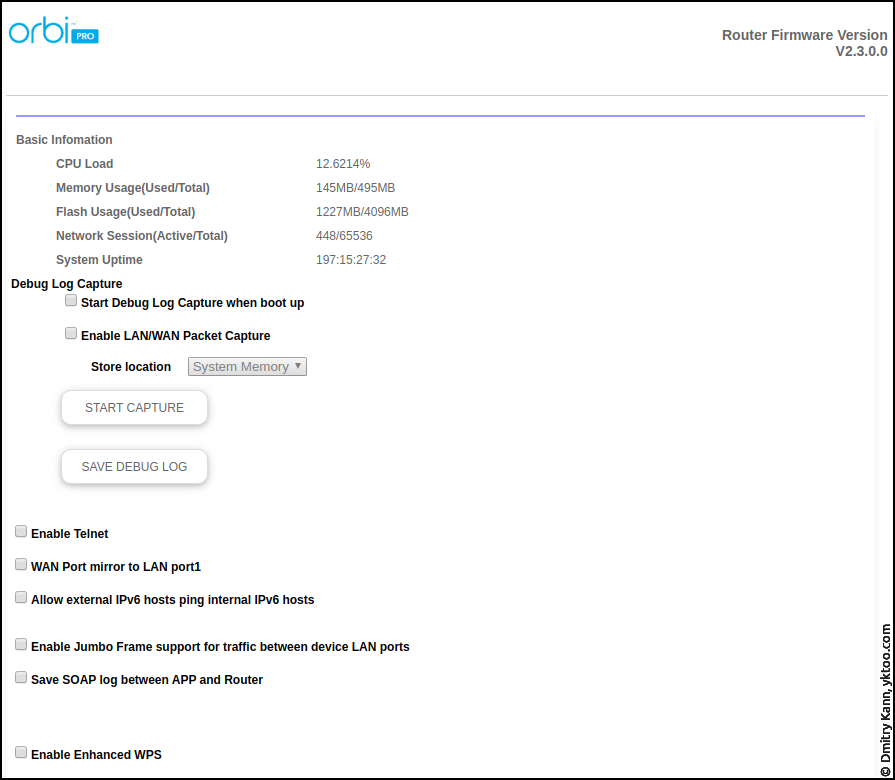
Debug settings
This router also features a hidden Debug page, which you can see by navigating to http://<router_address>/debug.htm.
Wi-Fi speed
Let’s move from theory to practice. One of my main drives to upgrade the router was improving the wireless connection bandwidth and stability.
Worth noting: in my setup, the satellite is connected to the router via Ethernet and not via the backhaul.
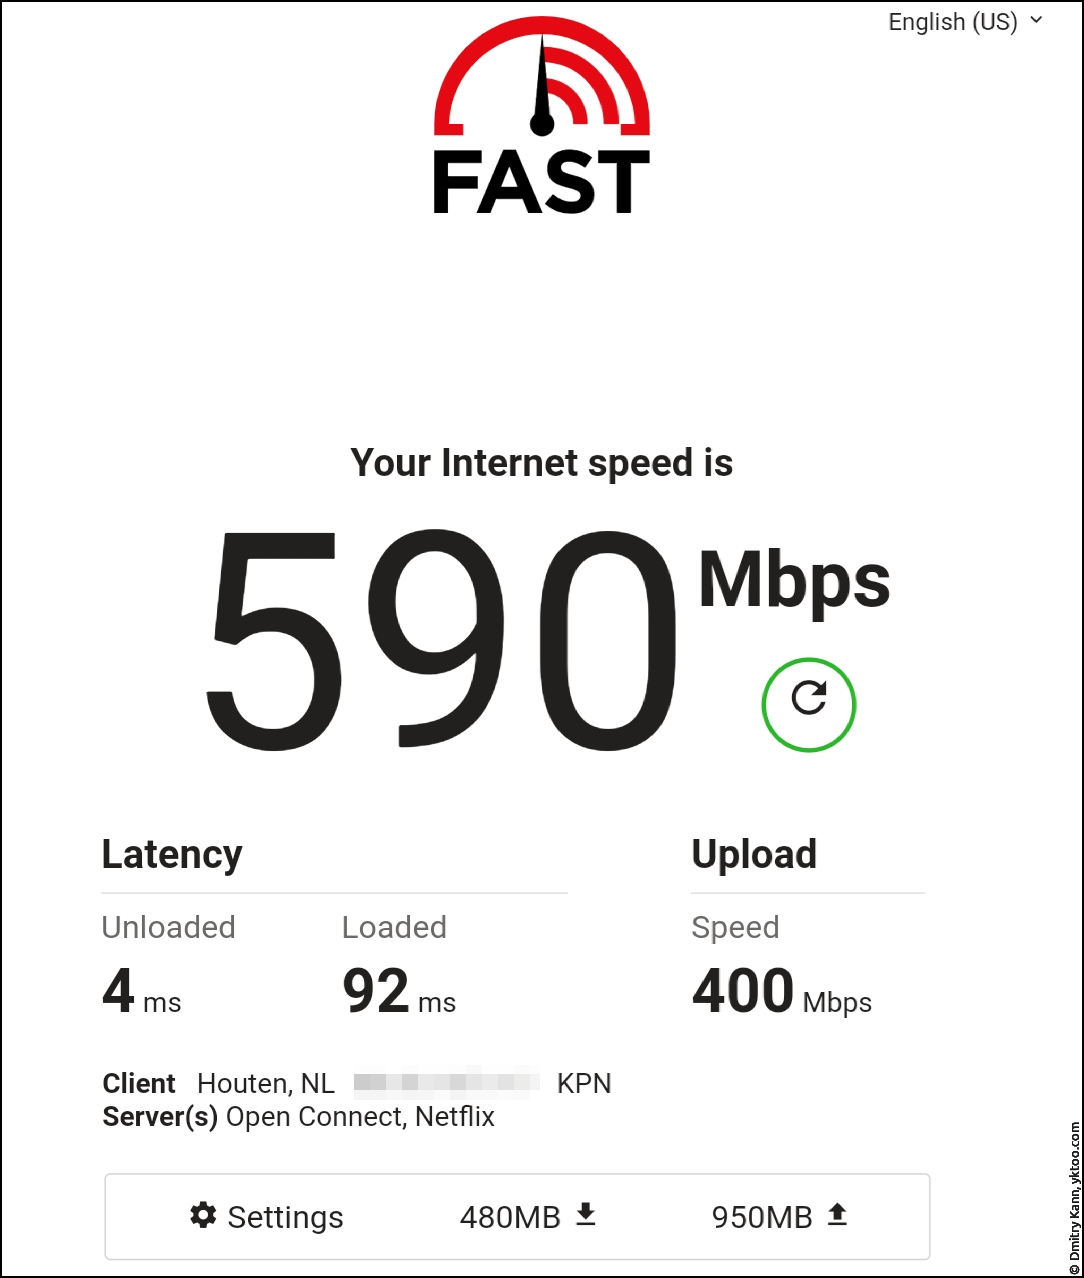
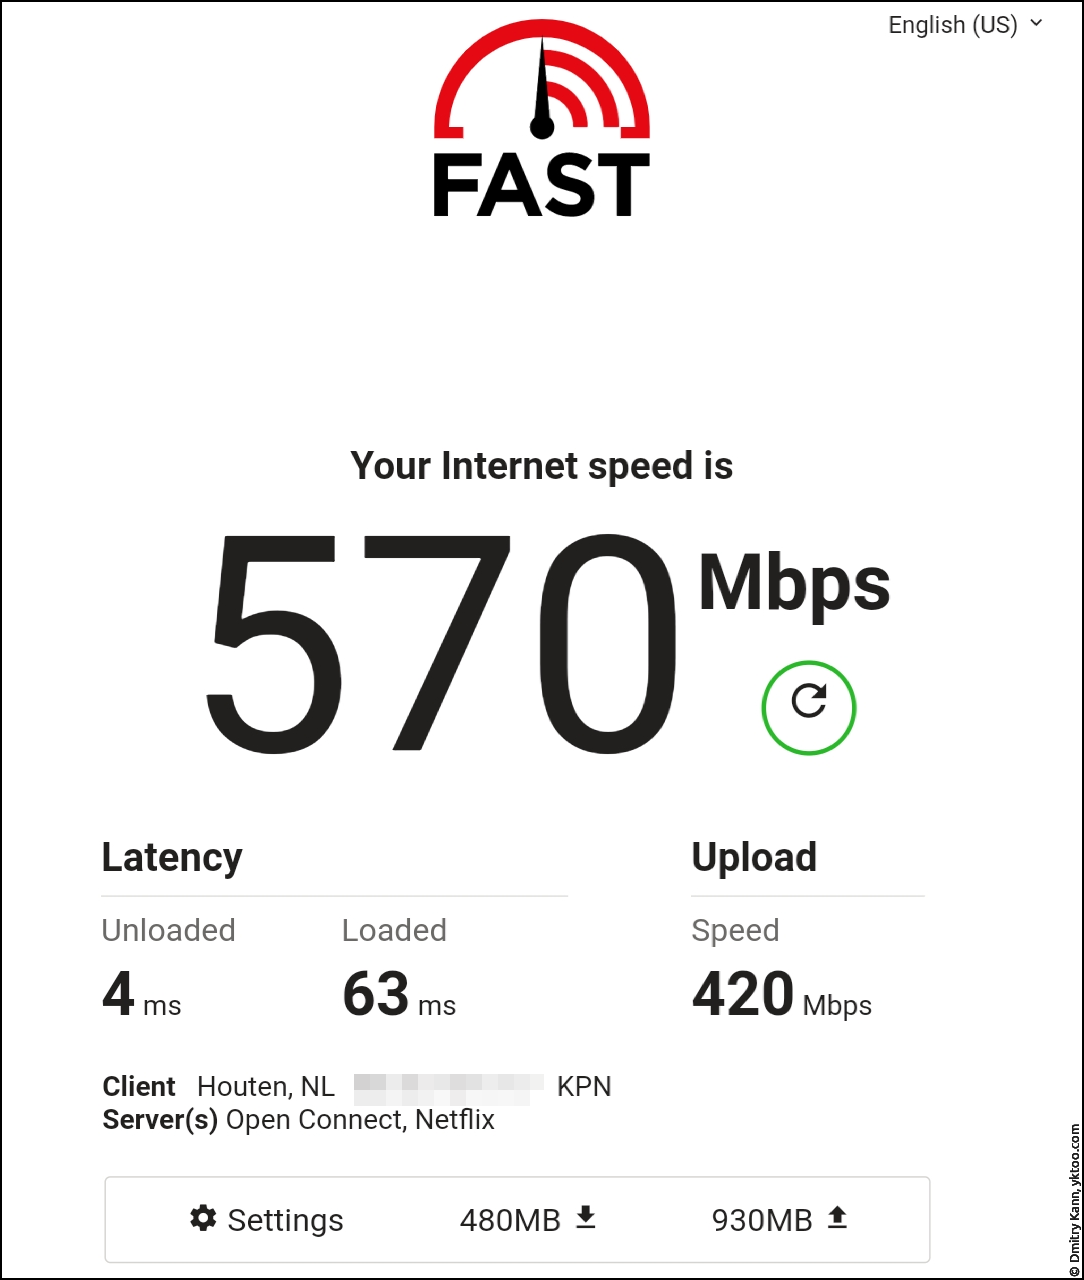
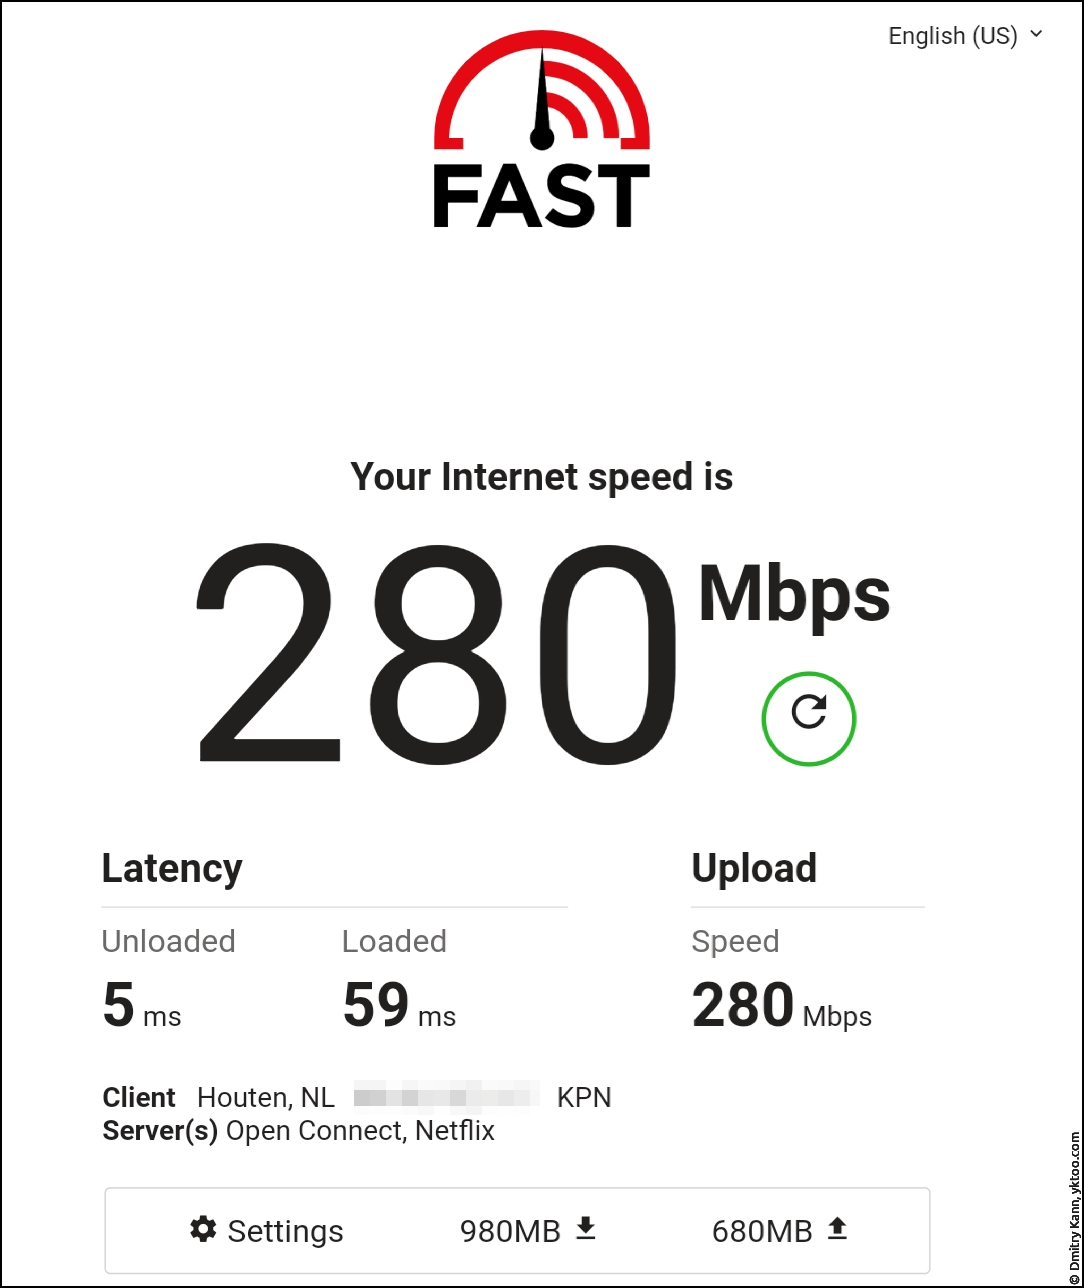
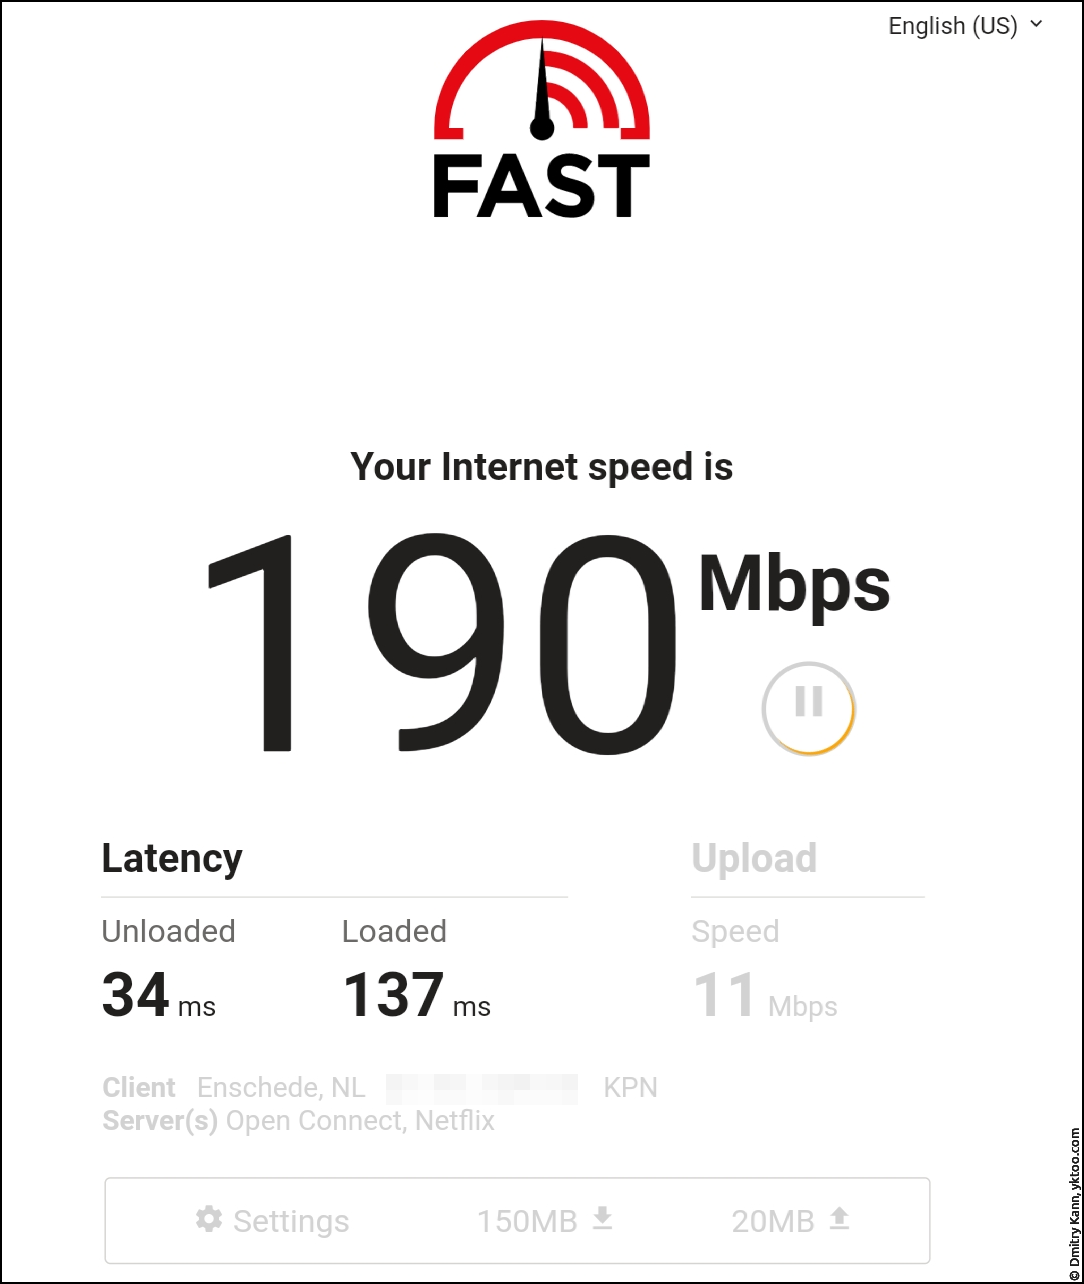
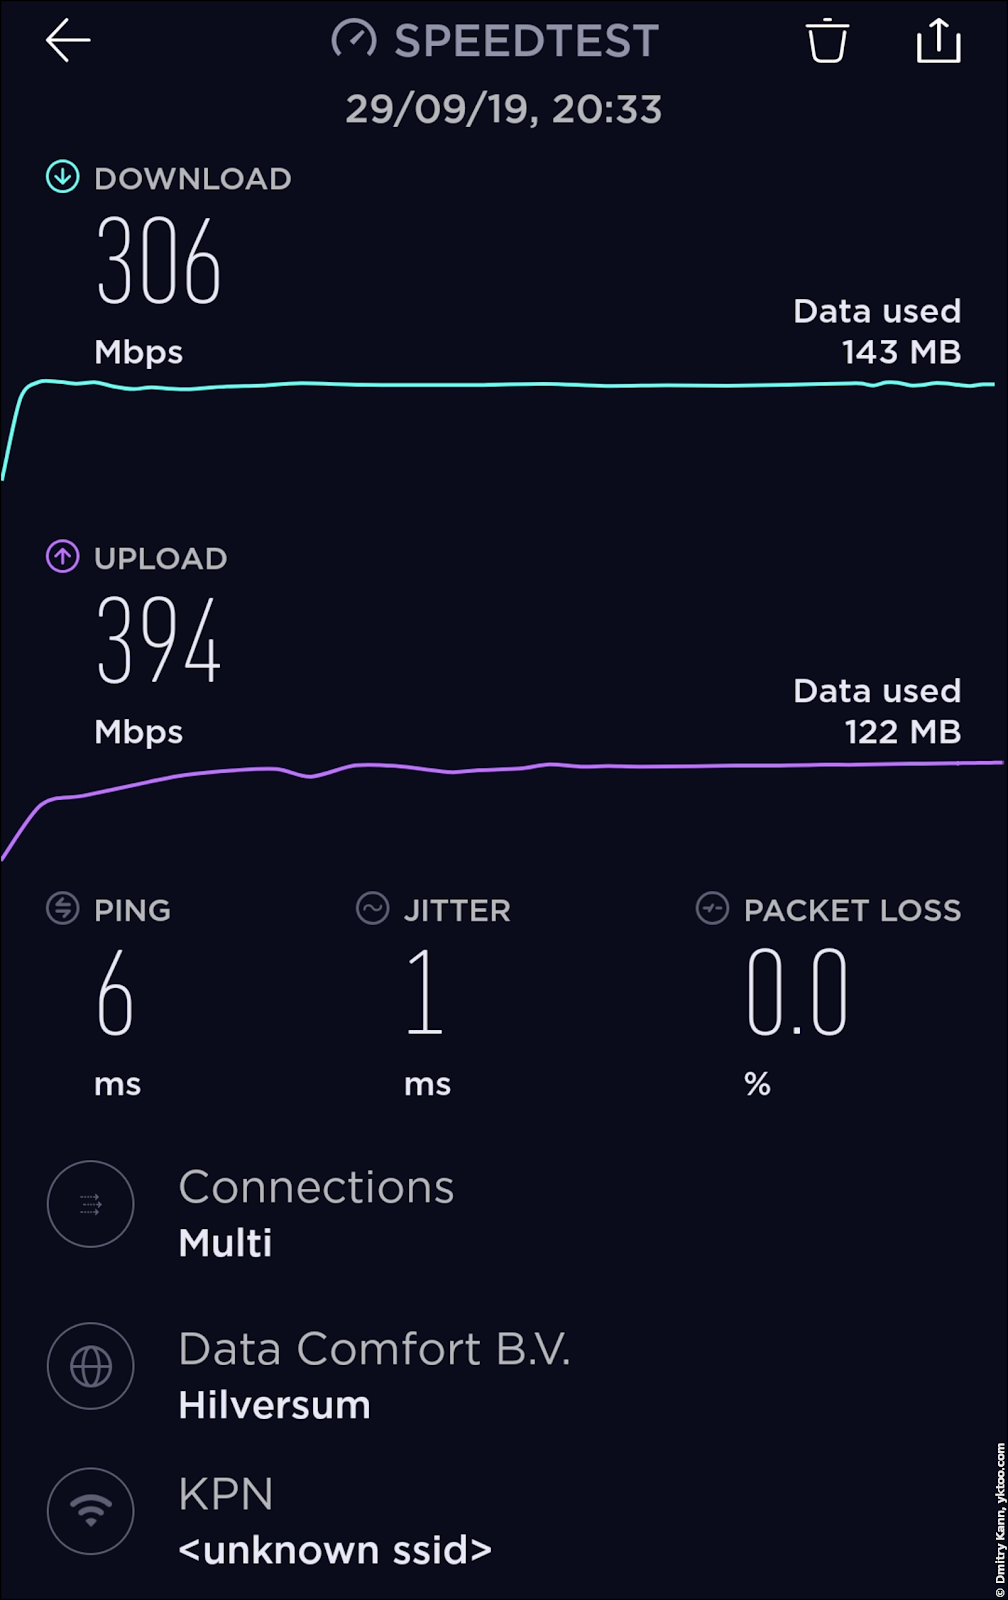
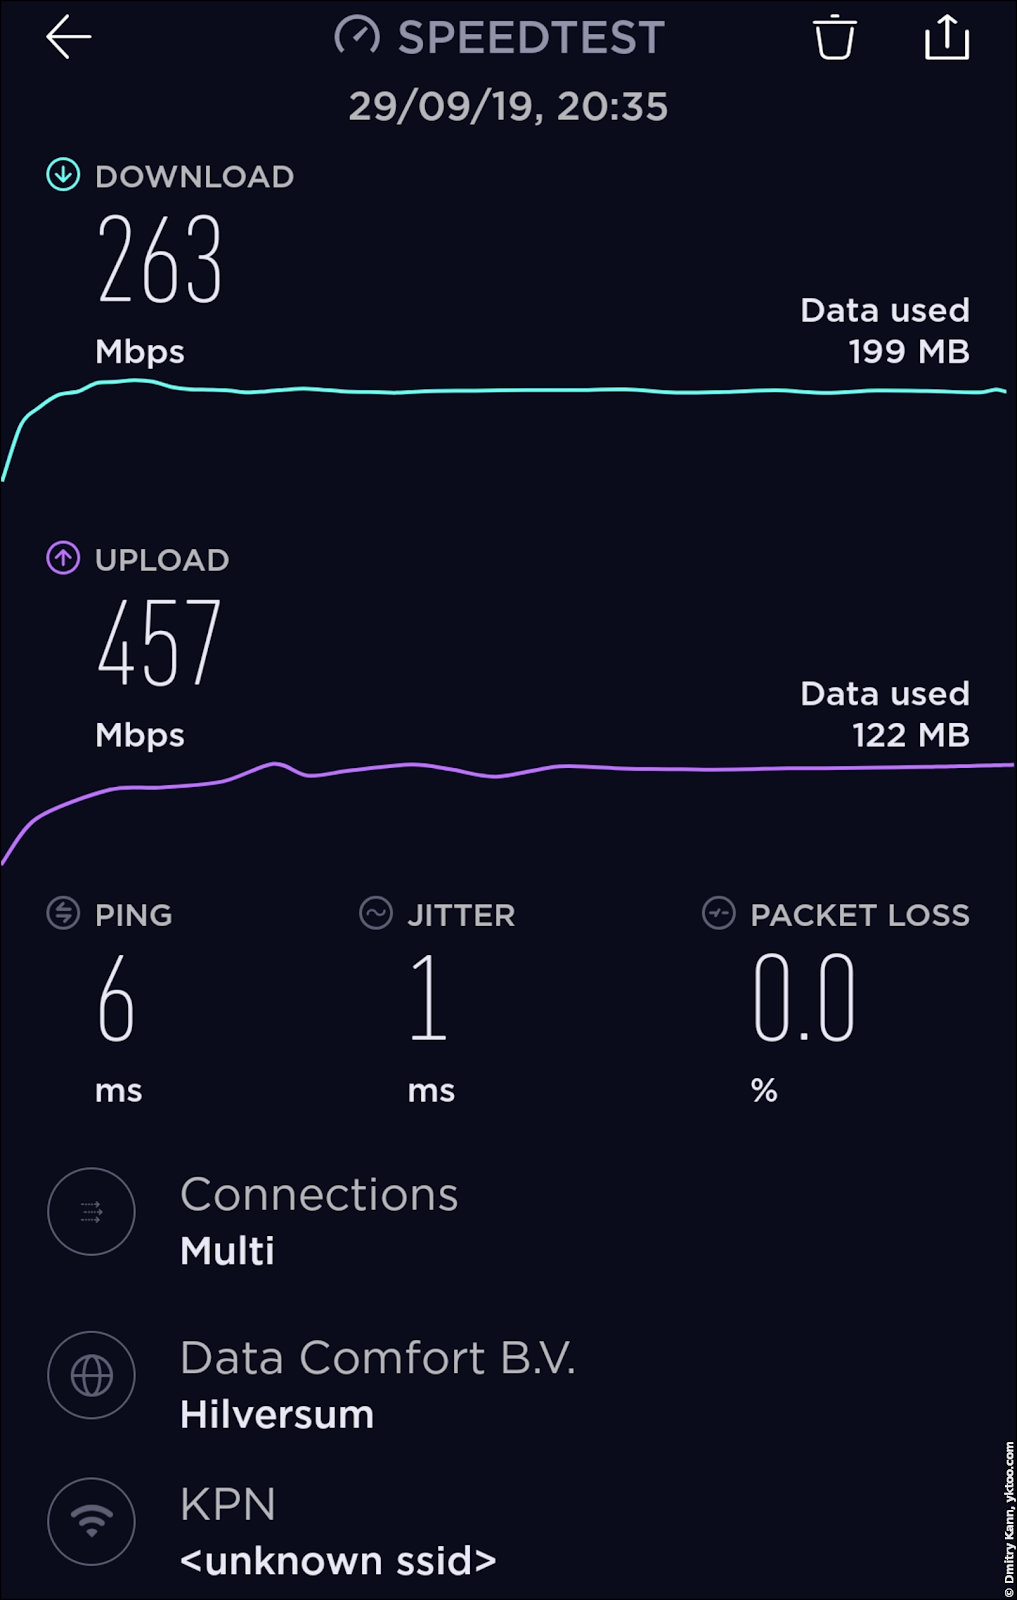
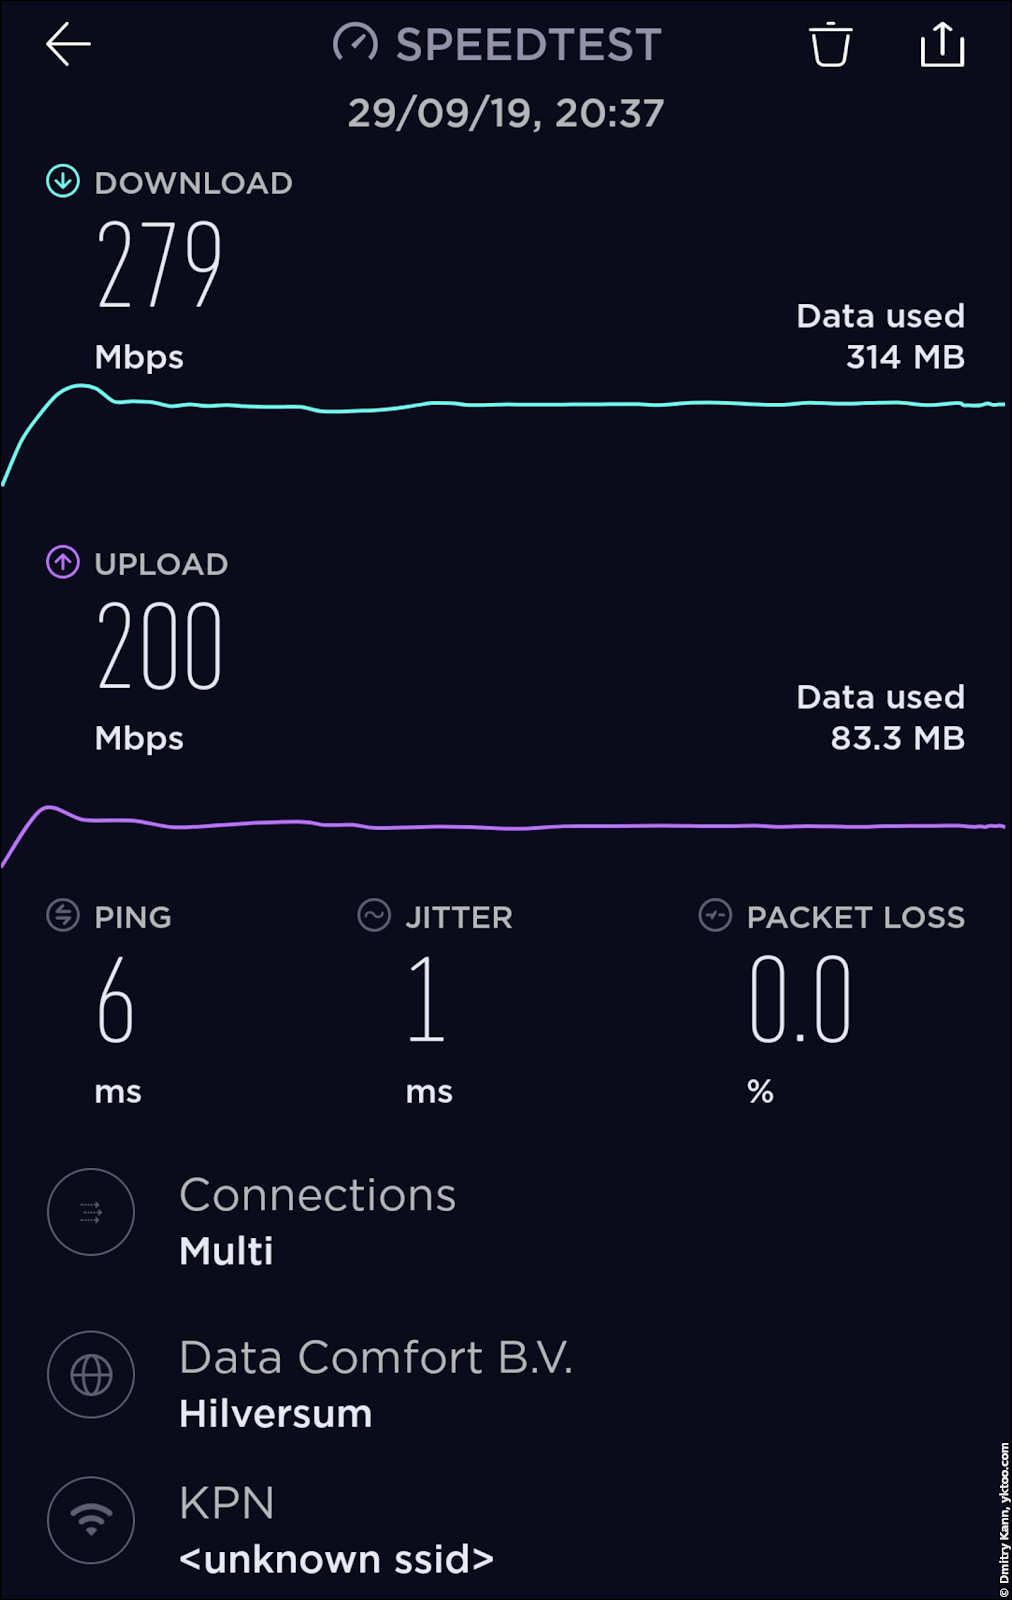
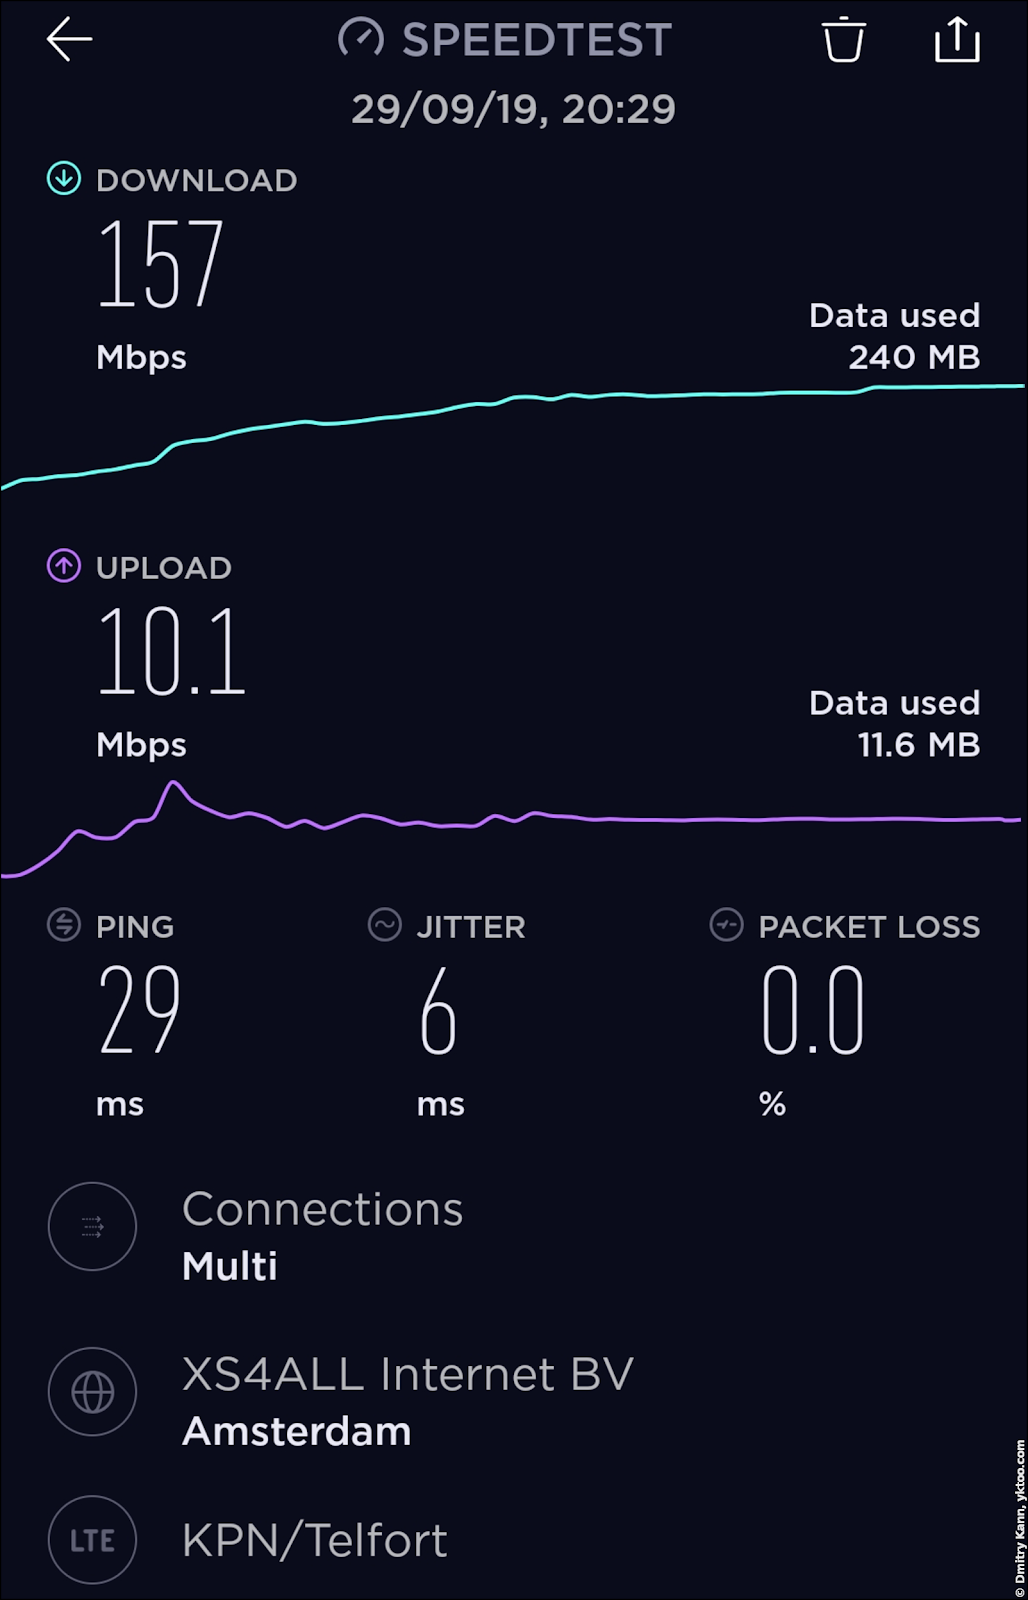
When it comes to bandwidth Netgear Orbi is stellar. I’ve made some measurements with my mobile using fast.com and speedtest.net. Also I’ve metered the mobile (LTE/4G+) data speed, out of curiosity.
Below is the summary of my readings (the speed is in Mbps):
| Client device location | Speed according to fast.com | Speed according to speedtest.net |
|---|---|---|
| Wi-Fi next to the router | ⇓ 590 — ⇑ 400 | ⇓ 306 — ⇑ 394 |
| Wi-Fi next to the satellite | ⇓ 570 — ⇑ 420 | ⇓ 263 — ⇑ 457 |
| Wi-Fi away from both router and satellite | ⇓ 280 — ⇑ 280 | ⇓ 279 — ⇑ 200 |
| LTE/4G+ | ⇓ 190 — ⇑ 11 | ⇓ 157 — ⇑ 10 |
On a side note, the difference between the measurements by the two services is sometimes striking. I have the impression fast.com is somewhat more accurate since its readings vary less.
When the phone is located next to either of the device, the download bandwith is ca. 500 Mbps, upload is ca. 400 Mbps. This is pretty close to the overall “official” bandwidth of my Internet connection.
When the phone is equally removed from both devices, the speed is about 280 Mbps. Which is decent in my view.
Conclusions
After having used the system for nine months I can conclude my Netgear Orbi Pro SRK60 is stable and robust.
There a couple of points though:
- In the very beginning the router would sometimes become unresponsive after some configuration changes. In that case it could only be brought back to life with a cold reboot. Luckily, this never happened in the past few months.
- The access control bug with “Block new devices by default” mentioned above. I couldn’t resolve it with Netgear support (as what they asked of me was too much).
On the positive note, its three-network feature is incredibly useful:
- The primary network is being used by all home devices: phones, computers, the smart TV and so on.
- The secondary (“employee”) network is being used by various IoT devices, like my Nest Protects and the Growatt solar converter. There’s nothing in my local network they should be allowed to see.
- The guest network is, well, for guests.
The latter could use some improvement though. It cannot be WPA-protected, and the configured password is only asked once a connection has been established, in the captive portal. Because of that I got lots of new unknown devices reported, I believe these were just passers-by’s phones configured to connect to whichever open Wi-Fi is available. I resolved that by hiding the guest network, so you’ll need to know its SSID in order to connect.
P.S. update: the recently released 2.4.0.114 firmware version now features bandwidth setting per network. So you can, for instance, configure the primary network for 80% of the available bandwidth, and the two remaining for 10% each.
Pros
- Cloud- and mobile app-free
- Every setting can be changed using the web interface
- Both components are robust and stable
- Perfect Wi-Fi coverage and seamless mesh function
- Decent shoice of settings and parameters
- Three independent Wi-Fi networks
- Gigabit Ethernet ports (3x on the router, 4x on the satellite)
- All settings can be backed up and restored from a file
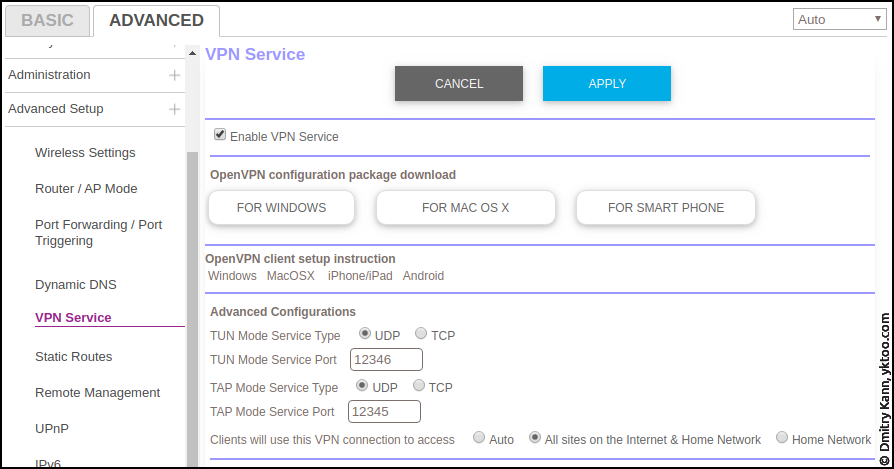
- Built-in OpenVPN server, very simple to set up
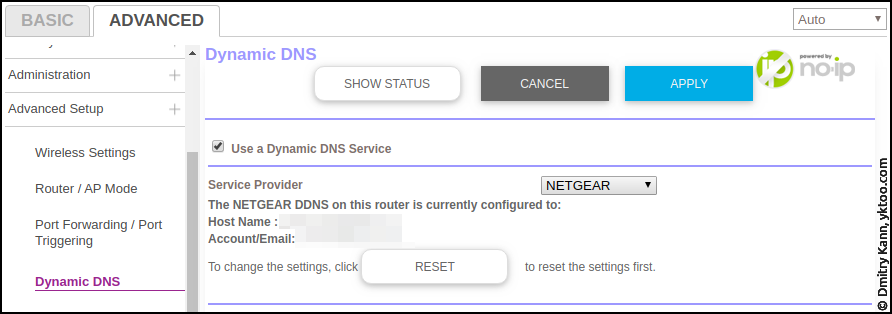
- Dynamic DNS support (for no-ip.com)
- One free host for no-ip.com (to be used with dynamic DNS)
- Bandwidth setting for each network (as of firmware version 2.4.0.114)
Cons
- Expensive
- Access control with “Block new devices by default” bug
- The guest network is always open
- Long boot time (~3 min)
- No USB ports for external drives to turn it into a NAS
Where to buy
The recommended price for SRK60 is € 426 (which is also for how much I’ve bought it), but at this moment it’s available for € 369 on bol.com.
Update: the firmware version 2.5.0.108 adds another, fourth, Wi-Fi network.
Comments