My today’s story is about a well-known yet impressive graphic editing technique called multiplicity. It allows you to multiply objects on a photo—most commonly people, but it can be just as well kittens or lawn-mowers. Using this technique, you can make pictures like this:
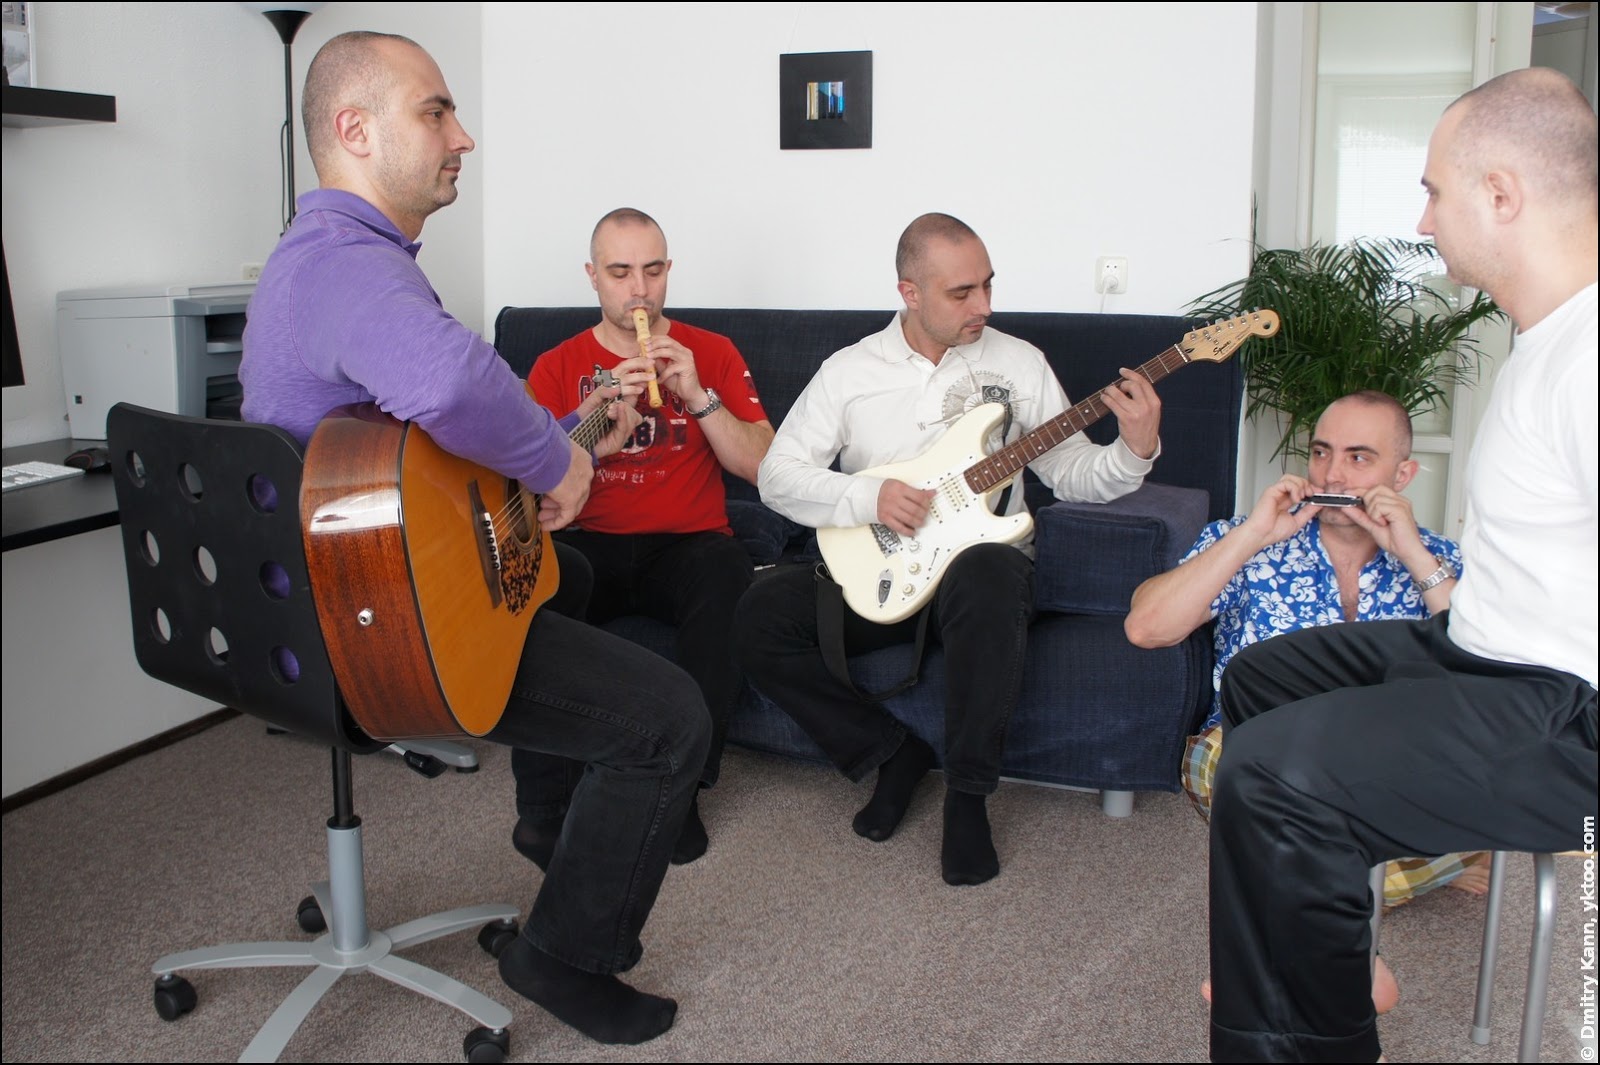
I’m a Linux guy and hence my favourite graphic editing tool is Gimp, but the same can be done with any other editor that supports layers and masks.
The photo above with five copies of myself required quite a bit of labour, so I’ll explain the principle on a simpler example with just two of me:
Step one. Making photos
It all starts with making source photos, and it’s very important to get it right from the beginning to facilitate all following efforts:
The camera should be steadily and firmly mounted. The best option is to use a tripod and click the shutter from a remote control. However, it’s not required provided that you do it accurately.
The pictures must be shot under identical conditions, which means:
Same exposure.
Same aperture value.
Same white balance.
Resulting from all the above—same lighting conditions.
I used the full manual exposure mode, except the focusing, which I kept automatic, and explicitly chose the white balance.
All other objects should keep their positions to the extent possible.
It’s a good idea to make a multitude of different shots to have a variety to choose from later.
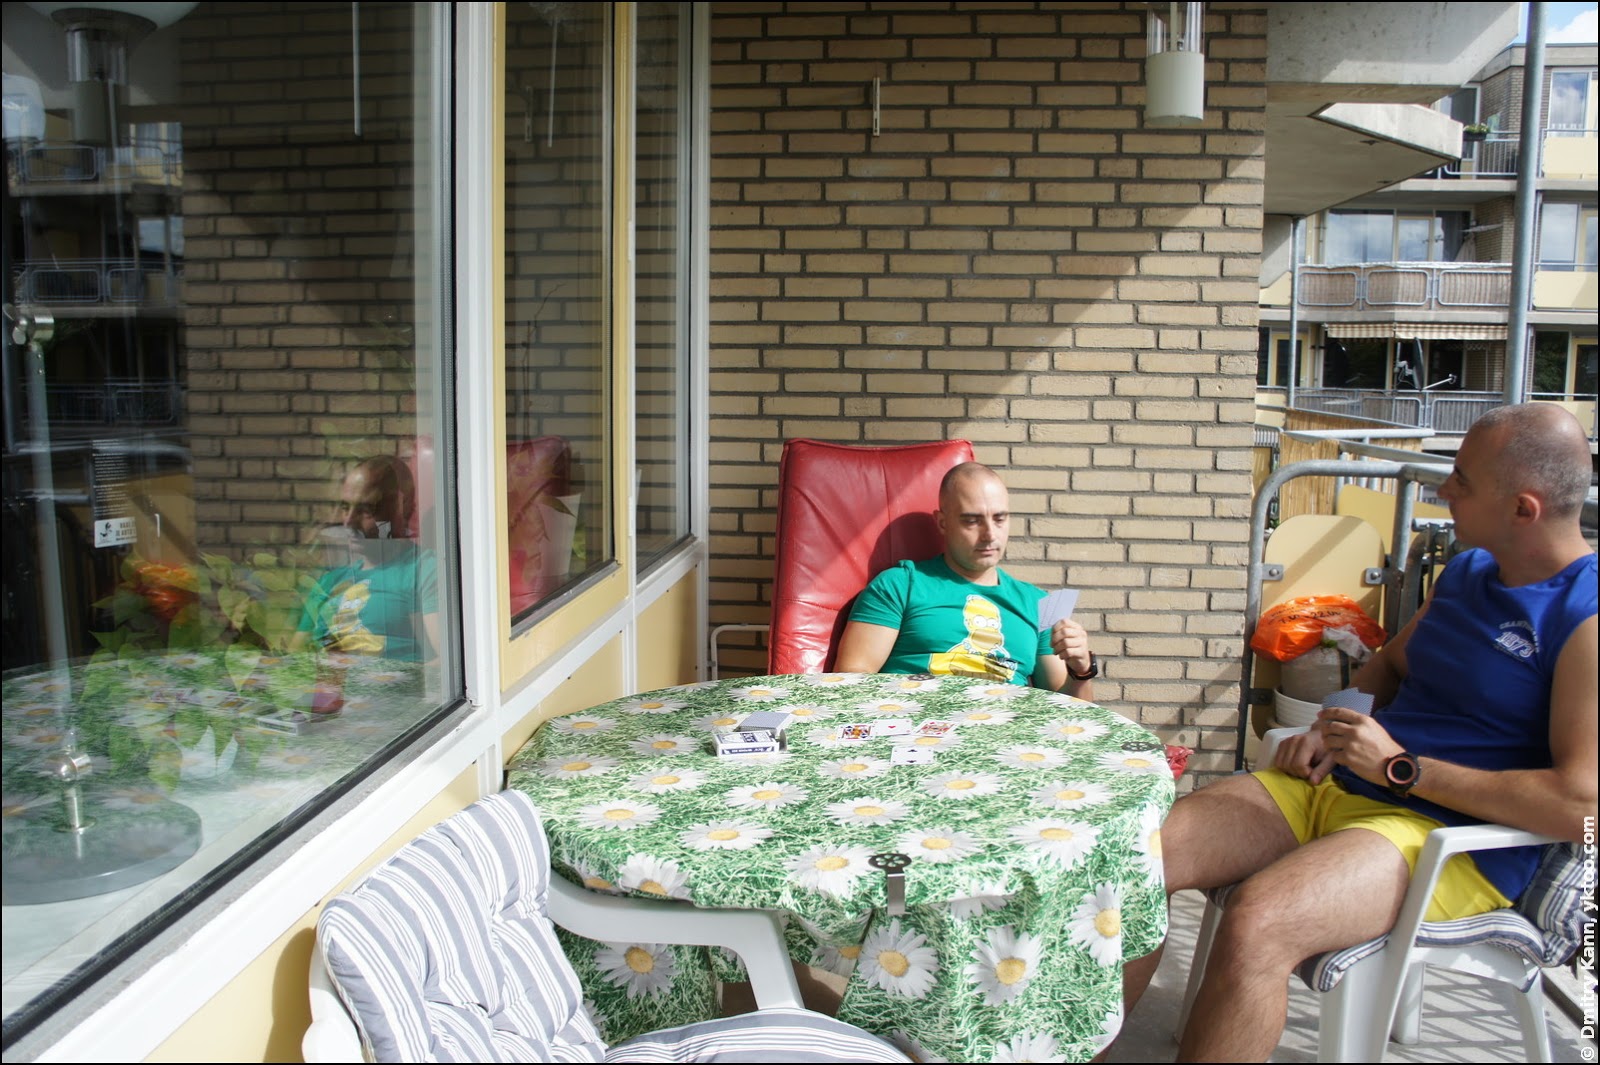
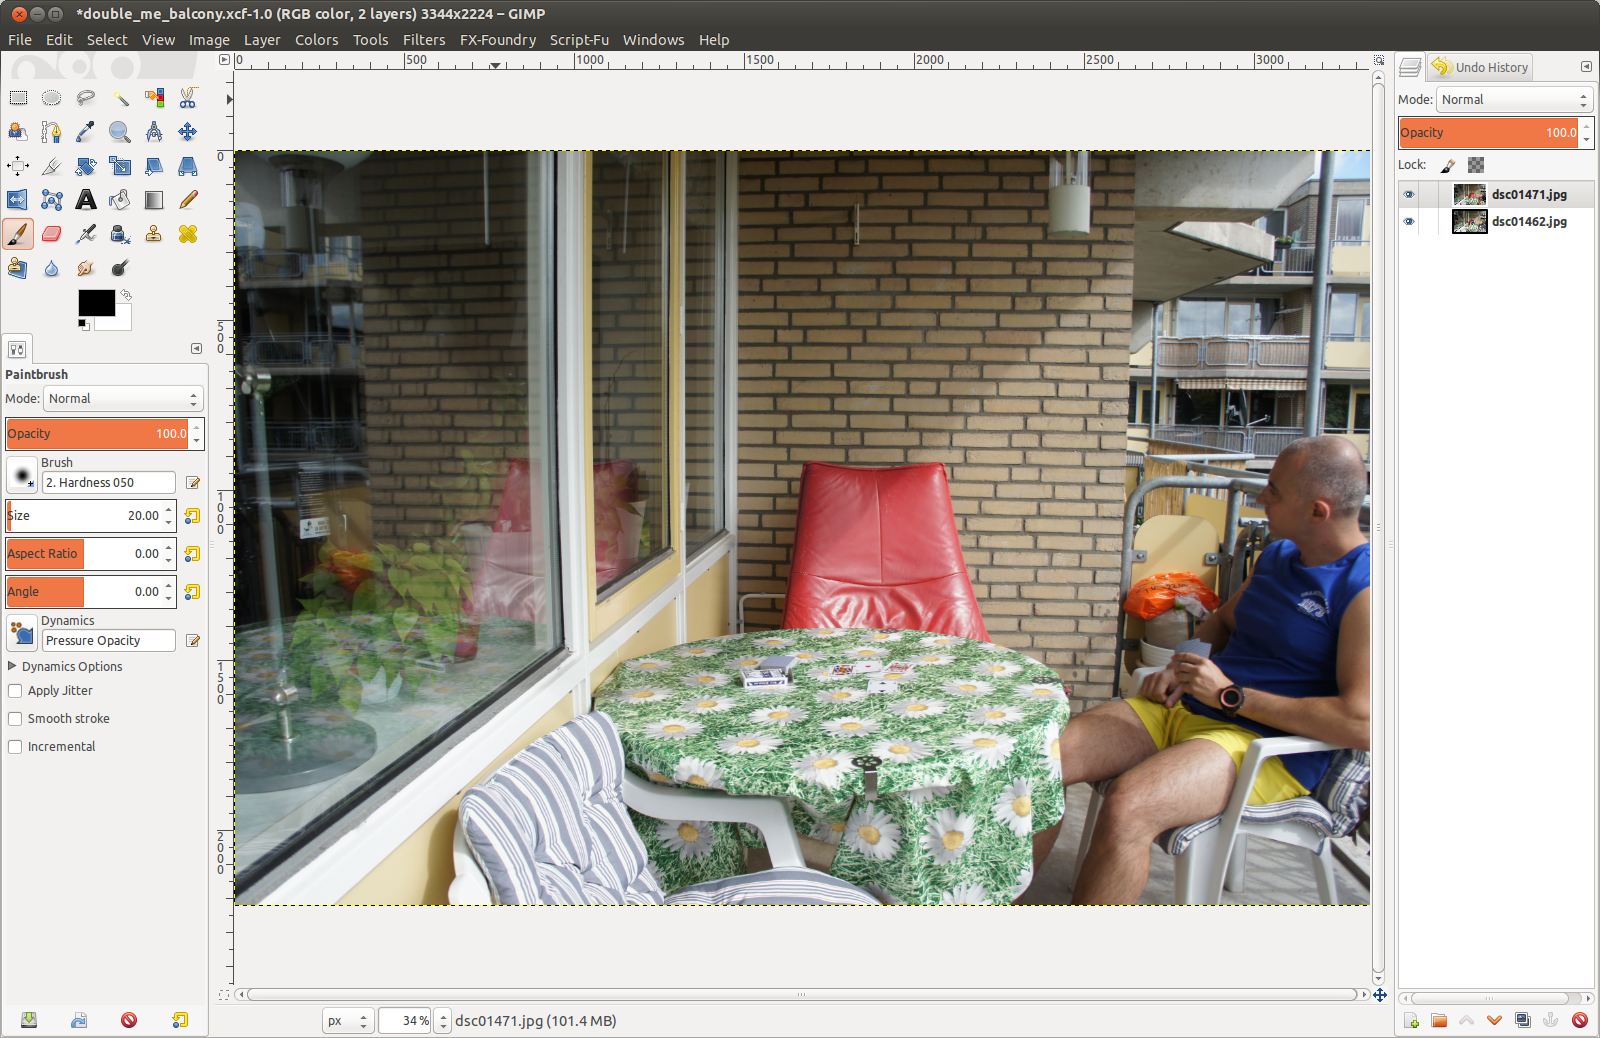
My story was a card game on the balcony. The sky was cloudy that day, and the sun shone and hid all the time, so all my photos had slightly different lighting. I’ve chosen a couple most close to one another, this one:
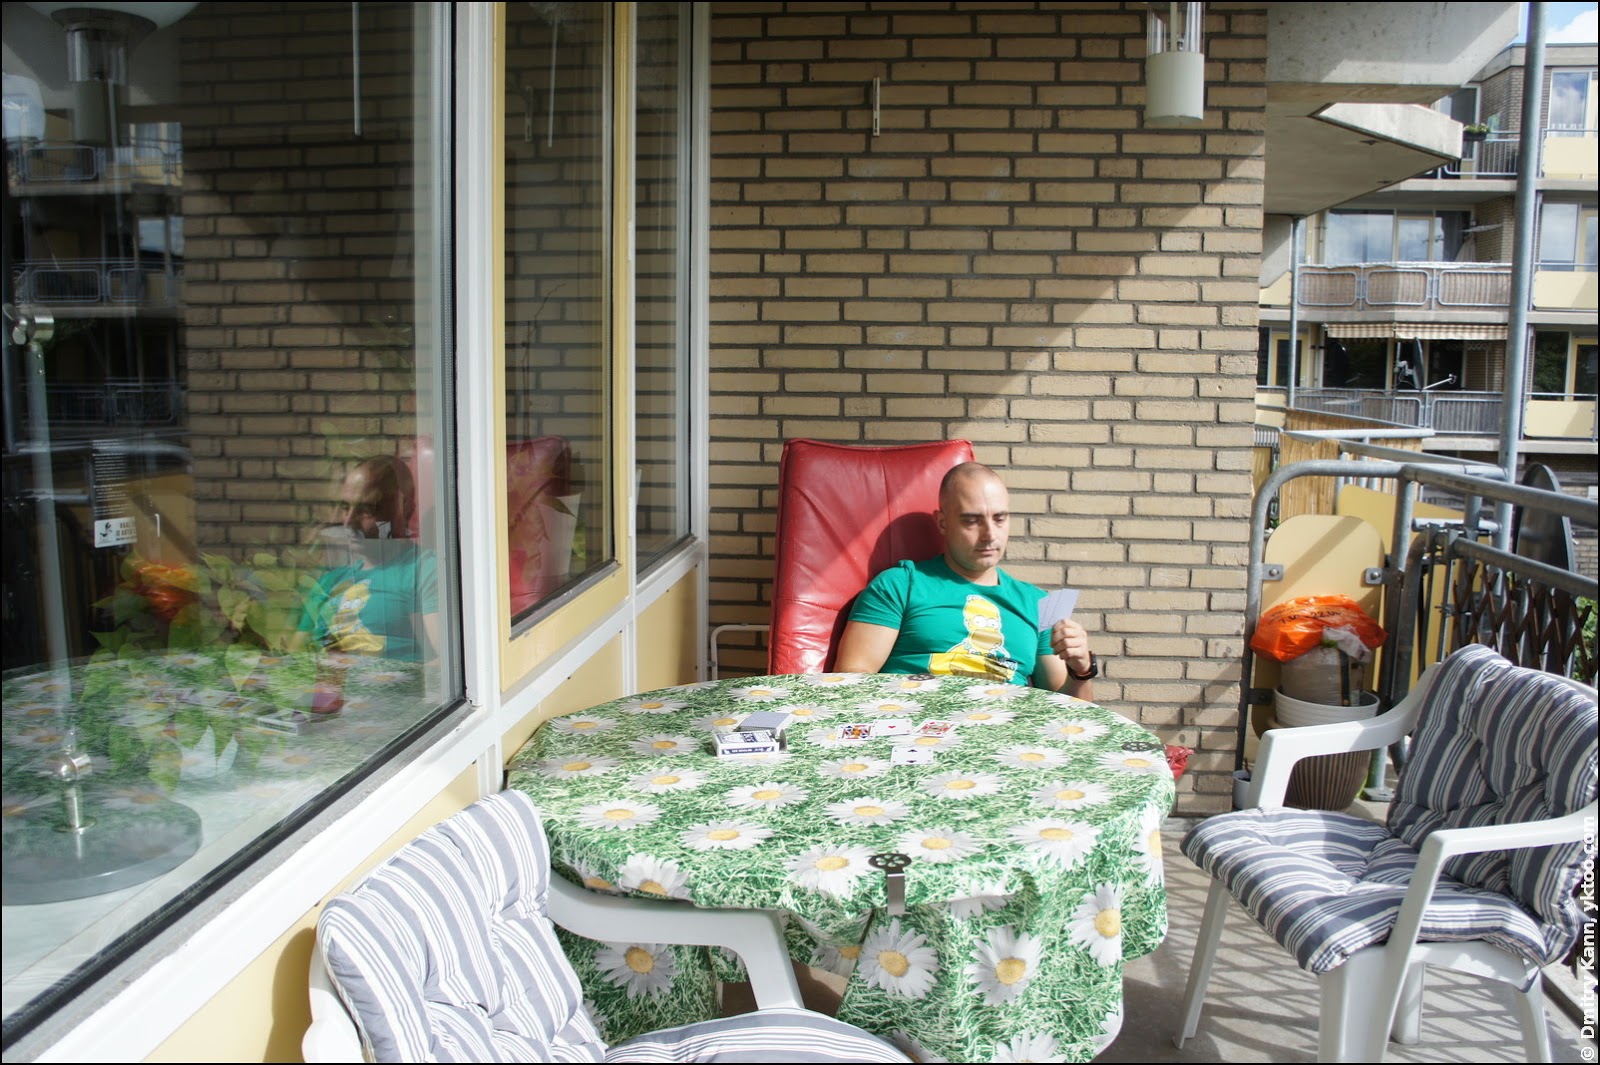
And this one (it’s also nice to change clothes between shots):
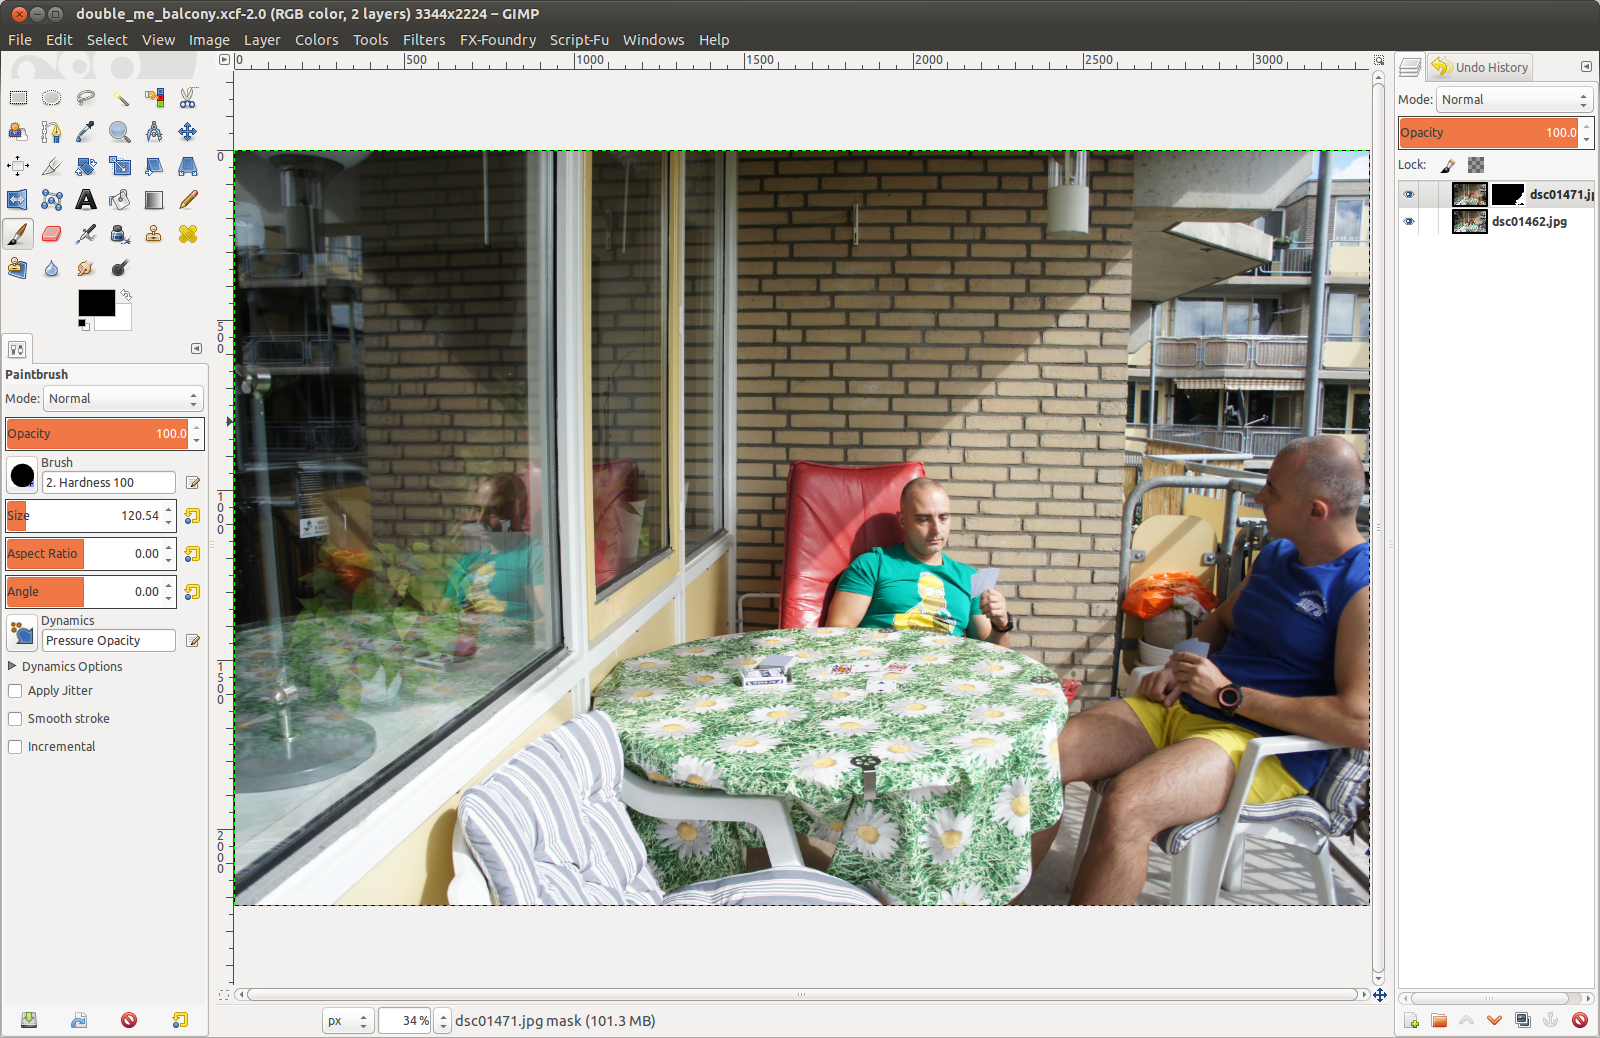
Step two. Open the photos in Gimp
Arrange the photos in layers one under the other. Choose one that will represent the foundation (containing most objects) and lay it on the bottom. The rest are to be placed on top of it:
Step three. Add layer mask
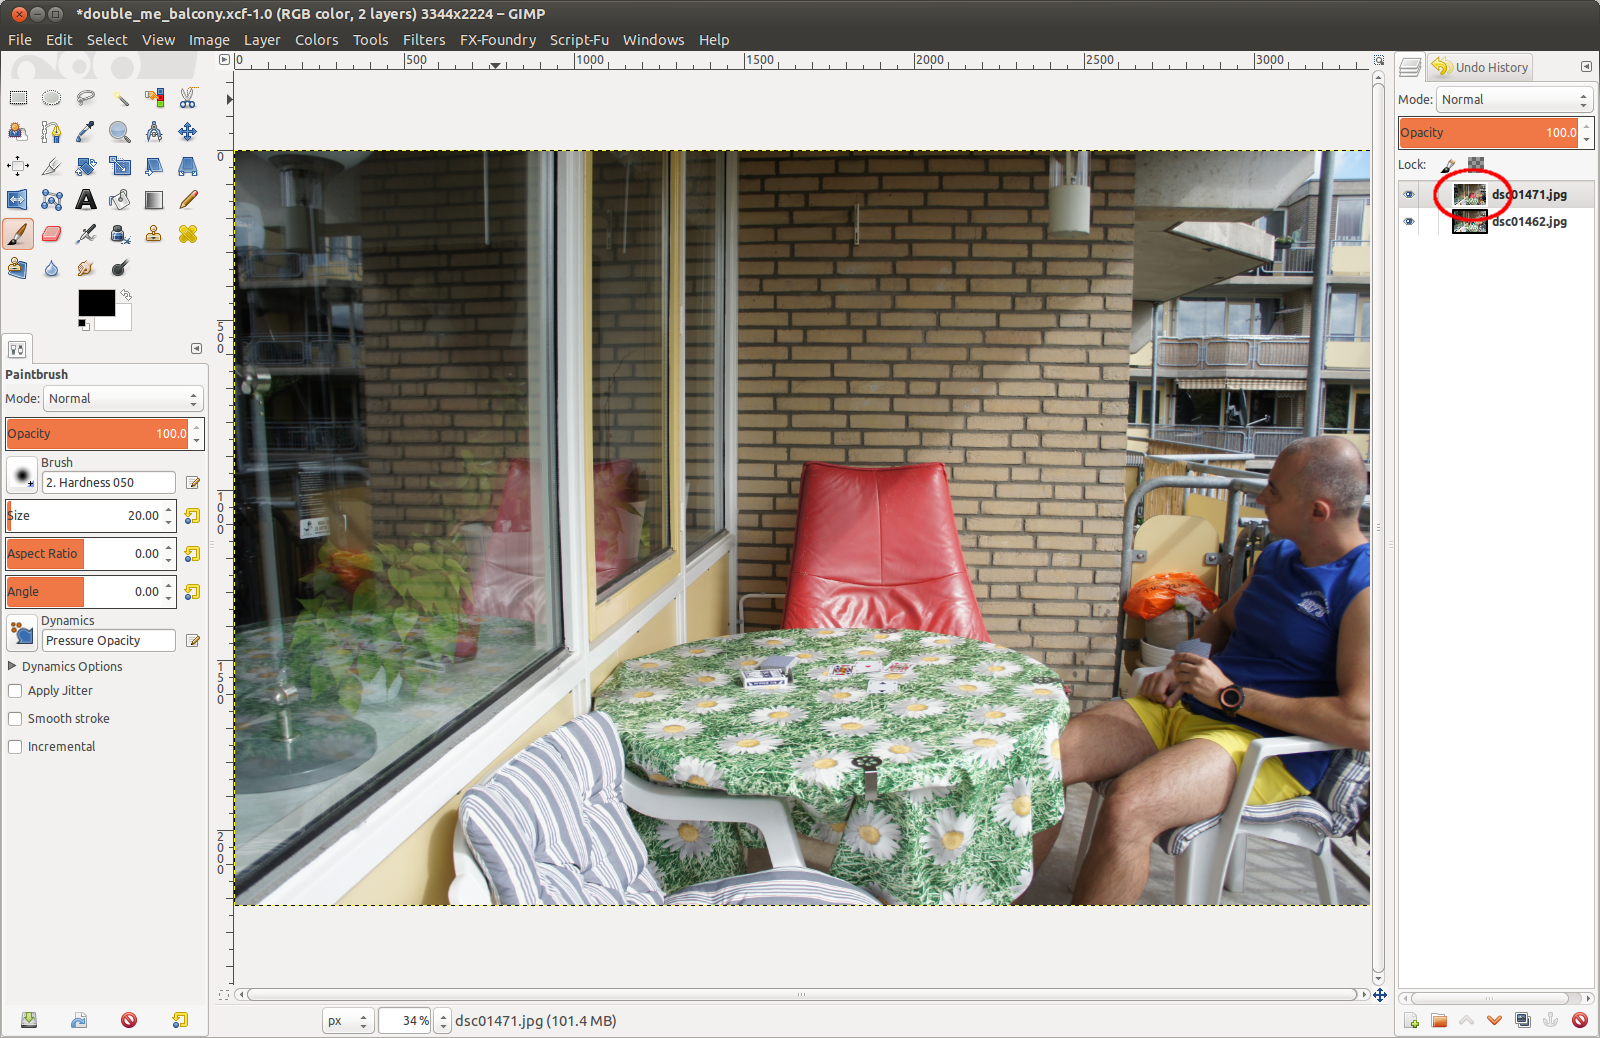
Right-click the top layer in the list and select Add Layer Mask…:
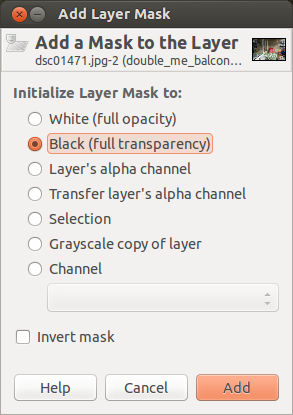
In the dialog that opens click on Black (full transparency) and then Add:
The layer will get a black thumbnail near the main one—which is the mask, black as specified. Therefore the layer becomes fully transparent and vanishes from the image:

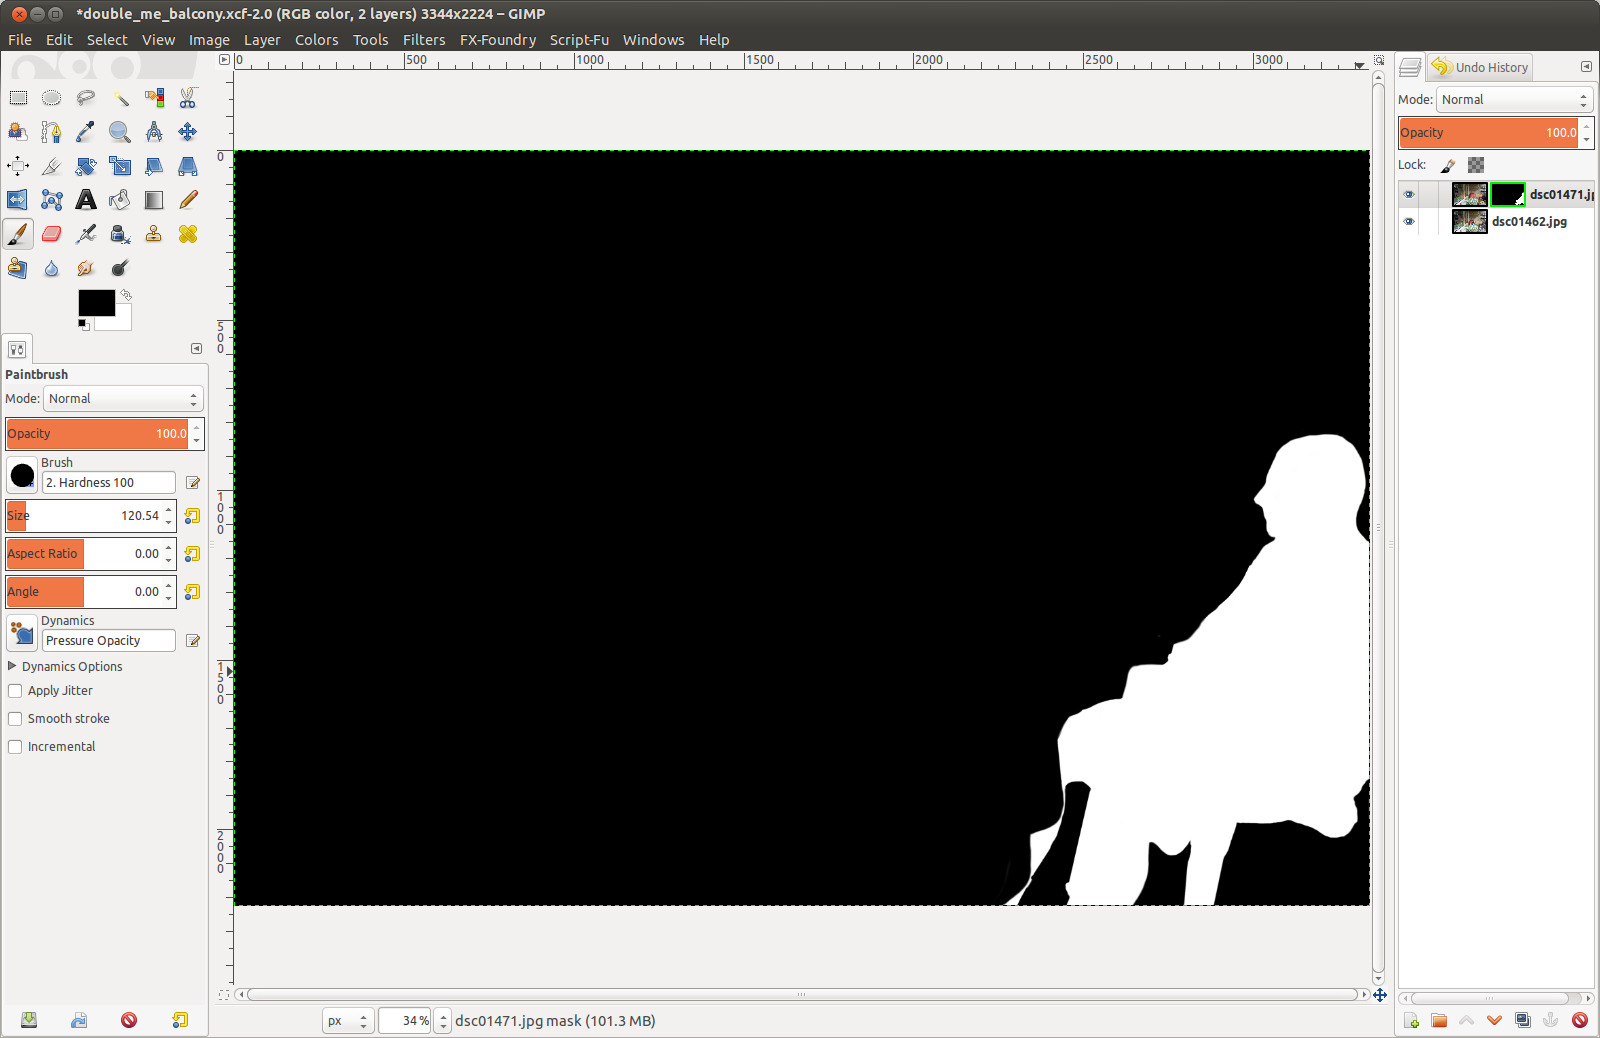
Step four. Edit the mask
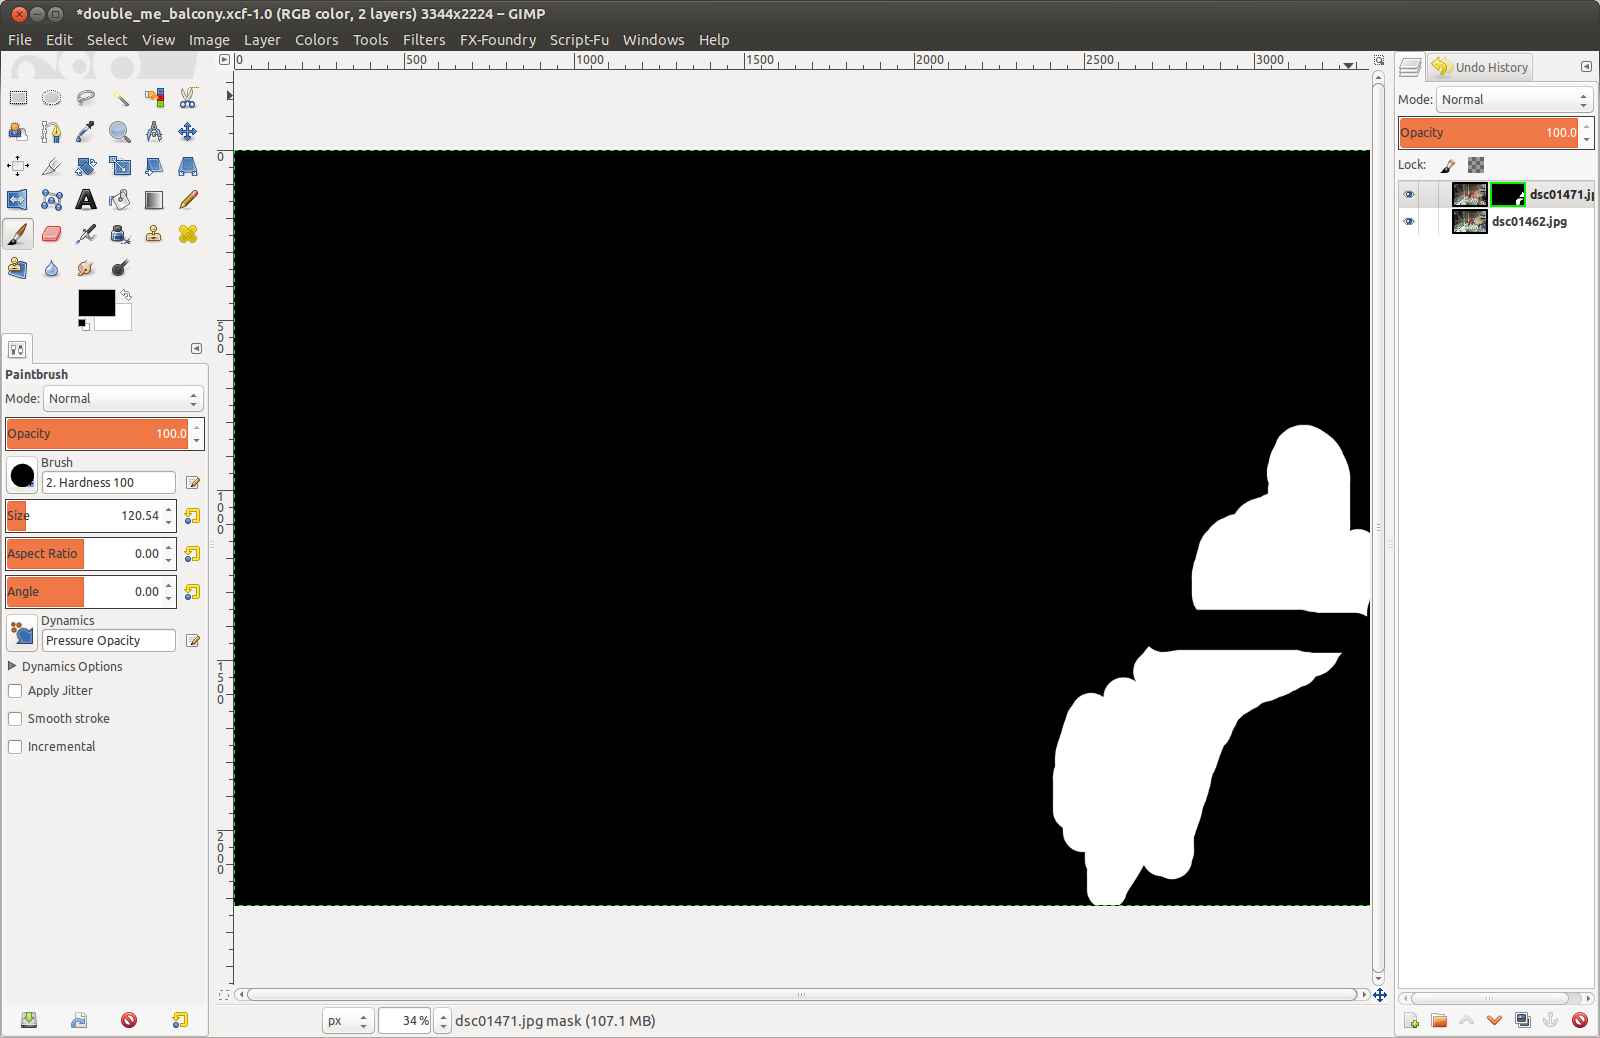
Layer mask is a monochrome (grayscale) image that affects layer opacity. In the places where it’s black the layer is completely transparent, and where it’s white the layer is completely opaque. All intermediate shades correspond to partial opacity. We make use of this principle by paiting the mask white in the spots we want the layer to shine through.
So let’s make sure we’re editing the mask and not the layer itself. To do that you click the mask’s thumbnail, which gives it a white outline:

Select the Paintbrush Tool:

Now start painting the mask white in the area where the “right me” is sitting in the chair. You’ll get something like this:

You can quickly check how the resulting mask looks like. For that you right-click the layer and select Show Layer Mask, or simply press Alt+M. This changes thumbnail’s frame to green:
This is basically it. The rest is just painting the right mask by using white and black colour (use the X key to swap back- and foreground colour). Feel free to also change size and shape of the brush to achieve a neat shape outline.
Step five. The final result
It looks as follows:
And the corresponding mask is:
All you need to do now is export the image to JPG (File → Export) and go amaze your friends on the Facebook. ■
Comments